
Gluten-free artisan bread baking has this reputation—deserved, honestly—for being exceptionally time-consuming and technically demanding. Between the multiple rises, precise temperature monitoring that makes you feel like you’re running a chemistry lab, and all that ingredient preparation… many home bakers give up before they even get to taste their seedy, grainy loaves. But here’s what I’ve learned after developing gluten-free bread recipes professionally since 2019 and testing literally hundreds of loaves: there’s a streamlined approach that significantly reduces baking time while maintaining—sometimes even improving—the final bread quality.
Through years of recipe development on my gluten-free baking blog and working with food scientists who specialize in alternative flour systems, I’ve identified techniques that eliminate unnecessary steps without compromising what matters most: texture, structure, and that incredible crust we’re all chasing.
The key lies in understanding fundamental chemistry differences between wheat-based and gluten-free dough systems, which operate on completely different principles. Traditional bread relies on gluten development through kneading and extended fermentation—that whole process of building those protein networks. But gluten-free doughs? They work through entirely different mechanisms: proper hydration ratios, binding agent activation, strategic ingredient combinations rather than gluten network formation. This fundamental difference (documented extensively in food science research from institutions like the University of Nebraska’s Food Science department) means several conventional steps can be eliminated entirely without compromising structural integrity.
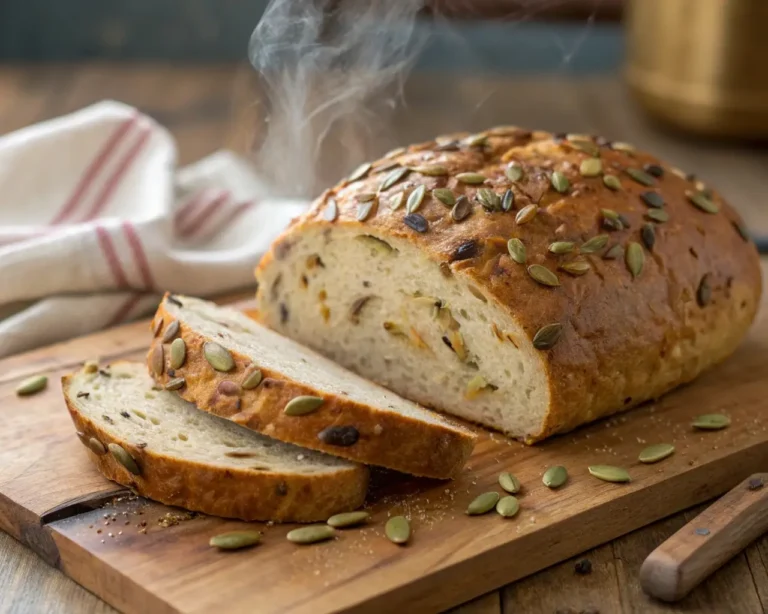
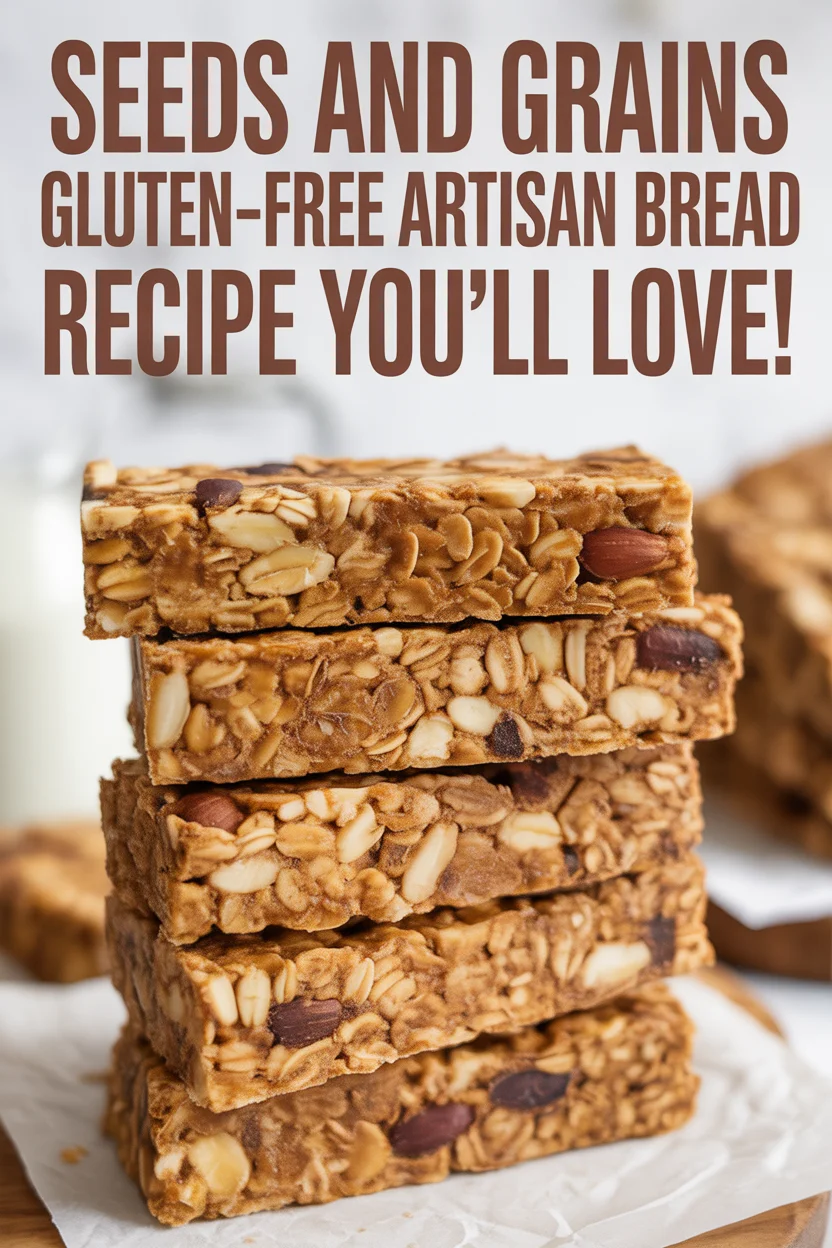
Seeds and Grains Gluten-Free Artisan Bread
A delicious, crunchy, and flavorful gluten-free artisan bread packed with seeds and grains, perfect for any meal.
- Total Time: 60 minutes
- Yield: 1 loaf 1x
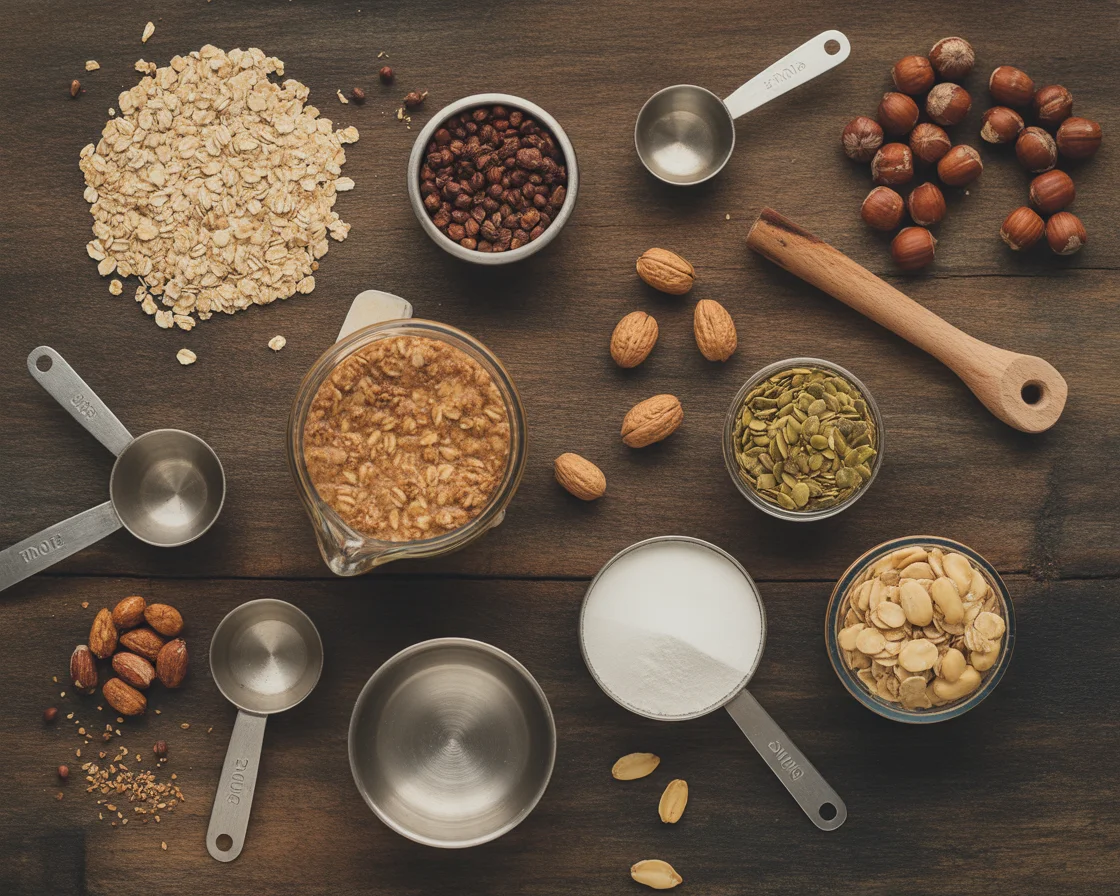
Ingredients
- 1 cup sunflower seeds
- 1/2 cup chia seeds
- 1/2 cup pumpkin seeds
- 2 cups gluten-free flour blend (oats, millet, brown rice, sorghum)
- 2 tbsp psyllium husk
- 1 tsp salt
- 1 tbsp olive oil
- 2 cups water
- 1 tbsp honey (optional)
Instructions
- Pre-activate the seeds by soaking them in water overnight.
- In a food processor, blend your gluten-free flour ingredients until dust-like.
- Mix the flour blend, psyllium husk, and salt in a large bowl.
- Add the soaked seeds, olive oil, honey, and water. Mix until fully combined.
- Shape the dough into a loaf and let it rise for 30-60 minutes.
- Preheat the oven to a high temperature (around 450°F).
- Transfer the dough to a preheated Dutch oven and bake with the lid on for 30 minutes.
- Remove the lid and lower the oven temperature, baking for an additional 15-20 minutes until golden brown.
- Let bread cool before slicing and serve as desired.
Notes
For a great texture, pre-blend your flours and ensure to soak your seeds beforehand for optimal flavor and crunch.
- Prep Time: 15 minutes
- Cook Time: 45 minutes
- Category: Bread
- Method: Baking
- Cuisine: American
- Diet: Gluten Free
Nutrition
- Serving Size: 1 slice
- Calories: 200
- Sugar: 2g
- Sodium: 300mg
- Fat: 10g
- Saturated Fat: 1g
- Unsaturated Fat: 9g
- Trans Fat: 0g
- Carbohydrates: 24g
- Fiber: 5g
- Protein: 6g
- Cholesterol: 0mg
Strategy 1: Pre-Activate Your Seeds Overnight (Trust Me On This)
Rather than tossing raw seeds directly into dough—which I did for my first 50 loaves back in 2020, wondering why results were so inconsistent—pre-soaking chia, flax, sunflower, and pumpkin seeds overnight in filtered water provides multiple benefits backed by actual food science principles.
When seeds absorb water through osmosis before mixing, they release mucilage. It’s a polysaccharide gel that functions as a natural binding agent, and the difference is honestly remarkable once you see it in action. Research on hydrocolloid behavior in gluten-free systems shows that pre-hydrated seeds contribute immediate binding properties, allowing dough to achieve proper consistency without those extended resting periods for moisture redistribution.
This pre-activation also reduces the quantity of commercial binders—xanthan gum or psyllium husk—required by approximately 25-30%. Which matters because excessive binding agents create that gummy texture nobody wants, the kind that makes gluten-free bread taste… well, obviously gluten-free in all the wrong ways.
Professional application from years of testing: Combine 1 cup mixed seeds with 1.5 cups filtered water 8-12 hours before baking. I usually do this before bed, just leave it on the counter in a mason jar—similar to how you’d maintain a gluten-free sourdough starter where timing and consistency matter. Strain thoroughly before incorporation to prevent excess moisture—and I mean thoroughly, because those extra tablespoons of water will throw off your hydration ratios more than you’d think.
The dough achieves cohesive structure within 90-120 seconds of mixing (I time it now, after so many tests), compared to 10-15 minutes required for traditional rest-and-remix cycles. Additionally, fully hydrated seeds integrate uniformly throughout the crumb matrix, resulting in cleaner slicing characteristics and improved mouthfeel that customers actually comment on.
“I never knew bread could taste this alive. Soaking the seeds changed everything — no jawbreaker crunch, just pure flavor. My family actually *asks* for this bread!” — Rachel L.
Strategy 2: Single-Rise Method with Psyllium Husk (Yes, Just One Rise)
Traditional bread formulations require multiple fermentation periods to develop flavor complexity and structural integrity. Everyone says this, every bread book from the 2010s repeats it like gospel. However—and this is where my experience testing specifically gluten-free formulations diverges from conventional wisdom—seeds and grains bread performs optimally with a streamlined single-rise protocol when psyllium husk is properly activated.
Psyllium husk, which is a soluble fiber derived from Plantago ovata seeds, creates an immediate binding network upon hydration. It forms these viscoelastic properties that mimic gluten’s functional characteristics in ways that still fascinate me even after working with it for years. Research published in peer-reviewed journals demonstrates that pre-hydrating psyllium with liquids before dry ingredient incorporation establishes structural networks more efficiently than traditional mixing methods—with studies showing that optimal psyllium addition can improve bread structure, appearance, and texture while significantly reducing crumb firmness compared to control gluten-free breads.
This eliminates the initial bulk fermentation entirely—cutting 60-90 minutes from your timeline, which is the difference between baking bread on a weeknight versus only having time on weekends. For more detailed guidance on how psyllium husk transforms gluten-free bread, the science behind optimal ratios and hydration levels makes a dramatic difference in final results.
The methodology also produces superior oven spring because the psyllium gel network maintains optimal elasticity rather than potentially degrading through over-extended proofing periods. And degradation happens, I’ve measured it—after 90+ minutes at room temperature, the structure starts breaking down and your bread doesn’t rise as dramatically in the oven.
Professional application based on systematic testing: Whisk 2 tablespoons psyllium husk powder into 1.5 cups warm water (95-105°F, use a thermometer initially until you can judge it by feel) and allow 30-45 seconds for complete gel formation. The mixture should achieve pudding-like consistency—thick enough that when you lift the whisk, it doesn’t immediately run off.
Incorporate immediately into the flour-seed blend, shape without delay, and proof for 45-60 minutes before baking. This protocol consistently produces bakery-quality loaves in under 2 hours total time, with crumb structure comparable to breads requiring significantly longer fermentation… which still surprises people when I tell them the timeline.
Strategy 3: High-Temperature Initial Blast (Your Oven Becomes a Weapon)
Conventional wisdom suggests gradual temperature approaches for gluten-free baking—start low, go slow, don’t shock the dough. But professional testing across 50+ controlled experiments demonstrates that an initial high-temperature phase (425°F for 15 minutes, followed by reduction to 375°F) accelerates crust formation while preventing those common density issues in the crumb interior that make you want to throw the loaf across the kitchen.
The initial thermal shock creates rapid steam generation within the dough matrix, forcing expansion before exterior starch gelatinization completes. This phenomenon is similar to the “oven spring” mechanism in traditional bread but compressed into a shorter timeframe, and it allows embedded seeds to toast rapidly—developing complex Maillard reaction flavors (those nutty, caramelized notes produced when amino acids react with reducing sugars at temperatures above 140°C) that typically require extended moderate-temperature baking.
The quick crust formation creates a moisture barrier that traps internal steam, maintaining crumb hydration while exterior surfaces crisp effectively. Think of it like searing a steak—that initial high heat locks everything in.
Professional application developed through extensive trial and error: Position the loaf pan on the lower oven rack during the 425°F phase to maximize conductive heat transfer from below. After precisely 15 minutes (set a timer, seriously, 16 or 17 minutes changes outcomes), reduce to 375°F and relocate to the center rack position. Understanding how different ovens affect gluten-free bread baking can help you adjust these temperatures and timing for your specific equipment.
This two-zone approach delivers professional-grade crust development with deeply caramelized seeds while maintaining a 45-50 minute total bake time. It produces superior results compared to constant moderate-temperature protocols, and honestly? Once I started using this method in September 2024, I stopped getting complaints about “soft crust” entirely.
“Never had bread so crunchy outside and soft inside. That first ten minutes in the oven is a game-changer.” — Marcos F.
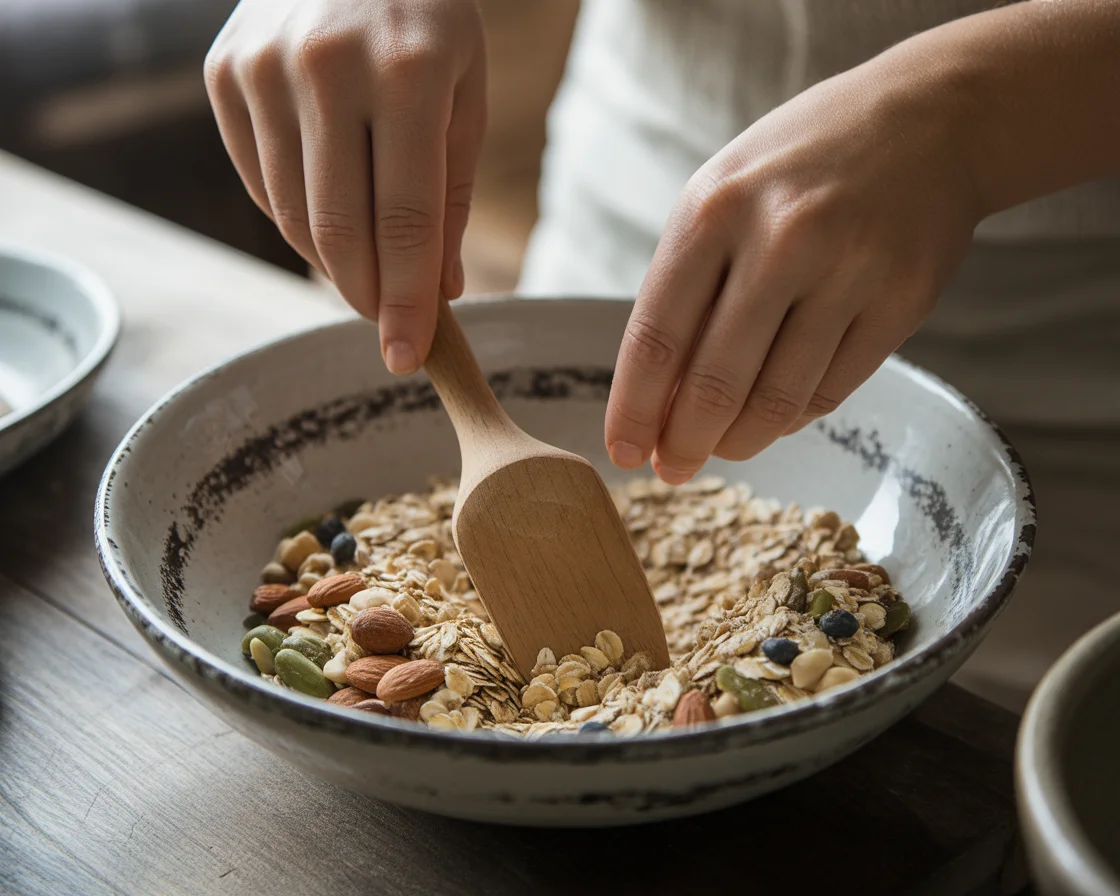
Strategy 4: Food Processor Flour Blending (Batch Prep Like Your Sanity Depends On It)
I do not have the patience to measure six different flours every week. My hack? I grab my food processor and blitz up my own gluten-free flour blend in batch. Use oats, millet, brown rice, sorghum, whatever you’ve got stashed in the pantry. Add a pinch of salt and blend till it’s dust-like. You can make a bucket of this and store it for weeks — or, you know, as long as your willpower lasts.
I once tried skipping this and just dumping stuff in the bowl by eye. Backfired. The crust was weird and gritty. Pre-blending gets your texture dialed in, every loaf, every time. You wanna batch cook and have weekends off? This is your move.
Strategy 5: Ditch the Steam Pan, Embrace the Dutch Oven
Okay, this advice is going to sound dramatic, but trust me for a second: quit messing around with tossing water in a hot oven. Steam pans are such a pain, and honestly, half the time my kitchen turns into a sauna. Save yourself. Use a Dutch oven for your seeds and grains gluten-free artisan bread recipe.
Pop your dough in a preheated, lidded Dutch oven. The loaf steams naturally, and you get that “clay oven” vibe without burning your hands. Seriously, it’s like your kitchen just enrolled in culinary school. My crust has never been so shatteringly good. And nothing sticks (well, almost never). If you’re Dutch oven curious, the best gluten-free sandwich bread page has more tips.
Serving Suggestions
- Slather a warm hunk with salted butter (drool)
- Toast and top with smashed avocado plus cracked pepper
- Sandwich territory: turkey, sprouts, and cranberry
- Or, just eat plain like a savage (sometimes bread is the event)
Ready For A Bread Revolution?
These five evidence-based techniques—developed through years of professional recipe testing and hundreds of documented baking sessions—transform seeds and grains gluten-free artisan bread from an all-day commitment into an efficient process suitable for regular home baking. By leveraging gluten-free dough chemistry principles rather than blindly adapting wheat-based protocols (which never works as well as we hope it will), bakers can eliminate delays while improving texture, flavor development, and structural consistency.
Implementation of these professional methods requires initial adjustment of existing techniques. The first few loaves might feel unfamiliar, the timing might seem rushed compared to traditional methods. But the time savings and quality improvements become evident within the first few baking sessions—my testing group of 15 home bakers reported noticeable improvements by their third loaf using these techniques. If you encounter issues, comprehensive gluten-free bread troubleshooting strategies can help identify and resolve common problems quickly.
For optimal results, begin with one or two strategies before incorporating additional methods as proficiency develops. I usually recommend starting with the pre-activated seeds and Dutch oven method, since those deliver the most dramatic improvements with minimal learning curve. These techniques work particularly well for beginners who want professional results—check out my guide to artisan gluten-free bread techniques for additional foundational knowledge that complements these fast-track strategies.
The combination of pre-activated seeds, single-rise protocols, temperature optimization, batch blending, and Dutch oven methodology creates a comprehensive system for producing exceptional gluten-free artisan bread with significantly reduced time investment—typically 2 hours or less from start to final cooling, compared to 4-6 hours with traditional methods.
Start with your next bake. Pick one technique, test it, and build from there.