gluten free panko can feel like a unicorn when you are craving that perfect crunchy coating on chicken, fish, or veggies. I get it, store shelves are hit or miss, and when you do find it, the price can be wild. After a bunch of trial and error, I landed on an easy homemade version that gives you big crisp flakes, stays crunchy, and actually tastes like something. It is simple, it is pantry friendly, and it is absolutely worth the few steps. Imagine shatter crisp on the outside and juicy inside, without heavy oil or mystery ingredients. Let me show you how I make it and how you can tweak it for your own kitchen.
What are Panko Breadcrumbs?
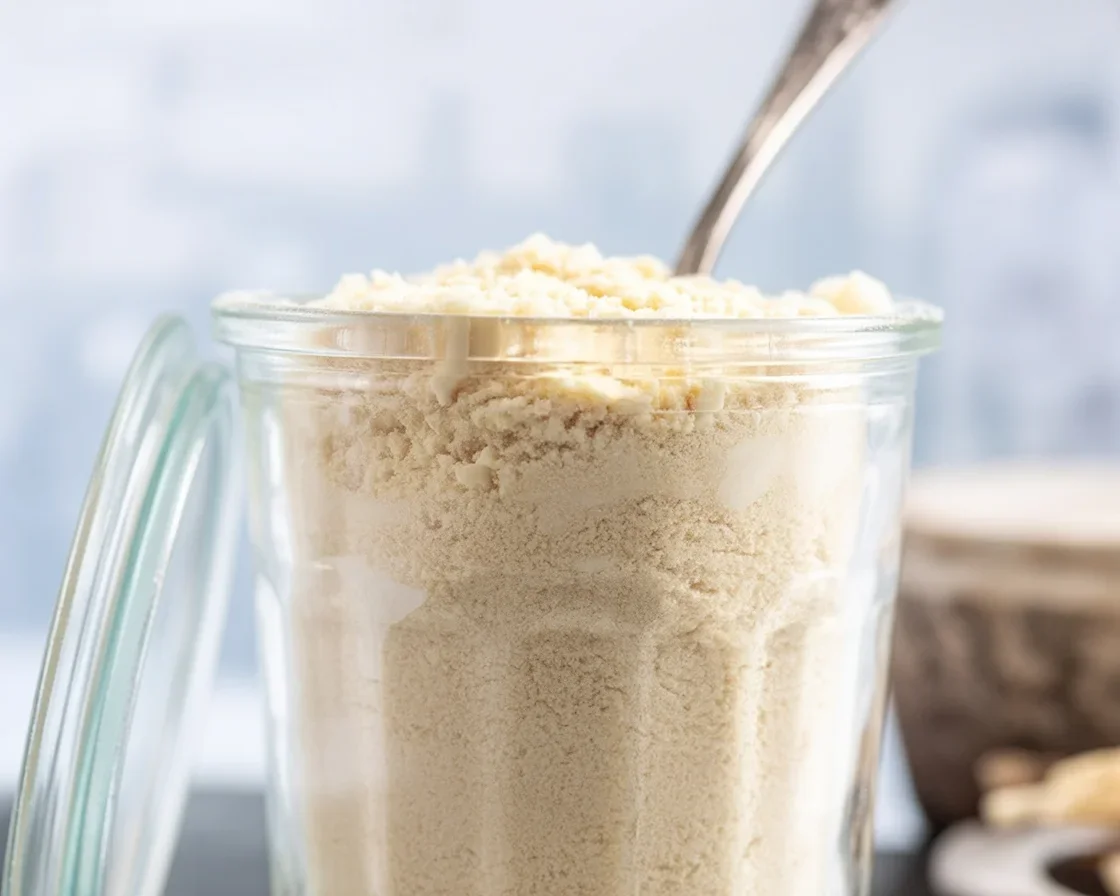
Panko breadcrumbs are extra crispy flakes made from bread that is dried out and ground into light shards. Traditional panko uses white bread that is baked into an airy loaf, then dried and shredded to keep the pieces large and jagged. That shape is the secret to the crunch. With gluten free panko, we are after the same thing: big, light flakes that fry or bake to a golden crackle without turning dense or powdery.
Homemade is my go to because I can choose the bread, control the size of the flakes, and adjust the seasoning to match whatever I am cooking. Plus, it stores well and uses up the heels or slices of gluten free loaves that tend to hang around the freezer.
Ingredients
- 6 to 8 slices gluten free bread, crusts on or off (more on bread choices below)
- 1 tablespoon neutral oil, optional for richer browning
- 1 teaspoon fine salt, to taste
- 1 teaspoon garlic powder, optional
- 1 teaspoon onion powder, optional
- Freshly ground black pepper, optional
Directions
- Dry the bread: Preheat the oven to 275 F. Cut or tear the bread into large chunks. Spread on a baking sheet in a single layer and bake 15 to 25 minutes, stirring once, until the bread feels dry to the touch but not browned.
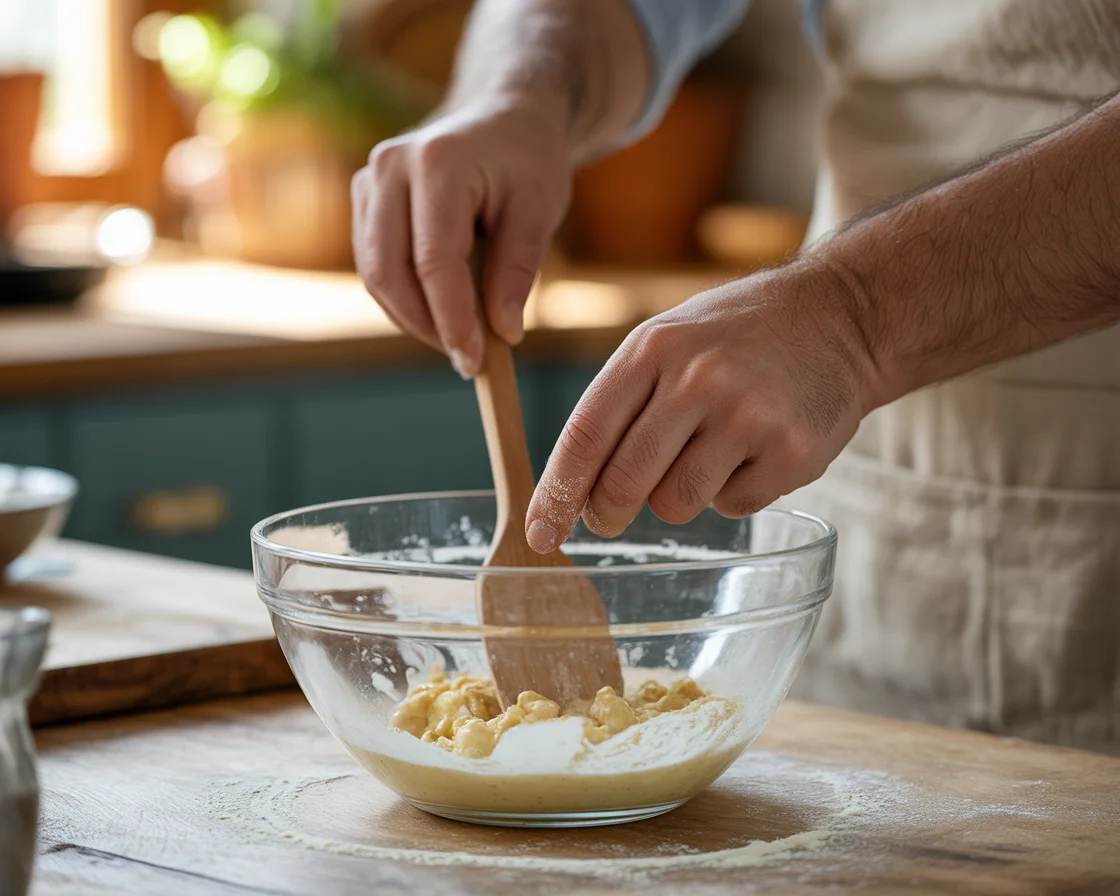
- Pulse to flakes: Add the dry chunks to a food processor. Pulse in short bursts 6 to 10 times until you see flaky, jagged crumbs. Stop early, shake the processor bowl, and pulse again. You want varied flakes, not a fine powder.
- Season and crisp: Toss the flakes with oil if using, then sprinkle in salt and seasonings. Return to the baking sheet and bake 5 to 10 more minutes, watching closely, until pale golden and crisp. The flakes should feel light and brittle.
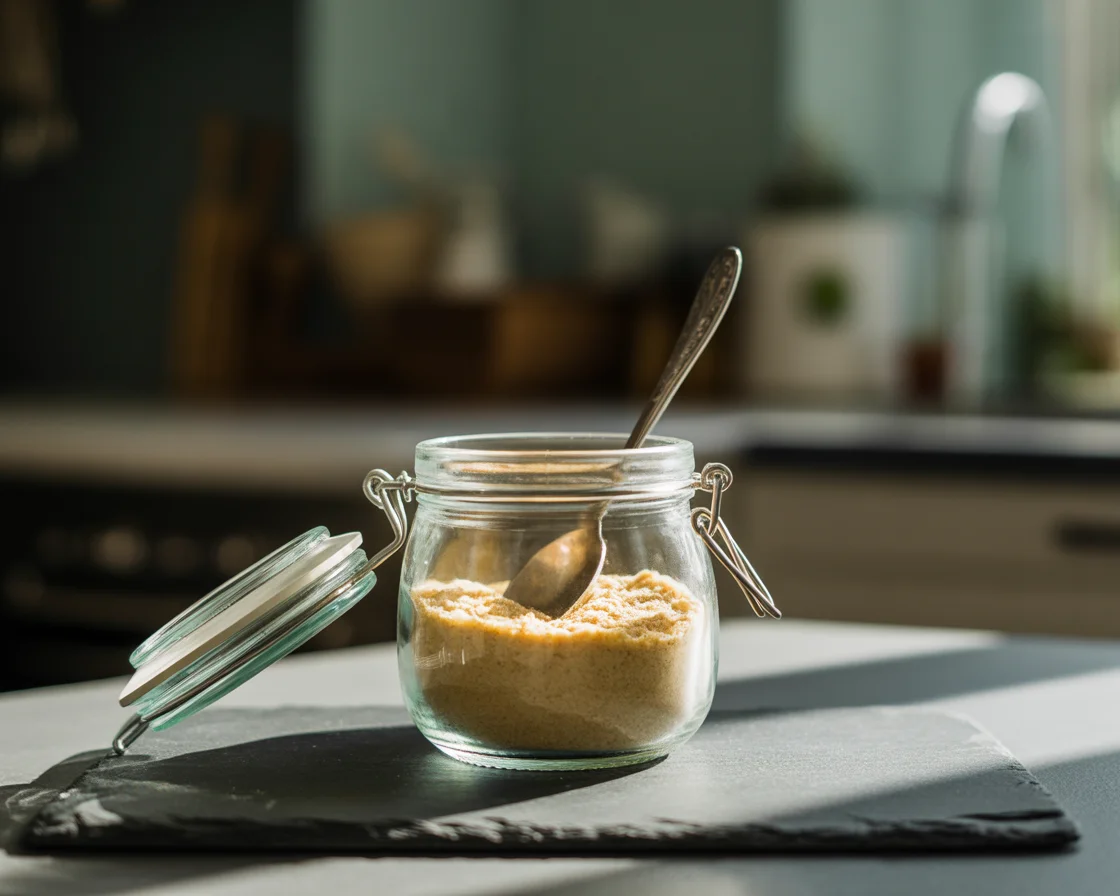
- Cool and store: Let cool completely. Store in an airtight jar or bag for up to 2 weeks on the counter or 2 months in the freezer.
Make ahead and storage tips
If your kitchen is humid, spread the cooled crumbs on the sheet again and let them air dry for 20 minutes. For freezing, press out extra air before sealing, and label the bag so you remember they are ready to go. Pull straight from the freezer and use as is.
I tried this method on leftover gluten free sandwich bread and the crunch was unreal. My partner thought I had deep fried the chicken, but it was baked. These are a weekly staple now.
If you are still learning your way around gluten free bread, this guide is a great resource: artisan gluten free bread guide. It explains how crumb structure affects texture, which honestly matters a lot for panko style crumbs.
How are Panko Breadcrumbs different from standard bread crumbs?
Regular breadcrumbs are often finer, more uniform, and made from fully dried or toasted bread. They are great for binding meatballs or thickening casseroles, but they do not deliver that light, airy crunch we want on the outside of a cutlet or veggie fry. Panko crumbs, on the other hand, are bigger and flakier, which creates crispy pockets and less dense coating.
- Shape: Panko is jagged and flaky. Standard crumbs are sandy or powdery.
- Texture: Panko gives you a crisp shell. Standard crumbs can get soggy quicker.
- Oil absorption: Panko absorbs less oil, so the coating tastes cleaner.
- Browning: Panko browns in little peaks for that golden speckle. Regular crumbs brown more evenly but can feel heavy.
For gluten free panko, the difference really shows. Gluten free bread can crumble if ground too fine, but when you pulse into flakes and bake to crisp, the results are really close to classic panko. If you want a base bread with great structure, try a crisp crust loaf like this one: crispy crust gluten free sourdough bread. It gives a nice flake and a clean bite.

What is the best bread for making Gluten Free Panko?
You can make gluten free panko from almost any gluten free bread you like, but some slices flake better than others. You want bread that gives you larger, airy crumbs when pulsed, not dense dust. Here is how I choose:
Pick a light crumb loaf with a little bounce. Sandwich bread made with a blend of rice flour, starch, and a bit of psyllium or xanthan tends to work well. If you bake at home, a basic loaf with a tender interior makes excellent flakes. If you buy bread, look for loaves that do not feel heavy for their size.
Remove crusts or keep them on? I like to keep crusts for color and extra crunch, but if your loaf has very thick crusts, trim some off for a softer bite. Either way works.
Day old bread is ideal. Freshly baked slices have more moisture and take longer to dry. If your bread is still very soft, cube it and leave it on the counter, uncovered, for 1 to 2 hours before drying in the oven.
Here are a few helpful links if you are picking or baking the bread first:
best store bought gluten free bread for a quick option, and if you are baking, check out tips for baking gluten free bread in different ovens so you get a consistent crumb that flakes beautifully.
By the way, if you are exploring new loaves, the whole gluten free bread category on my site has plenty of ideas: gluten free bread recipes.
What can I use Gluten Free Panko Breadcrumbs for?
This is the fun part. Once you have a jar of crisp flakes, weeknight dinners get exciting. My go to is oven baked chicken cutlets. Salt and pepper the chicken, dip in rice flour, then beaten egg, then press into the panko flakes. Bake on a wire rack at 425 F until golden and juicy. No deep fryer needed, and the coating stays crunchy even after resting for a few minutes.
Vegetables love it too. Coat zucchini sticks, cauliflower florets, or asparagus spears for a craggy crust. Sprinkle on top of mac and cheese for a crackly finish. Mix with a little grated Parmesan and lemon zest to top baked fish. The flakes also make a killer crust for crab cakes or salmon patties, where you need texture but not heaviness.
If you are into gadgets, the air fryer is a dream with panko. It blasts hot air around every ridge and corner, so the crumbs crisp fast. I have even used the flakes as a topping on savory bakes, like baked tomatoes or stuffed mushrooms. The key is to brush or spray a tiny bit of oil on top to encourage browning.
For something playful, coat tofu or halloumi slices for a crunchy outer layer that holds up to dips and sauces. Try adding smoked paprika or cayenne to the crumb mix for a little heat. You can absolutely keep the crumbs plain too and season the meat or veggies directly.
Need a cozy brunch idea while you are at it? Use leftover crumbs on top of a baked breakfast casserole for extra texture. And if you have a sweet tooth break, take a peek at these fun bakes like air fryer gluten free donuts or a lovely apple cinnamon sweet gluten free bread for dessert vibes after your crispy dinner.
Tips for making great Panko Breadcrumbs
Keep the flakes big. Stop the food processor before everything turns sandy. Shake the bowl or sift out fine powder and pulse the bigger pieces separately. Those large shards are what give the coating its signature shatter.
Dry first, then crisp. If you try to crisp fresh bread, it steams and softens. Drying at a low temperature gives structure. The final short bake with a touch of oil locks in crunch and color.
Season lightly. Salt enhances flavor but go easy if your bread is already seasoned. For neutral crumbs, skip seasonings and add them to your dish instead. For a classic coating, I like a pinch of garlic powder and paprika.
Use a rack. When baking panko coated foods, place them on a wire rack set over a sheet pan. Air flow underneath keeps the bottom from getting soggy and the coating stays evenly crisp.
Check your oven. If you know your oven runs hot on the edges, rotate the sheet pan or lower the temperature slightly to avoid over browning. For more detail on how ovens behave with gluten free bakes, this guide can help: baking gluten free bread in different ovens.
Store smart. Moisture is the enemy of crisp. Cool completely before sealing. If your crumbs soften a bit over time, retoast on a sheet pan at 300 F for 3 to 5 minutes to revive the crunch.
Make it your own. Swap in a teaspoon of sesame seeds for a nutty vibe or add lemon zest for fish night. A little grated Parmesan mixed in is great for topping casseroles, though it will shorten shelf life, so make that part just before using.
Quick troubleshooting
If your crumbs turned dusty, you pulsed too long. Next time, pulse in short bursts and stop early. If the coating fell off, your egg layer was too thin or your surface was wet. Pat dry, dip into starch, then egg, then panko. Press lightly to help it stick. If browning is pale, mist with oil and increase heat to 425 F for the last few minutes.
A note on the main recipe: This process is meant to get you close to the famous restaurant crunch but with everyday ingredients and tools. I have tested this method using several common gluten free loaves, and the results were consistently crispy when I kept the flakes big and baked hot on a rack.
Why homemade instead of store bought?
Homemade gluten free panko is fresher, customizable, and usually more budget friendly. You also control salt and additives. If you prefer convenience, keep your homemade jar for quick dinners and supplement with a store brand when needed. Just know that the homemade flakes tend to be larger and the flavor cleaner, especially if you are picky about oils and seasonings.

A crunchy wrap up you can actually use tonight
You are now set to make a batch of gluten free panko that truly earns the word crispy. Dry the bread, pulse to big flakes, crisp them in the oven, and you are ready for weeknight magic. If you need a quick store option, peek at Kikkoman Panko Style Coating for a pantry backup. If you want a second opinion and another tested method, I like this walkthrough on gluten free panko breadcrumbs too. Either way, I hope you try this with chicken, tofu, or a tray of roasted veggies. Your crunch craving is about to be very happy.
Print
Homemade Gluten Free Panko Breadcrumbs
A simple homemade recipe for gluten free panko breadcrumbs that delivers the perfect crunchy coating for chicken, fish, or veggies.
- Total Time: 50 minutes
- Yield: 2 cups 1x
Ingredients
- 6 to 8 slices gluten free bread, crusts on or off
- 1 tablespoon neutral oil (optional)
- 1 teaspoon fine salt, to taste
- 1 teaspoon garlic powder (optional)
- 1 teaspoon onion powder (optional)
- Freshly ground black pepper (optional)
Instructions
- Preheat the oven to 275°F (135°C).
- Cut or tear the bread into large chunks and spread on a baking sheet in a single layer.
- Bake for 15 to 25 minutes, stirring once, until the bread feels dry to the touch but not browned.
- Add the dry chunks to a food processor and pulse in short bursts 6 to 10 times until you have flaky, jagged crumbs.
- If using oil, toss the flakes with it and sprinkle in salt and seasonings.
- Return to the baking sheet and bake for another 5 to 10 minutes, watching closely, until pale golden and crisp.
- Let cool completely and store in an airtight jar or bag.
Notes
For best texture, keep the flakes big and ensure they dry before crisping. Store crumbs in an airtight container and re-toast if they soften.
- Prep Time: 15 minutes
- Cook Time: 35 minutes
- Category: Condiment
- Method: Baking
- Cuisine: American
- Diet: Gluten Free
Nutrition
- Serving Size: 1/4 cup
- Calories: 150
- Sugar: 1g
- Sodium: 200mg
- Fat: 6g
- Saturated Fat: 1g
- Unsaturated Fat: 5g
- Trans Fat: 0g
- Carbohydrates: 20g
- Fiber: 2g
- Protein: 6g
- Cholesterol: 0mg