Gluten-free artisan bread in a bread machine can feel like a fantasy if you’ve ever faced gummy, heavy loaves or just straight-up kitchen fails. Been there, done that. If you’re tired of kneading dough and crossing your fingers—trust me, a good bread machine is your new BFF. Today I’m busting some bread myths and showing you how to get gorgeous, actual artisan-style gluten-free bread with way less drama (and no extra mess). Master the art of artisan gluten-free bread with expert techniques and foolproof tips or dig into specialty artisan breads if you’re curious.
Why Make Artisan Bread in a Bread Machine?
Let’s be honest. Making bread from scratch is…well, a hassle. Gluten-free artisan bread in a bread machine? Now we’re talkin’. No sore arms, no hours spent babysitting dough, and the smell—my kitchen’s never smelled better at 8 a.m. Plus, these machines don’t judge your beginner skills or lack of patience—love that for me. You throw ingredients in, punch a button (with hope), and somehow—ta-da—bread that absolutely wows.
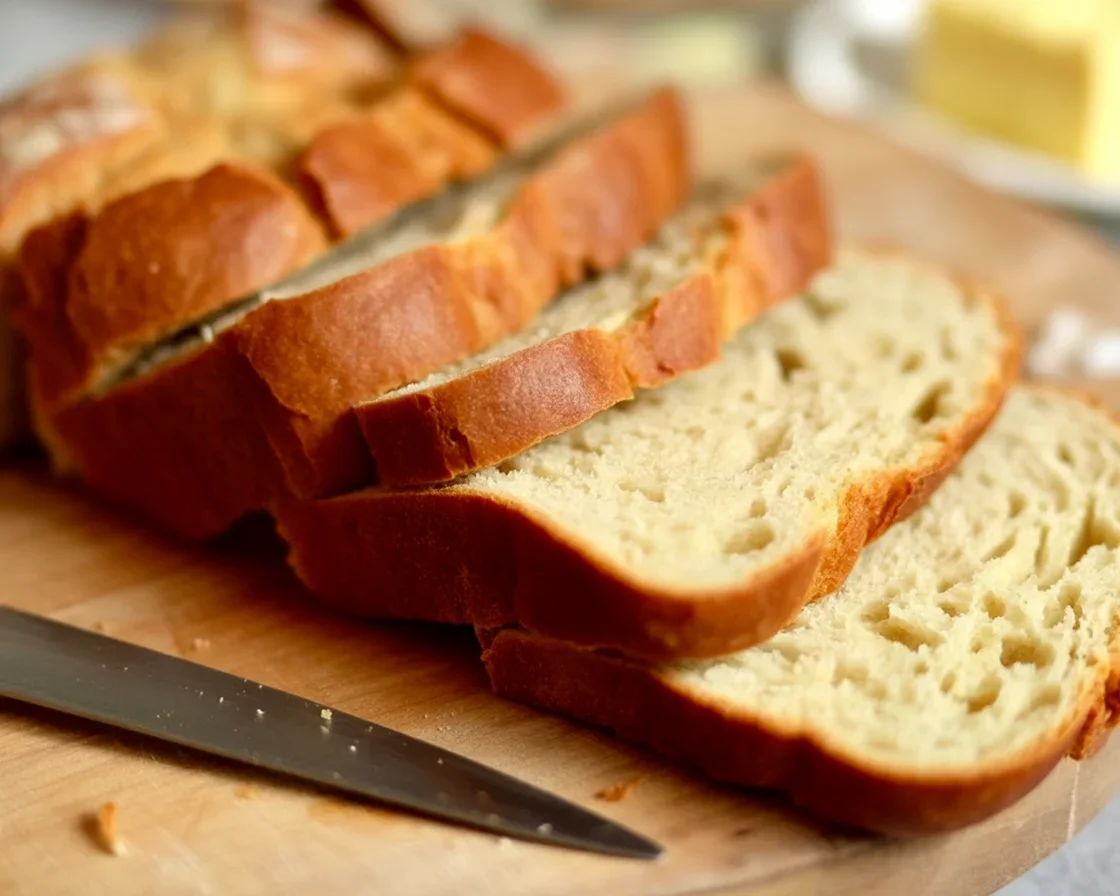
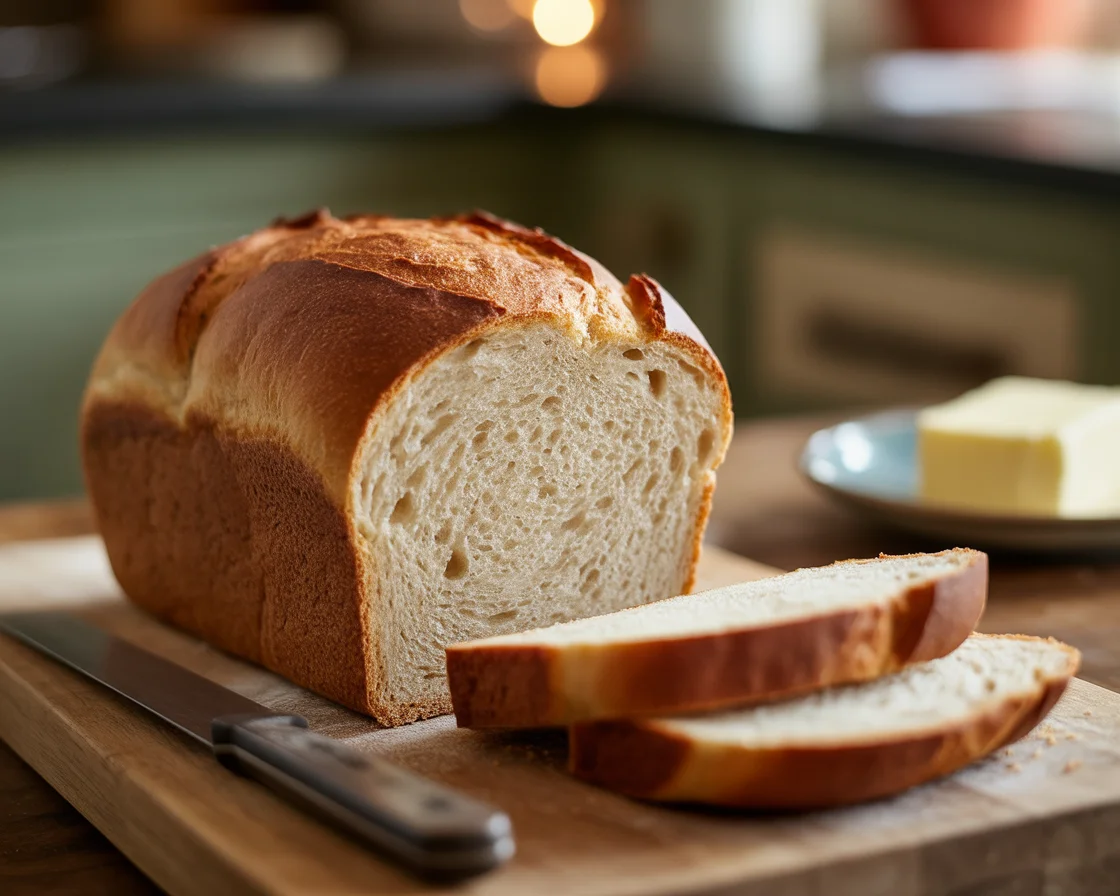
What really hooked me is that texture. Chewy, springy, with a real, actual golden crust. It’s not just sandwich bread, it’s, like, dinner-party-worthy stuff. My family devours it, even the gluten-eaters. Better yet, you save money and skip weird store-bought aftertastes. And honestly, you should see their faces when it works out. Worth it.
And if you’re planning a special dinner or gathering, don’t miss these gluten-free dinner rolls in a bread machine—they’re basically the perfect companion to artisan bread and use similar techniques with amazing results.
“I was stunned when my first gluten-free loaf from the bread machine was so dang fluffy! I legit thought someone swapped it with bakery bread.” – Jess, home baker in Oregon
Key Ingredients for Gluten-Free Artisan Bread
Alright. Get your grocery list. The gluten-free artisan bread in a bread machine recipe works best if you use quality stuff—no dusty corners-of-the-pantry here.
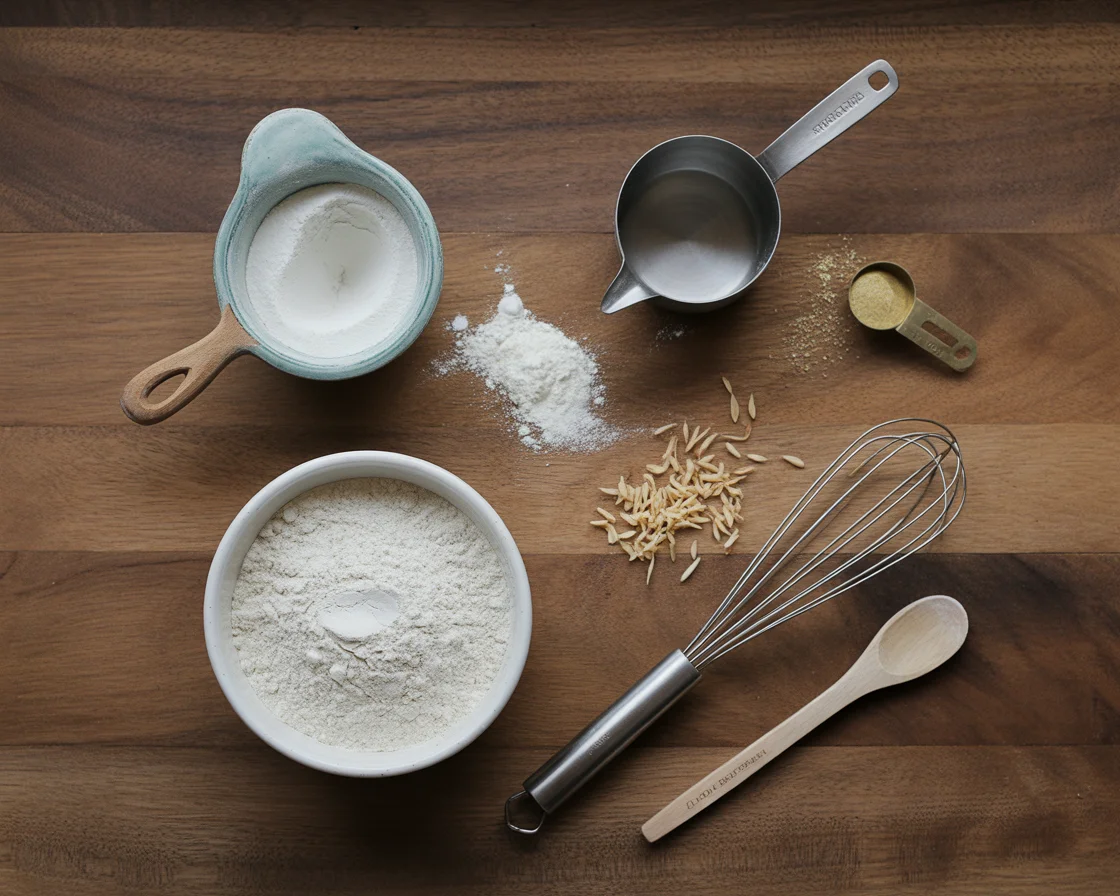
- Gluten-free flour blend: Not all mixes are equal (read this guide on gluten-free flour blends). I swear by a 1:1 all-purpose blend that includes xanthan gum.
- Yeast: Use instant or active dry, just double-check it’s gluten-free.
- Eggs: Add richness and help the bread rise. If allergic, chia or flax eggs can work, though a little more rustic.
- Milk or dairy-free milk: Both do great. Almond or oat milk keeps things light.
- Oil or butter: Olive oil gives a nice flavor, but use whatever you’ve got.
- Honey or sugar: Feeds the yeast, brings a whisper of sweetness.
- Salt: Skips blandness. Don’t be shy.
- Apple cider vinegar: This is weird but makes a real difference for texture and flavor.
Seriously, don’t overthink. It comes together super fast once you’ve got these on hand.
Step-by-Step Instructions
Now, don’t let the fancy “artisan” tag freak you out. If you can measure and mix, you’re golden. Here’s how I do it:
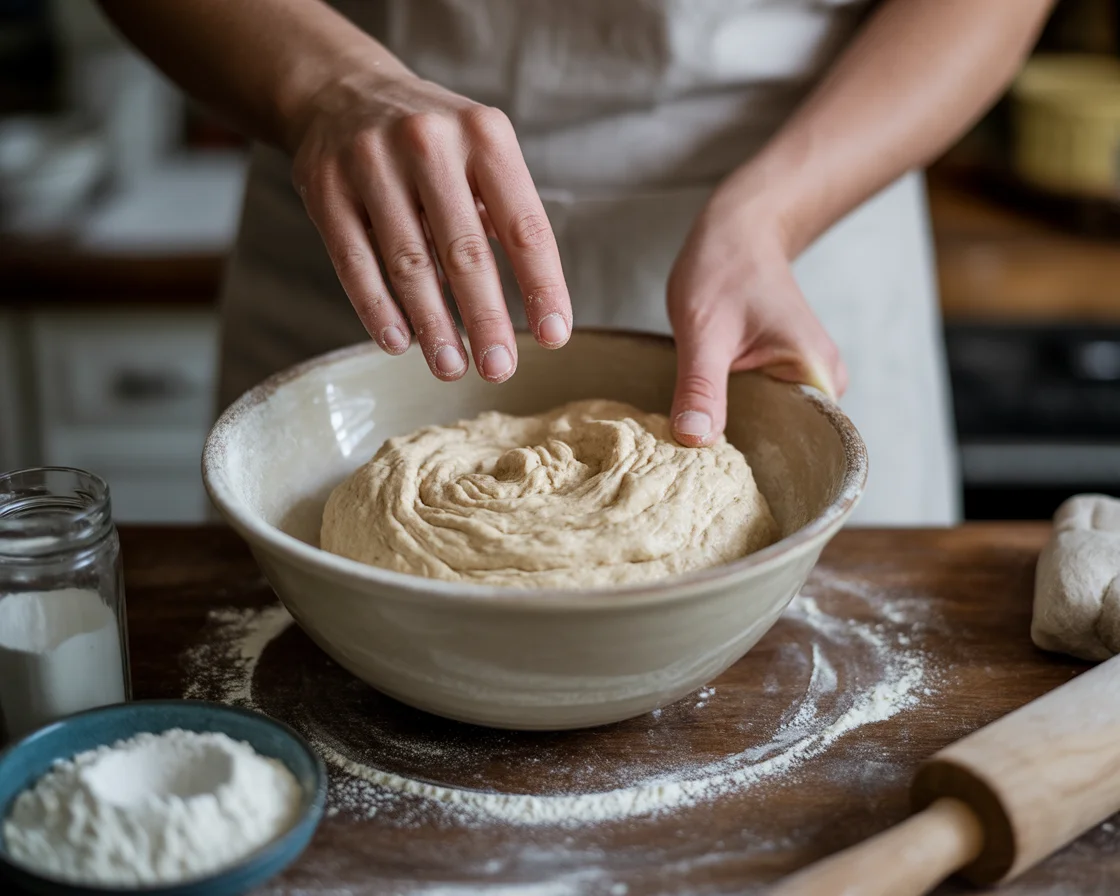
- Whisk your wet ingredients in a bowl (milk, eggs, oil, vinegar).
- Dump your dry ingredients into the bread machine pan—flour blend, sugar, yeast, salt.
- Pour the wet mix over the top. Don’t stir!
- Start the machine on the basic or gluten-free cycle. Scrape down after a few minutes if it looks wonky.
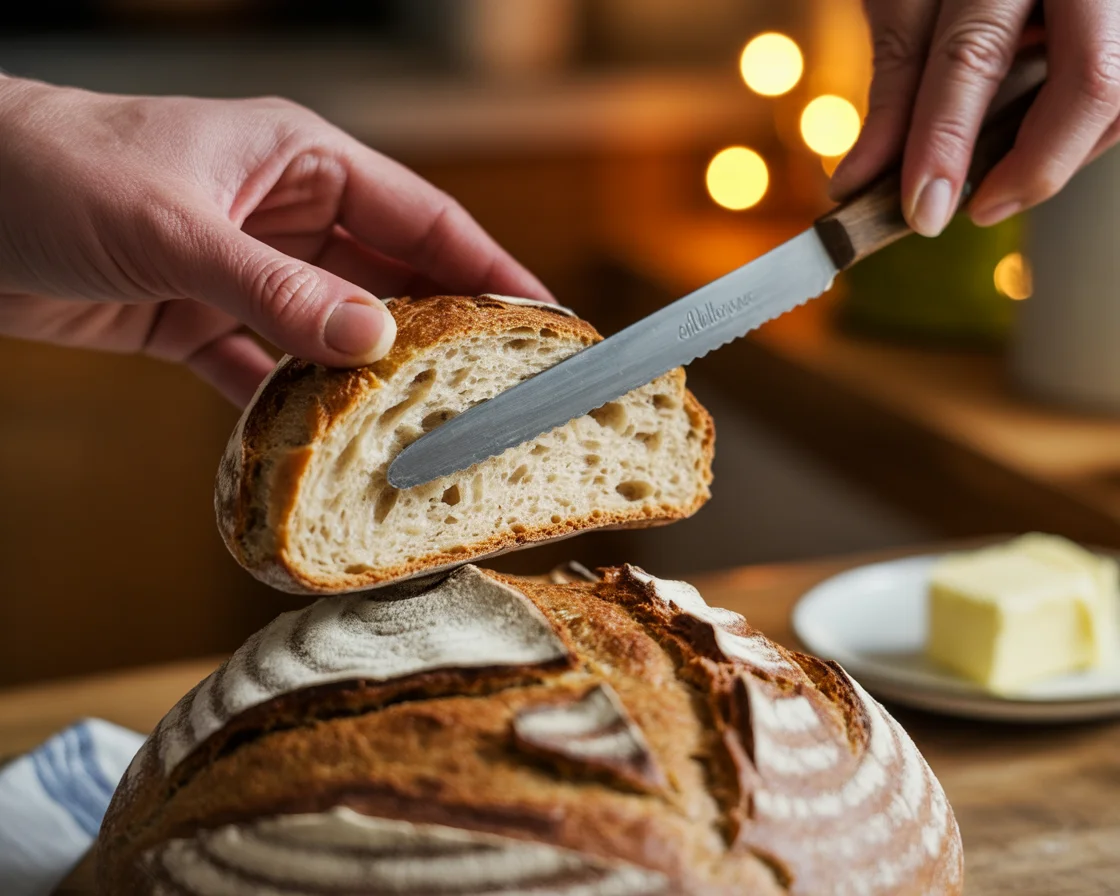
- When it beeps done, let the bread cool in the pan for ten minutes. Also—do NOT slice hot. You’ll regret it. Wait until it’s just warm.
If you want to see similar beginner-friendly recipes, I highly recommend checking these out: gluten-free bread recipes for beginners.
That’s literally it. From “uhh, what’s xanthan gum?” to “oh wow, did I bake this?” in about two hours flat.
Pro Tips for Success
The first time I tried gluten-free artisan bread in a bread machine, things went sideways. My dough looked like pancake batter, then baked up flat as a frisbee. Here’s what works:
If the dough looks too soupy, toss in a tablespoon or two more flour. Every gluten-free mix acts a little different. If it’s too thick (like, stubborn cement), splash in a teaspoon more milk.
Temperature absolutely matters. Use ingredients at room temp. Cold stuff keeps the yeast from partying.
A little patience goes a long way: Don’t open the lid all the time. I know the temptation! If you mess with the rise, the loaf might give up on you.
And please: let it cool before slicing. Seriously. I once took a “sample” when it was piping hot and basically turned the end piece into dense clay. Just wait.
Your bread machine might even have a “crust” setting. Choose medium for that perfect crunch. Enjoy the wild science experiment feel—makes the wins way sweeter.
Troubleshooting Table
| Ingredient | Purpose | Tip |
|---|---|---|
| Gluten-free flour blend | Main structure of the bread | Choose a blend that includes xanthan gum for best results |
| Yeast | Leavening agent to make the bread rise | Check for freshness; expired yeast won’t rise |
| Eggs | Adds richness and aids in rising | Flax or chia seeds can serve as egg replacements |
| Oil or butter | Fat for flavor and moisture | Olive oil works great for flavor enhancement |
| Apple cider vinegar | Improves texture and flavor | A small amount goes a long way in flavor |
Serving Suggestions
You’ve got a warm, beautiful loaf—now what? Here’s my go-tos:
- Rip and dip in olive oil with herbs—straight up five-star restaurant vibes.
- Toast it for breakfast with almond butter and a smear of jam.
- Grilled cheese is a total game-changer, trust me.
- Cube leftovers for croutons in your next salad or soup.
Every time I use this bread for sandwiches, people act like I’ve handed them solid gold. Familiar feeling, right?
Common Questions
Pretty much! Just look for a gluten-free or basic cycle and you’re good.
For sure, though results might change. Try to stick with a good 1:1 substitute, but hey, experiment a little.
Cool completely, wrap well, and keep at room temp for 2-3 days. Or slice and freeze. Microwaving a slice brings it back to life.
Easily! Use non-dairy milk and your fave egg replacer. Just know texture and flavor will change up a bit.
Remove from the pan ASAP after baking and cool on a wire rack. Air is your friend here.
Ready, Set, Bake—You Can Do This
Look, gluten-free artisan bread in a bread machine isn’t rocket science, even if it sometimes feels that way. Use good flour, keep an eye on your dough, and don’t panic about a lumpy batter. You’ll be cranking out gorgeous loaves like it’s nothing. If you want even more great recipes, there’s a super helpful post on Gluten-Free Bread Machine Bread {Dairy-Free Option} – Mama … with some extra twists. For more recipe ideas, dive into classic everyday breads or stalk the tips from Lily Whisker. Seriously, just give it a shot and prepare for serious kitchen bragging rights.
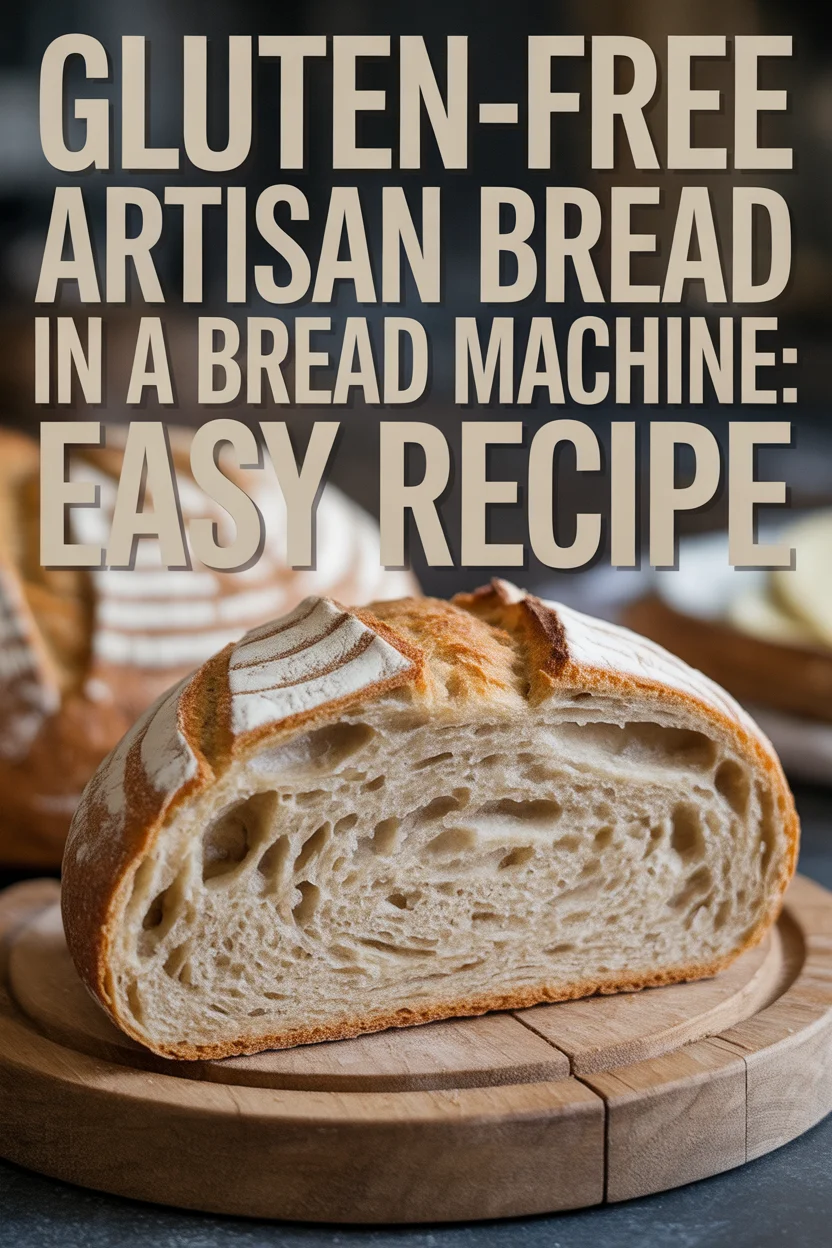
Gluten-Free Artisan Bread in a Bread Machine
“Create bakery-quality gluten-free artisan bread effortlessly with your bread machine! This recipe delivers a beautifully textured loaf with a golden crust and tender, airy crumb that rivals traditional wheat bread. Perfect for beginners who want consistent results, this hands-off approach takes the guesswork out of gluten-free baking while producing a versatile bread that’s ideal for sandwiches, toast, or simply enjoying fresh from the machine.
- Total Time: 105
- Yield: 1 loaf
Ingredients
- 2 cups gluten-free flour blend (1:1 all-purpose with xanthan gum)
- 1 packet instant or active dry gluten-free yeast
- 2 eggs (or 2 chia/flax eggs)
- 1 cup milk or dairy-free milk (such as almond or oat milk)
- 2 tablespoons olive oil (or butter)
- 2 tablespoons honey or sugar
- 1 teaspoon salt
- 1 tablespoon apple cider vinegar
Instructions
- Whisk the wet ingredients (milk, eggs, oil, vinegar) in a bowl.
- Dump the dry ingredients (flour blend, sugar, yeast, salt) into the bread machine pan.
- Pour the wet mix over the top of the dry ingredients without stirring.
- Start the machine on the basic or gluten-free cycle.
- After a few minutes, scrape down any mixture that looks odd.
- Once done, let the bread cool in the pan for ten minutes before slicing.
Notes
Ensure use of room temperature ingredients for best results. Allow the bread to cool completely before slicing.
- Prep Time: 15
- Cook Time: 90
- Category: Bread
- Method: Baking
- Cuisine: American
- Diet: Gluten-Free
My bread machine manual says to apply wet first and then dry ingredients. Should I do it this way or follow the instructions?
Hi Chloe! Excellent question about the wet vs. dry order! For gluten-free bread in a bread machine, I actually recommend following your machine’s manual instructions. Most modern bread machines are designed with the wet-first method to prevent the yeast from activating too early, but some older models work better with dry-first.
That said, if your manual says wet first, definitely stick with that! The logic is that it keeps the yeast separated from the liquid until mixing begins, which gives you better control over fermentation timing. Try it the manual’s way first, and if you’re getting good results, no need to change! Let me know how your loaf turns out! 🍞
What is your machine doesn’t have a gluten free mode
Hey April!
hmm that’s frustrating! most newer bread machines do have a gluten-free setting these days. what brand/model do you have?
here’s what you can do:
check your manual – sometimes it’s labeled as “quick bread” or “cake” mode instead of “gluten-free”
if your machine truly doesn’t have it, you can use the “dough” setting and then bake it in your regular oven
or honestly just mix by hand and bake in the oven – the machine just makes it easier but isn’t 100% necessary
let me know your model and i can help troubleshoot! 😊