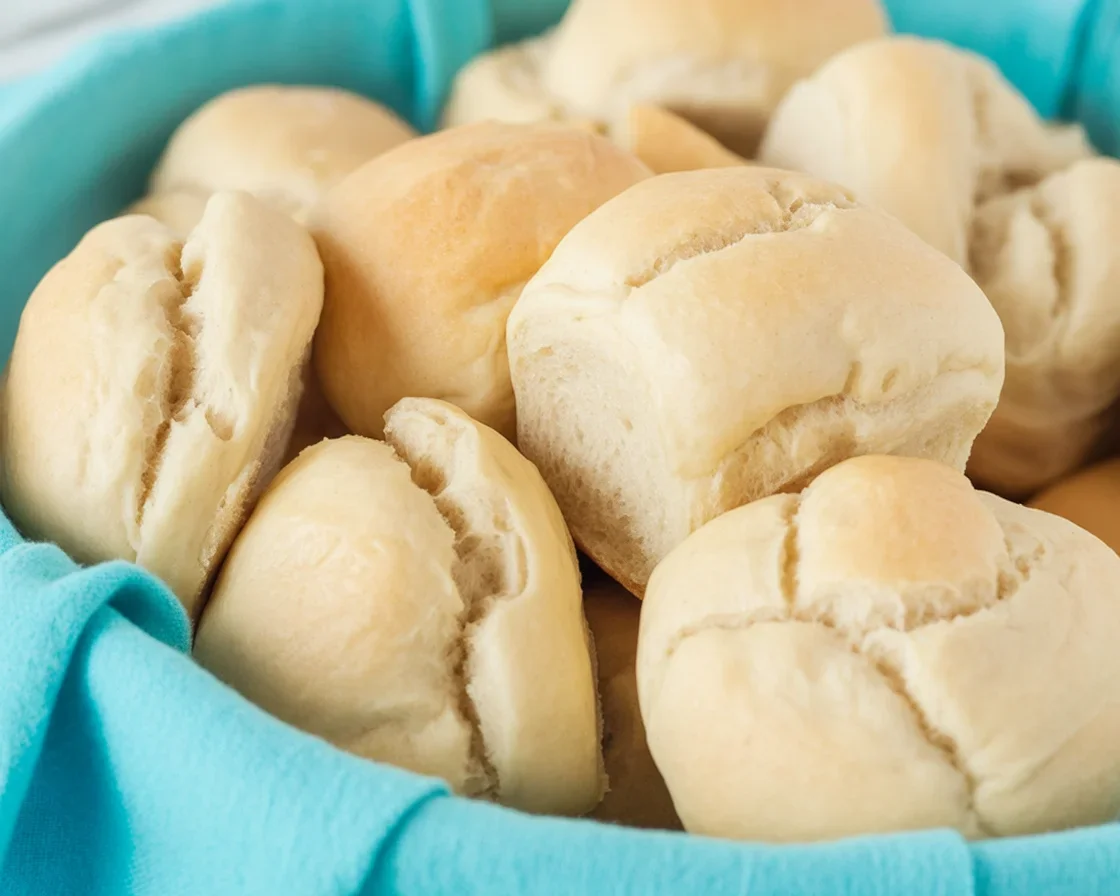
After multiple attempts where my gluten-free rolls turned out tough and dry, I realized that mastering hydration was the game changer. If you’ve struggled with crumbly rolls that fall apart or felt the frustration of dense, disappointing bread, you’re not alone—and there’s hope for soft, moist rolls ahead.
The difference between sad, crumbly rolls and pillowy-soft dinner rolls isn’t magic—it’s understanding hydration principles that transform your baking. Dryness remains the top complaint about gluten-free dinner rolls, but with the right techniques, you can create consistently moist, tender, and delicious results every time.
This guide reveals the moisture-retention methods that ensure your gluten-free rolls stay soft and flavorful. We’ll explore flour science, precision techniques, environmental adjustments, and troubleshooting strategies that prevent dryness before it starts.
Understanding Gluten-Free Dough Hydration Science
Why Gluten-Free Requires a Different Approach
Understanding hydration is at the heart of conquering dry rolls. It requires balancing flour and liquid perfectly—gluten-free flours absorb significantly more water than wheat flours due to the absence of gluten’s natural moisture-binding network.
Picture your dough as thick cake batter rather than firm wheat dough. This wet consistency traps moisture that protects your rolls during baking, creating the tender texture you’re after.
The Science Behind the Difference:
While traditional wheat flour recipes typically use 60-65% hydration, gluten-free flours need 80-90% hydration to achieve proper texture. This isn’t a minor adjustment—it’s a fundamental shift that explains why conventional hydration approaches fail.
Formula: (Liquid weight ÷ Flour weight) × 100 = Hydration percentage
Without gluten’s protein network to retain moisture, these alternative flours drink up liquid more aggressively and require extra hydration to prevent the final product from becoming dry and crumbly. The extended hydration period allows starches to fully gelatinize, creating the network that replaces gluten’s binding properties.
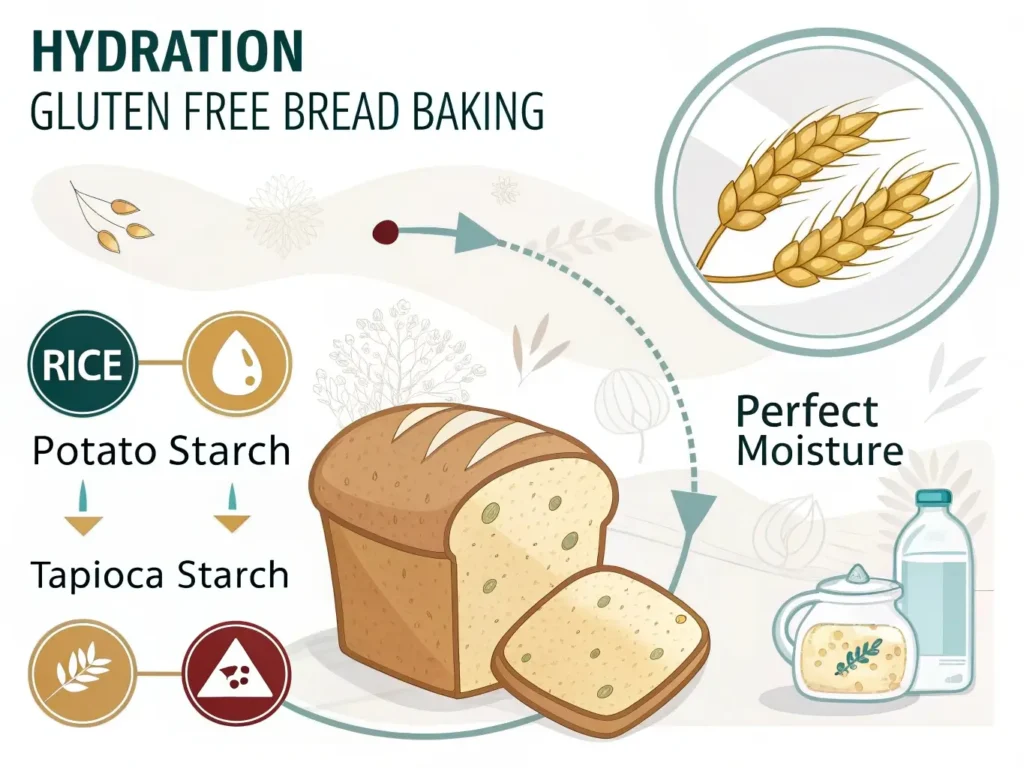
How Individual Flours Behave with Water
Every flour absorbs water uniquely, which directly impacts your final results. For comprehensive guidance on selecting and combining different gluten-free flours for optimal hydration results, explore our detailed gluten-free flour blend guide.
Rice Flours (Both White and Brown):
- Exceptional absorption capacity requiring generous liquid amounts
- Creates structure but becomes chalky when under-hydrated
- Brown rice flour needs slightly more liquid due to fiber content
Potato Starch:
- Functions like a moisture sponge, holding water effectively
- Prevents grittiness and creates tender, soft crumb
- Essential for long-lasting moisture retention
Tapioca Starch:
- Rapid water absorption during mixing
- Provides elasticity and chewiness in final product
- Works synergistically with other starches for optimal results
Understanding these absorption patterns explains why precision measuring matters and why traditional wheat flour techniques don’t translate to gluten-free success.
Binding Agents as Moisture Insurance
These ingredients aren’t just about structure—they’re your primary defense against dryness:
Xanthan Gum:
- Forms a resilient gel that captures water molecules
- Creates a network mimicking gluten’s moisture-holding properties
- Sweet spot: 1 teaspoon per cup of flour blend
Psyllium Husk:
- Develops gel-like structure when combined with liquid
- Superior moisture retention compared to other binders
- Can be used alone or combined with xanthan gum
- Recommended: 1-2 teaspoons per cup of flour blend
The key insight: these binding agents need adequate water to function properly. Insufficient hydration prevents them from creating the moisture-trapping network essential for soft rolls.
Precision Measuring for Consistent Results
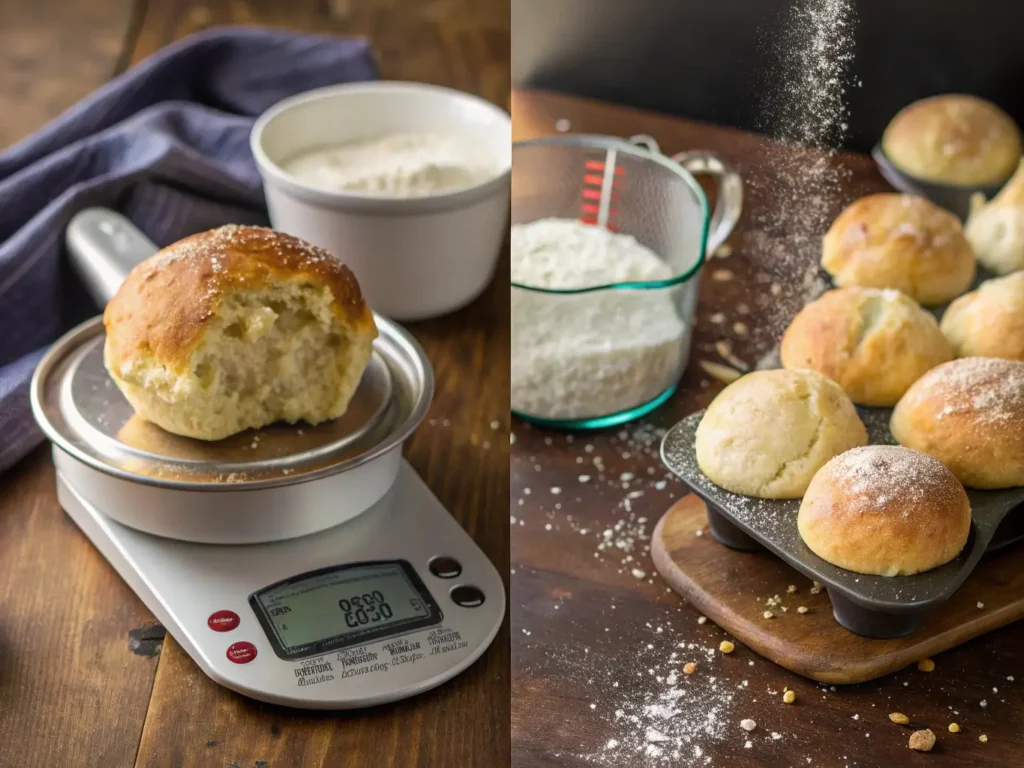
Why Weight Measurement is Non-Negotiable
Precision is key when measuring your ingredients. Using a digital scale eliminates the guesswork of volume measurement errors, which frequently result in inconsistent hydration and dry, dense bakes.
A “cup” of gluten-free flour can vary by up to 30% depending on scooping method, flour moisture content, and environmental conditions. This variation alone can doom your rolls to dryness.
Real-World Impact:
If your recipe calls for 3 cups flour at 120g per cup (360g total), but you accidentally measure 150g per cup (450g total), you’ve added 90g extra flour without proportional liquid. Result: guaranteed dry rolls.
Weight vs. Volume Reality:
- 1 cup rice flour (properly measured): 120-130g
- 1 cup rice flour (scooped): 140-160g
- 1 cup rice flour (packed): 170-180g
Preventing Common Measuring Errors
The Scoop-and-Pack Trap:
Never scoop flour directly with your measuring cup. This compacts the flour, increasing the amount by 20-40%. Instead, fluff flour with a spoon, gently spoon into measuring cup, and level with a straight edge.
Temperature Considerations:
Cold ingredients don’t absorb liquid properly during mixing. Eggs, milk, and water should be room temperature (70-75°F) for optimal hydration. Cold ingredients can mislead you into thinking dough needs more flour when it actually needs proper absorption time.
Flour Blend Variations:
Store-bought blends vary significantly in absorption rates. Each brand behaves differently, so always start with recipe hydration levels, then adjust based on your specific blend’s performance.
Mastering Dough Consistency and Texture
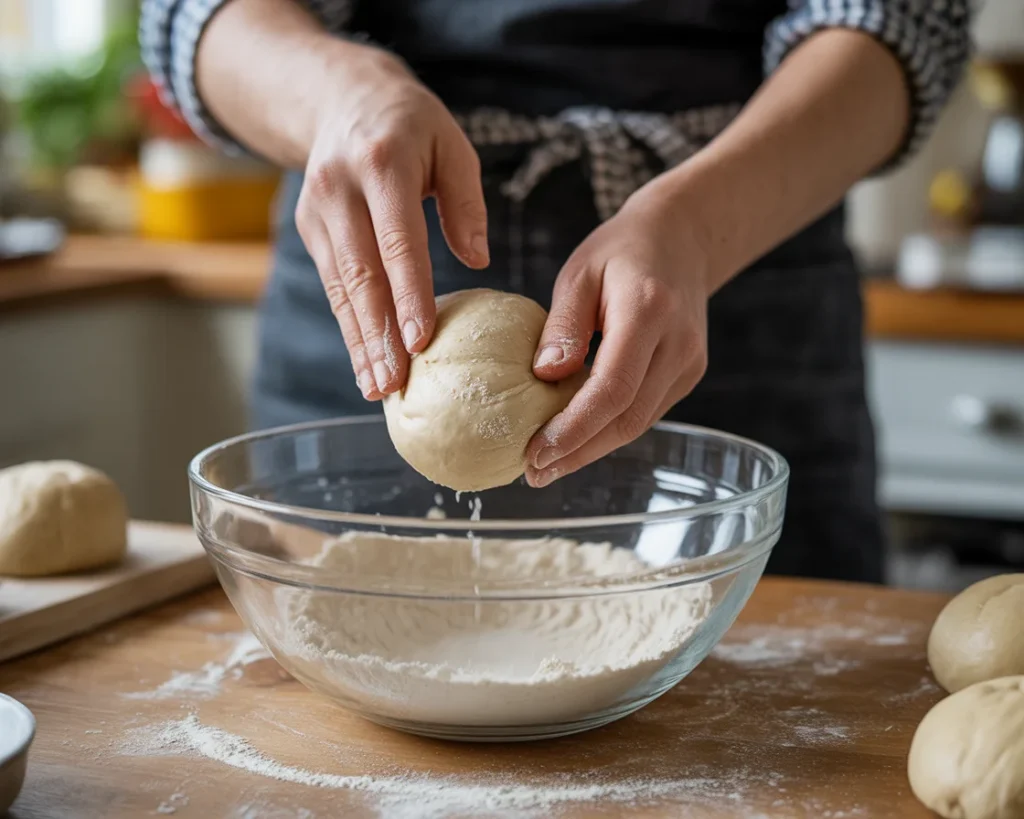
Reading Your Dough Correctly
Forget wheat dough expectations—gluten-free dough should look and feel completely different. Ideal gluten-free dough resembles thick brownie batter—wet but cohesive and bouncy to touch.
Perfect Consistency Indicators:
- Pourable but maintains shape briefly when dropped from spoon
- Slightly sticky but manageable with wet hands
- Coats mixing bowl sides without being runny
- Springs back gently when poked
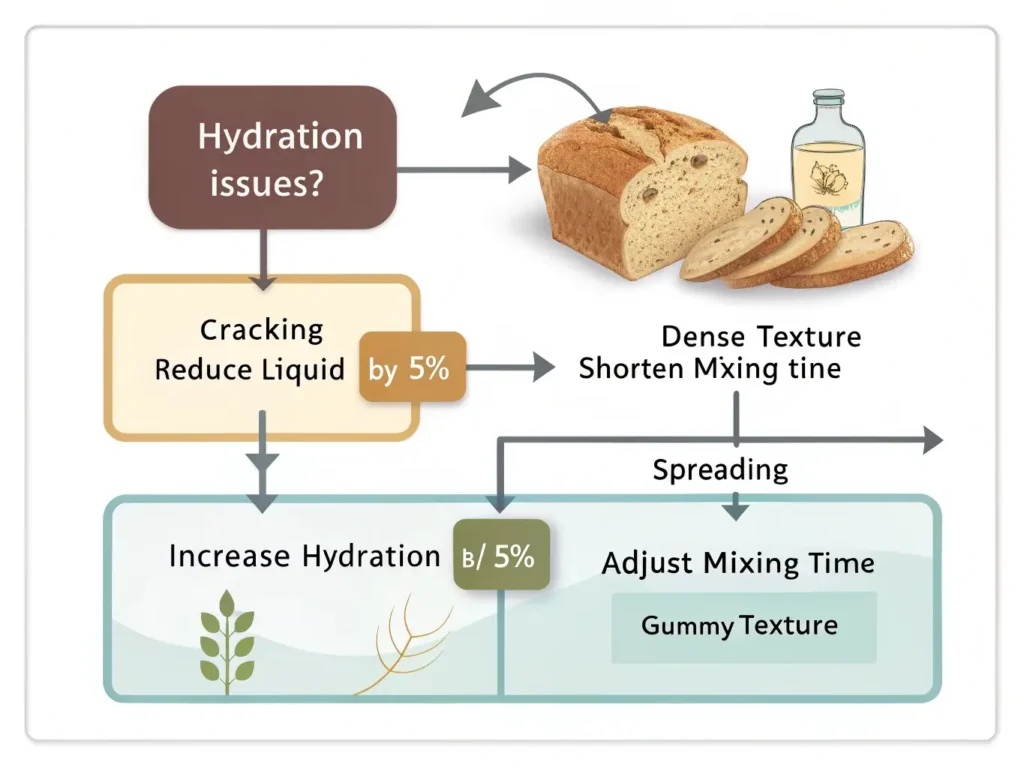
Warning Signs:
- Cracking on surface or excessive stickiness indicate hydration problems
- Stiff, bread-like consistency means insufficient liquid
- Soup-like texture requires flour additions
Strategic Liquid Adjustments
Add More Liquid When:
- Dough feels tight and resistant during mixing
- Surface cracks appear during first rise
- Mixture looks dry or granular after thorough mixing
- Shaped rolls don’t double during proofing
Add More Flour When:
- Dough spreads excessively on baking sheet
- Mixture won’t hold any shape
- Rolls lose form during second rise
Progressive Adjustment Method:
- Start with recipe’s liquid amount
- Mix 2-3 minutes allowing flour hydration
- Assess texture—add liquid 1 tablespoon at a time
- Mix 30 seconds between additions
- Stop at thick brownie batter consistency
Temperature’s Role in Hydration Success
Warm liquids (100-110°F) enhance absorption and ingredient activation significantly.
Why Temperature Matters:
- Dissolves binding agents more effectively
- Accelerates flour particle hydration
- Improves initial texture for better final results
- Enhances yeast activation when applicable
The 15-Minute Rest Technique:
After initial mixing, rest dough 15 minutes before final hydration adjustments. This allows complete flour absorption and often reveals whether additional liquid is needed.un.
Environmental Factors and Adaptations
High Altitude Considerations (3,000+ feet)
Lower air pressure creates unique moisture challenges:
Required Adjustments:
- Increase liquid by 2-4 tablespoons per 3 cups flour
- Reduce yeast by 25% preventing over-rising
- Bake at 375°F instead of 400°F preventing over-drying
Scientific Explanation:
- Faster moisture evaporation due to lower pressure
- Liquids boil at lower temperatures creating more steam
- Accelerated rise times can outpace proper hydration
Humidity and Seasonal Changes
High Humidity Days (>70%):
- Flour absorbs atmospheric moisture
- Reduce initial liquid by 1-2 tablespoons
- Monitor for overly sticky dough
Low Humidity Days (<30%):
- Flour becomes drier and more absorbent
- Increase liquid by 1-2 tablespoons
- Cover rising dough with damp towel
Seasonal Patterns:
- Winter heating creates dry conditions requiring extra liquid
- Summer humidity may necessitate liquid reduction
- Air conditioning can create unexpectedly dry conditions
Advanced Hydration Techniques
The Autolyse Method
The autolyse technique—resting flour and water before adding binders and yeast—promotes full hydration and superior texture with less mixing. For bakers ready to explore professional techniques, our comprehensive artisan gluten-free bread guide covers advanced methods like this in detail.
Process:
- Mix flour blend with 80% of total liquid
- Stir until no dry flour remains
- Cover and rest 20-30 minutes at room temperature
- Add remaining ingredients and continue with recipe
Benefits:
- Complete flour hydration before binding agents activate
- Reduced mixing time preventing over-development
- More consistent moisture throughout dough
- Improved final texture and reduced crumbling
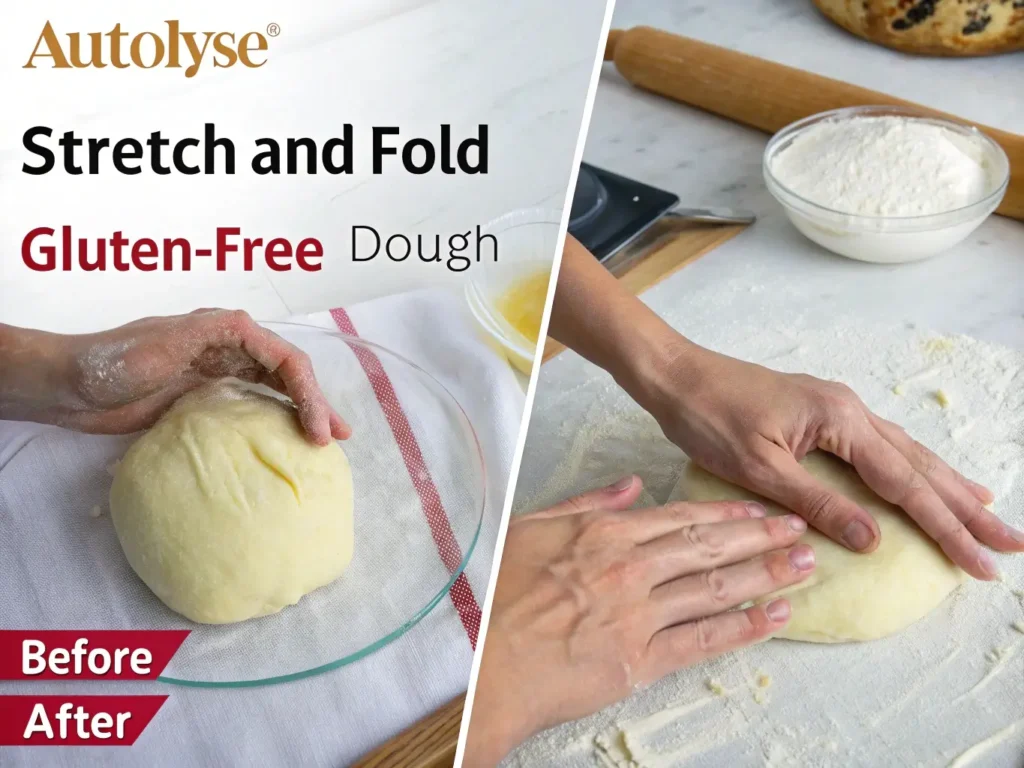
Stretch and Fold for High-Hydration Doughs
When working with 90%+ hydration doughs, this technique manages wet consistency while building structure:
Method:
- After initial mixing, rest dough 30 minutes
- With wet hands, stretch one side upward and fold over
- Rotate bowl 90 degrees and repeat
- Complete 4 folds, rest 30 minutes
- Repeat 2-3 times during bulk fermentation
This builds structure without adding flour and allows higher hydration levels for exceptionally moist results.
Troubleshooting Hydration Problems
Diagnosing and Fixing Issues
Dense, Heavy Results:
- Cause: Too much flour or inactive yeast
- Fix: Add warm liquid gradually, test yeast freshness
- Prevention: Weigh flour, check yeast expiration dates
Crumbly, Falls-Apart Texture:
- Cause: Insufficient binding or moisture
- Fix: Increase xanthan gum by ¼ teaspoon, add extra egg
- Long-term: Reformulate with higher-protein flours
Gummy, Sticky Consistency:
- Cause: Excessive binding agents or underbaking
- Fix: Reduce binders by 25%, bake until 200-205°F internal temperature
- Prevention: Use thermometer for accuracy
Overbaking Prevention
Always use an instant-read thermometer for baking precision. Following USDA baking guidelines, target an internal temperature of 190-200°F to preserve moisture and achieve perfect crumb.
Overbaking Signs:
- Hard, crusty exterior with dry interior
- Very dark bottom coloring
- Tough texture despite proper hydration
Immediate Fixes:
Store with fresh bread slice to restore some moisture
Brush with melted butter immediately after baking
Wrap in damp paper towel briefly if severely overbaked
Your Hydration Mastery Action Plan
Implementation Strategy
This Week:
- Invest in digital kitchen scale for measurement accuracy
- Practice recognizing ideal dough consistency
- Document successful hydration levels with your flour blend
Next Month:
- Master the autolyse method for improved texture
- Experiment with different liquid types and temperatures
- Develop environmental adjustment patterns
Ongoing Excellence:
- Maintain detailed baking journal tracking results
- Build troubleshooting skills through practice
- Share knowledge to reinforce your understanding
For those new to gluten-free baking, start with our gluten-free bread recipes for beginners to build foundational skills before tackling advanced hydration techniques. If you prefer the convenience of automated mixing, explore our guide to gluten-free bread in bread machines for consistent hydration results.
Key Success Principles
✓ Hydration Formula: Gluten-free doughs require 80-90% hydration vs. wheat’s 60-65%
✓ Measurement Accuracy: Weight-based measuring prevents 90% of hydration issues
✓ Environmental Awareness: Adjust for altitude, humidity, and seasonal changes
✓ Process Patience: Proper hydration develops over time—don’t rush
✓ Trust Science: Wet-looking dough is normal and necessary for moist results
Perfect hydration transforms gluten-free baking from frustrating guesswork into reliable success. With these techniques, you’ll consistently create soft, bakery-quality rolls that everyone enjoys—proving that gluten-free doesn’t mean compromising on texture or taste.
Every successful batch builds your intuitive understanding of proper hydration, making consistently moist, delicious gluten-free rolls achievable for any home baker willing to master these principles. For those with celiac disease or gluten sensitivity, according to the Celiac Disease Foundation, mastering these techniques becomes essential for maintaining both health and quality of life through delicious, safe bread options.
Once you’ve perfected your rolls, proper storage becomes crucial. Learn the best techniques for storing gluten-free bread to maintain that perfect texture you’ve worked so hard to achieve.
Common Questions
If the dough is stickier than classic bread but holds its shape? That’s the winner! Too thick, add a splash more liquid. Too runny, it won’t stand up—add a spoonful of flour.
Most gluten-free bread recipes require 80–100% hydration by weight, depending on the flour blend. This means you’ll often use as much (or more) liquid than flour by weight, compared to only 60–65% for wheat bread.
Probably too little liquid, not enough binding, or maybe over-baking. Next time, toss in a bit more egg or an extra spoonful of oil.
Yes. Too much water can make loaves collapse or remain gummy after baking, especially if structure-building agents or starches are insufficient. Aim for a wet yet cohesive batter and monitor baking times
Cover the bowl with plastic wrap or a damp towel. Drafty air is the enemy of soft rolls!
Always measure both flour and liquids by weight for consistency. Volume measurements can fluctuate by up to 30%, leading to dry or inconsistent results.
High humidity means flour absorbs moisture from the air, so slightly reduce added liquid. At high altitude, lower air pressure increases evaporation—add more liquid and adjust rising/baking times as needed.
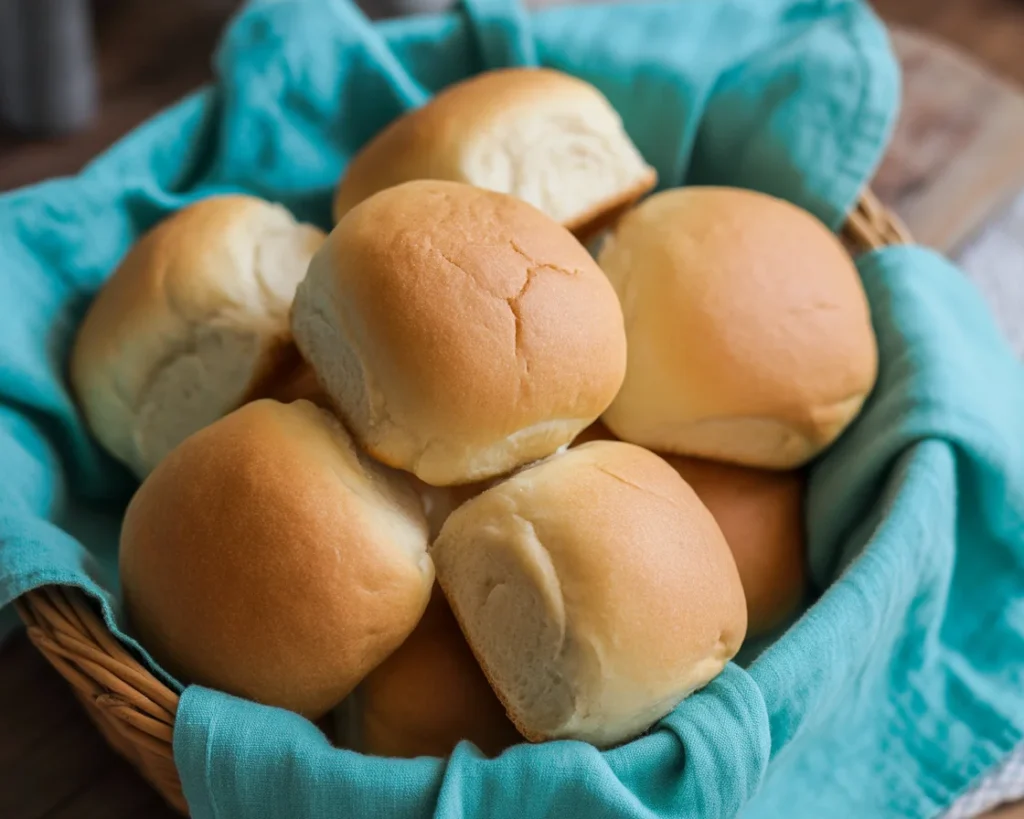
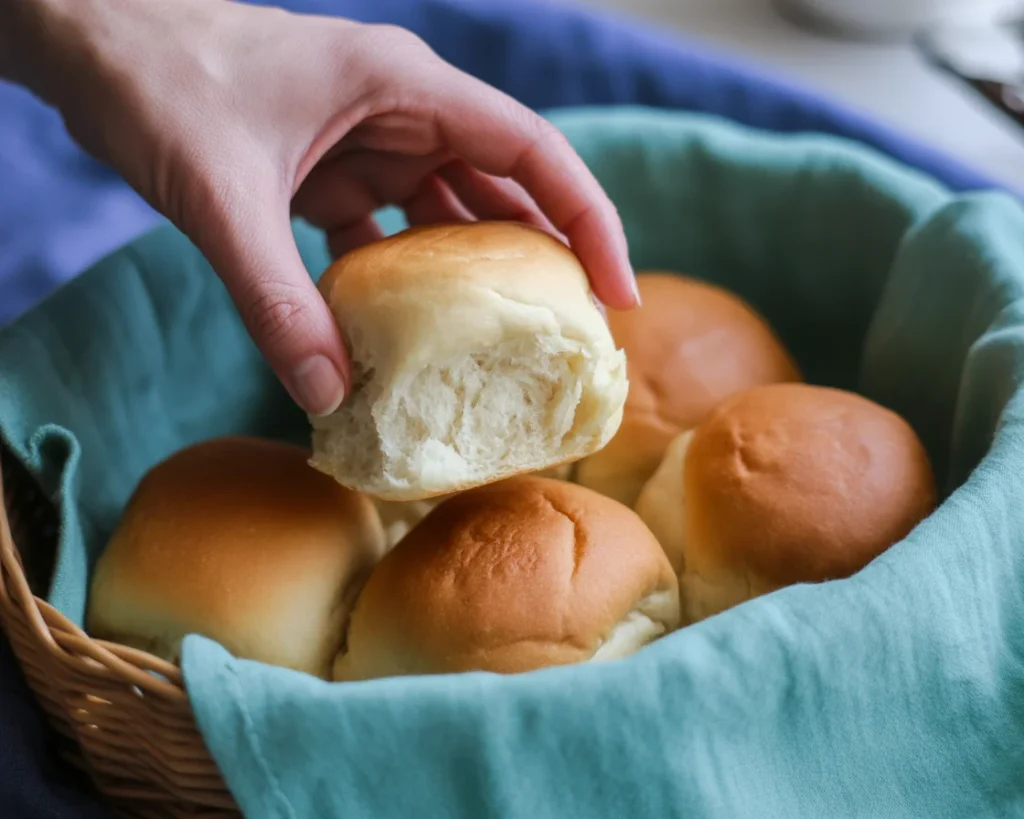
Mastering Gluten-Free Dinner Rolls
Learn how to create soft and moist gluten-free dinner rolls by mastering hydration techniques and understanding flour science.
- Total Time: 40 minutes
- Yield: 12 servings
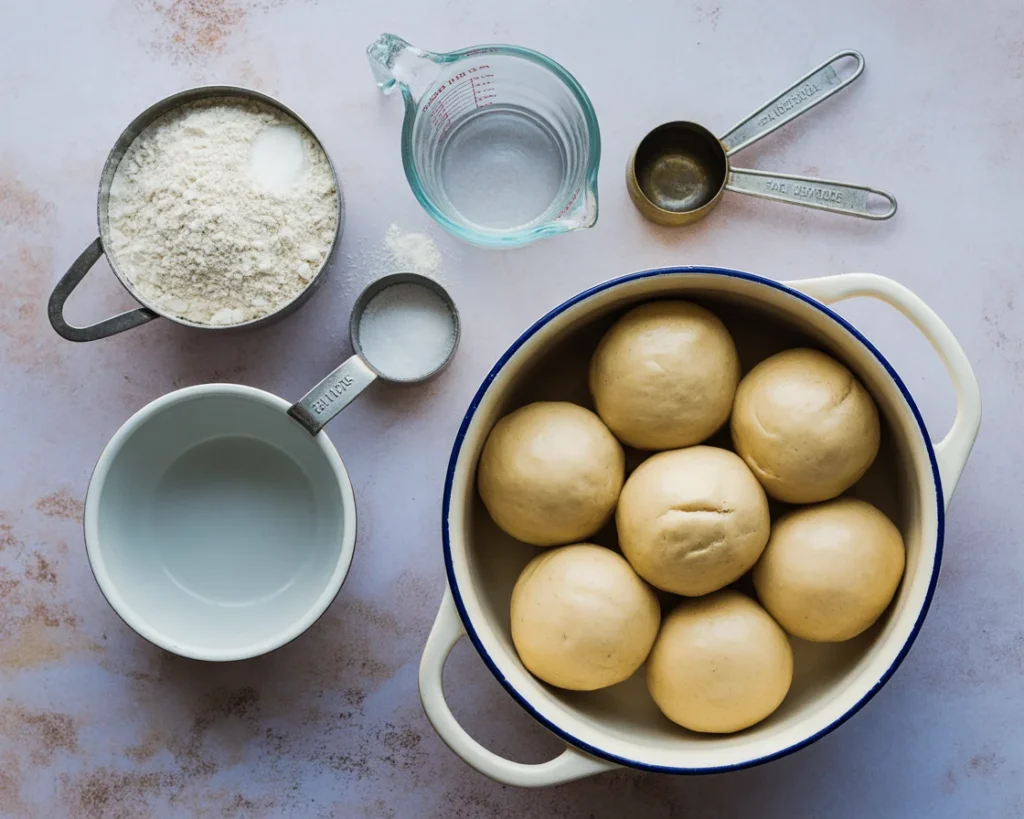
Ingredients
- Gluten-free flour blend (varying types)
- Xanthan gum
- Psyllium husk
- Water (room temperature)
- Yeast
- Salt
- Butter or oil (optional)
- Eggs (optional for richness)
Instructions
- Combine gluten-free flour blend with xanthan gum and psyllium husk in a bowl.
- Add warm water and yeast, stirring until no dry flour remains.
- Let the dough rest for 15 minutes to allow flour absorption.
- Incorporate salt and any additional ingredients (like eggs) and mix until achieved dough consistency.
- Shape the dough into rolls and place on a baking sheet.
- Allow the rolls to rise until doubled in size, about 30-60 minutes.
- Bake at 375°F until golden brown, approximately 20-25 minutes.
Notes
Ensure precise measurement of ingredients by weight to avoid dryness. The dough should be sticky yet cohesive. Use a thermometer to check for doneness.
- Prep Time: 15 minutes
- Cook Time: 25 minutes
- Category: Bread
- Method: Baking
- Cuisine: Gluten-Free
- Diet: Gluten-Free
Nutrition
- Serving Size: 1 roll
- Calories: 180
- Sugar: 1g
- Sodium: 200mg
- Fat: 7g
- Saturated Fat: 2g
- Unsaturated Fat: 3g
- Trans Fat: 0g
- Carbohydrates: 27g
- Fiber: 3g
- Protein: 5g
- Cholesterol: 30mg