
Ever stood in front of a bakery window, drooling over that perfect loaf of sourdough, knowing you can’t eat it because gluten is your arch-nemesis? Trust me, I get the struggle. How to Make a Gluten-Free Sourdough Starter is hands-down the top question my readers (and, let’s be real, my gluten-free neighbor Joan) throw my way. If you want to make real-deal, bakery-style bread at home but can’t use the regular stuff, you’re in the right place. In fact, before you dive in, you might want to explore my Art of Artisan Gluten-Free Bread guide—it’s packed with tips for turning dense, disappointing loaves into bakery-quality showstoppers. You might also want to check out these easy gluten-free bread recipes for some mind-blowing ideas before you get started.
What is gluten-free sourdough starter?
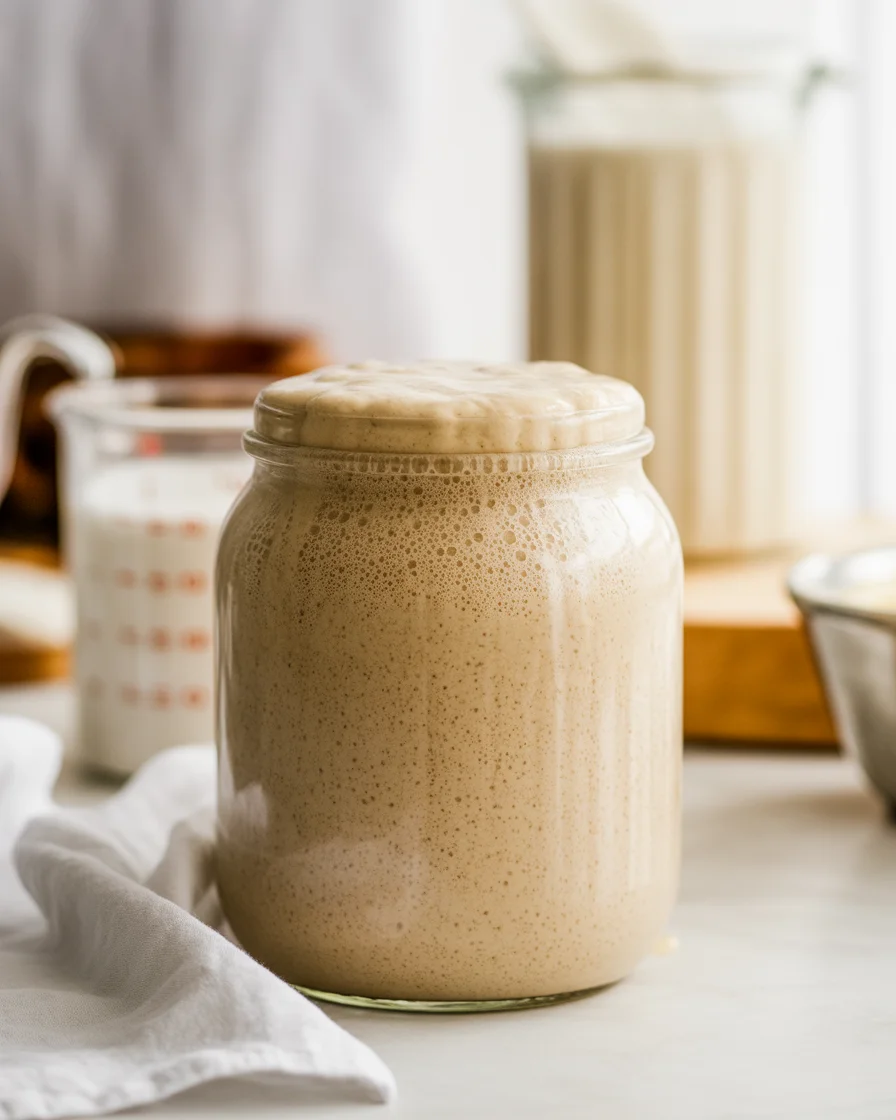
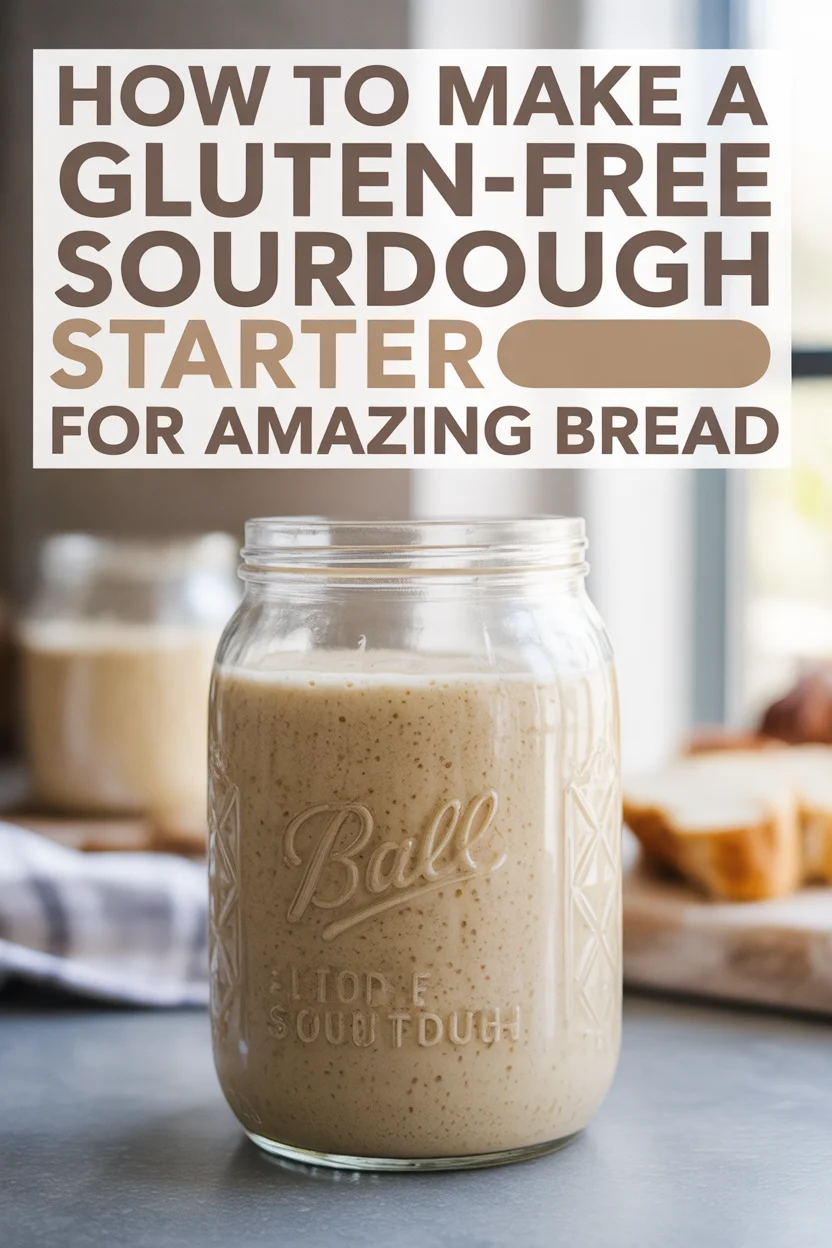
Okay, here’s the quick version. Traditional sourdough starters use regular flour—think wheat, barley, the works. Gluten-free sourdough starter flips the script by using flours that won’t make your belly angry, like brown rice or sorghum. It’s like a tiny, bubbly ecosystem living in a jar on your counter.
Instead of yeast from a packet, you’re harnessing wild yeast that’s hanging out in your kitchen air—yes, it’s kinda magical. Over a few days, this mix starts to bubble and fizz. That’s your wild yeast and good bacteria getting to work, creating all that tangy flavor (side note: it’s the best bread flavor ever, no lie). Your gluten-free sourdough starter acts as the “engine” that rises and flavors your bread, all without gluten.
Let’s be honest, it doesn’t always look or smell beautiful while it’s getting going; there’s an awkward teenage phase. But hang in there. Next thing you know, you’re pulling off fancy, crusty bread that’s safe for everyone at the table.
Honestly, I never thought homemade gluten-free sourdough could taste this close to the real thing. I got asked for my “bakery” address twice. — Brian P.
Tips for making a gluten-free sourdough starter
So, wanna make your own? Couple things to know before you go on this adventure: patience is your new best friend. Seriously, don’t rush; weird things happen if you rush (bubbling over, weird smells, just trust me). Pick a flour blend you like. I’m wild about sorghum and brown rice for a light flavor, but some folks swear by millet or a mix. For more guidance on choosing the right flour combinations and ratios, check out this comprehensive guide to gluten-free flour blends that covers everything from texture to flavor profiles.
Do yourself a favor and use filtered or spring water because chlorinated tap water can halt the good stuff from growing. Who knew?
Oh, and the temperature in your kitchen matters more than you’d think. My first gluten-free sourdough starter nearly passed out on me during a cold snap—so wrap it in a kitchen towel if your house is chilly. Feed it at the same time every day, like a (low-maintenance) pet. By day three or four, it’ll likely smell, um, funky. Totally normal. Mine usually smells a bit like apples on day four (but sometimes it’s just… odd).
If you see pink or orange streaks, though, that means something went sideways. Toss it and start over. Nobody wants orange starter. Science is cool until it’s not.
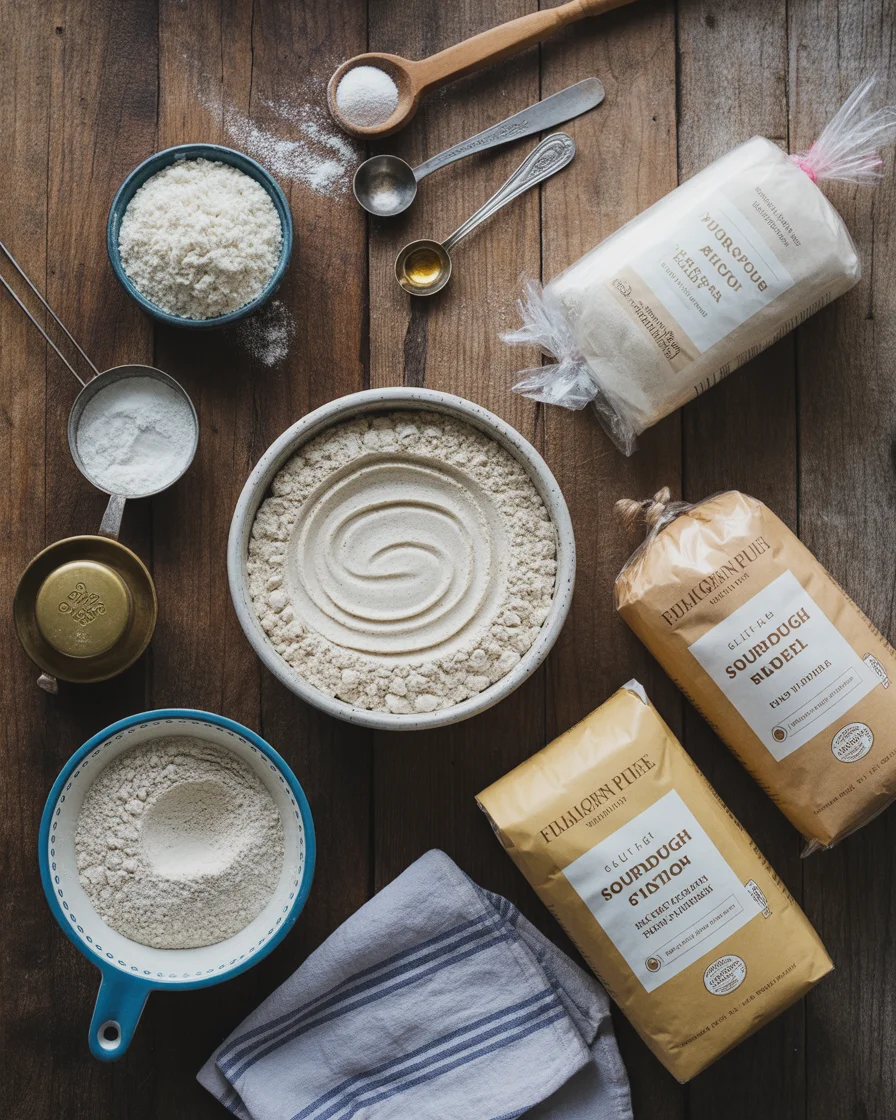
Ingredients & supplies for your gluten-free sourdough starter
- 1 cup gluten-free flour (brown rice flour or sorghum is my pick, but millet works too)
- 1 cup filtered or spring water (not straight from the tap)
- A glass jar (quart-sized mason jar is fab)
- A spoon for stirring (not metal, just to be cautious)
- A loose lid or a kitchen towel (secure with a rubber band)
Easy, right? You just need these basics and you’re in business. Seriously, don’t overcomplicate it. Some folks get all fancy, but honestly, these basics never let me down.
How to maintain your gluten-free sourdough starter
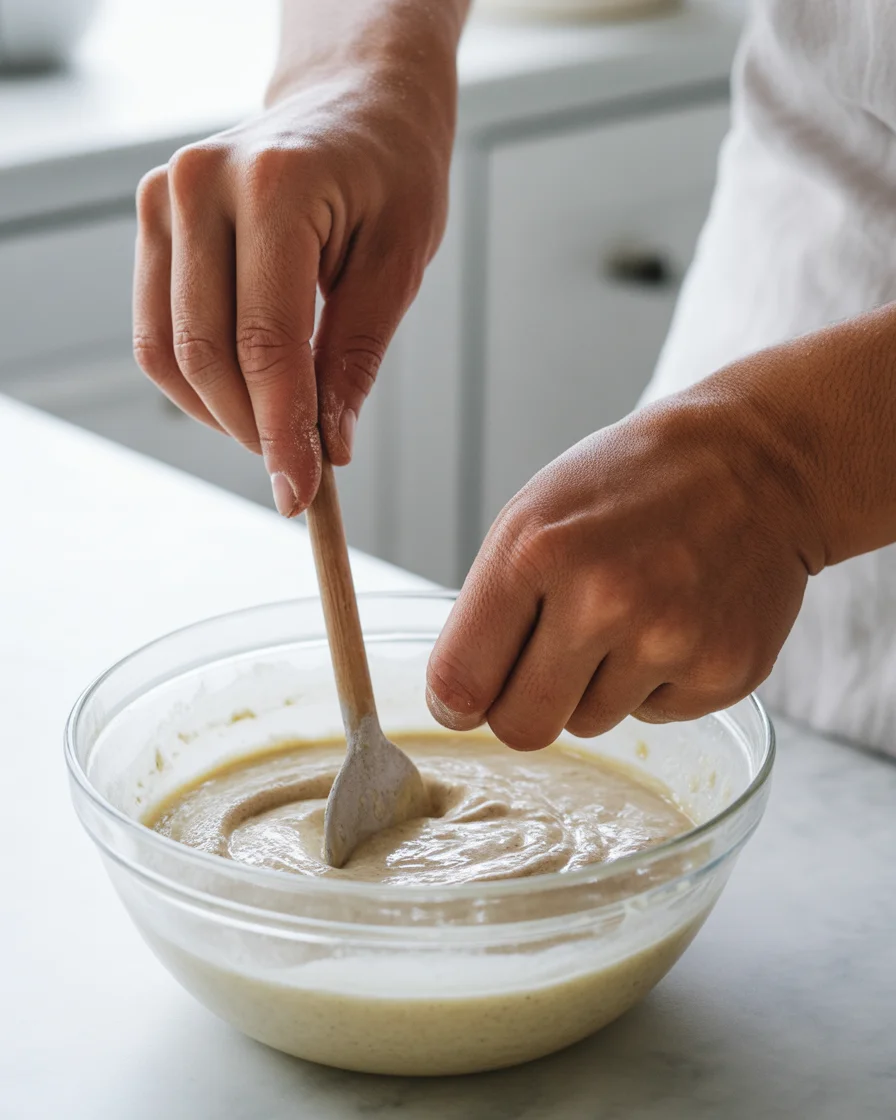
Maintenance. Not exactly thrilling, but let’s make it painless, shall we? Every day around the same time, remove roughly half your starter and toss it (or use it for pancakes—my not-so-secret move). Add 1/2 cup of gluten-free flour and 1/2 cup filtered water. Mix, scrape down the sides, cover it back up, and let it do its thing until tomorrow.
Don’t stress if you forget a day once in a while. Restarting is simple; just feed it again as soon as you remember. If weird liquid shows up on top (hooch, as the old timers call it), just stir it in or pour it off. No biggie. If you’re baking less often, stash your gluten-free sourdough starter in the fridge and feed it once a week. It’ll nap happily.
Here’s a page on the best baking basics & techniques if you want to dive deeper into gluten-free baking care—trust me, a few tricks make life easier.
When is the starter ready?
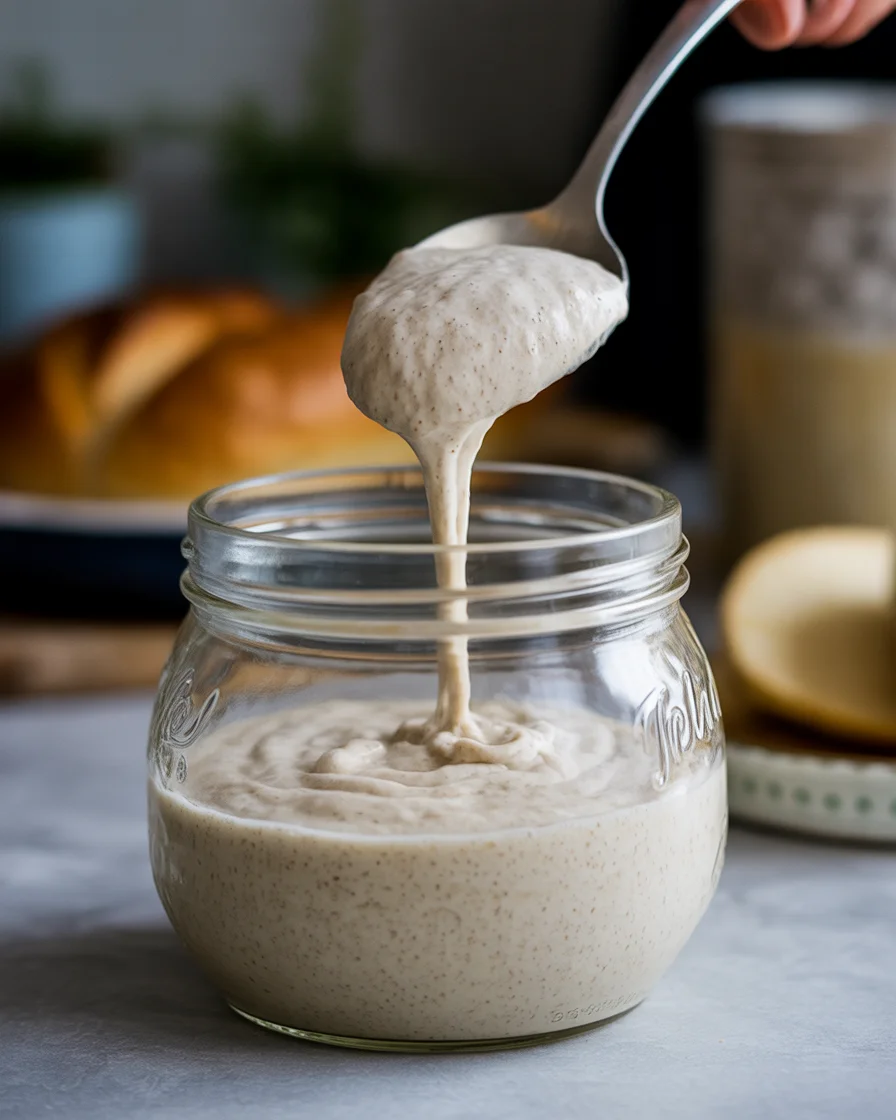
Here’s the big question—when is your gluten-free sourdough starter officially “done”? Honestly, there’s no exact science (I wish!). If your starter doubles in size about four hours after a feed, and smells tangy but clean (a bit like yogurt, or sometimes fruity), it’s go time. You should notice happy bubbles on top and throughout when you stir it. If you drop a spoonful into a glass of water and it floats, that means it’s loaded with gas, so you’re clear to bake! (Heads up, this isn’t fail-proof, but it’s a nice hint.)
If you’re not seeing this by day 7, hang in there—it might just need a couple more days to build muscle. Humidity, flour blend, and even the mood of your starter (not kidding—mine seems grumpy after a cold front) all play a part.
| Gluten-Free Starter SignsWhat to Expect | |
| Lots of bubbles | Starter is active |
| Tangy, fruity aroma | Healthy fermentation |
| Doubling in size | Strong yeast activity |
| No colored streaks | Safe for baking |
| Starter Maintenance Schedule Action | |
| Day 1 | Combine 1 cup gluten-free flour and 1 cup filtered water in a jar. Stir until smooth and cover loosely. |
| Day 2 | Check for bubbles, add 1 cup flour and 1 cup water. Stir and cover loosely. |
| Days 3-7 | Feed daily with 1/2 cup flour and 1/2 cup water. Monitor smell and bubbles. |
| Day 7 | Ready if doubled in size and smells tangy. If not, continue feeding. |
| Weekly | If not baking often, refrigerate and feed once a week. Bring back to room temp when ready to bake. |
Common Questions
Give it more time, warmth, and check your water. Cold, chlorinated water, or old flour = no bubbles.
Most work, but some are better than others. Stick to brown rice, sorghum, or a blend for the best flavor and action.
Use it for pancakes, waffles, or even crackers. I rarely toss mine (waste not, want not!).
Some funk is normal, but if it’s pink, orange, or really foul, just restart.
Give It a Whirl: You’ll Surprise Yourself
Honestly, once you crack the code on gluten-free sourdough starter, you’ll feel like you’ve got some kind of superpower. It’s just flour, water, time, and a bit of faith. I know—it sounds simple, but it really works. If you get stuck, check out resources like the Gluten Free Sourdough Starter from Farmhouse on Boone, or the detailed guide at How to Make a Gluten-Free Sourdough Starter on Bakerita for a deep dive, and here’s a totally approachable take via How to Make a Gluten-Free Sourdough Starter at Vanilla And Bean. You’ll never look at bread the same way again. Go on—your first loaf will beat anything from a store, scout’s honor.
Gluten-Free Sourdough Starter
- Total Time: 7 days (includes inactive fermentation time)
- Yield: 1 starter 1x
Ingredients
- 1 cup gluten-free flour (brown rice flour or sorghum recommended)
- 1 cup filtered or spring water
- A glass jar (quart-sized mason jar is ideal)
- A spoon for stirring (non-metal)
- A loose lid or a kitchen towel (secured with a rubber band)
Instructions
- Combine 1 cup gluten-free flour and 1 cup filtered water in a jar. Stir until smooth and cover loosely.
- On the second day, check for bubbles, then add 1 cup gluten-free flour and 1 cup filtered water. Stir and cover loosely.
- From days 3 to 7, feed daily with 1/2 cup gluten-free flour and 1/2 cup filtered water, monitoring smell and bubbles.
- By day 7, your starter is ready if it has doubled in size and smells tangy. If not, continue feeding until it is.
- If not baking often, refrigerate your sourdough starter and feed weekly. Bring it back to room temperature before baking.
Notes
Ensure to use filtered or spring water, as chlorinated water can impede starter development. Keep your starter in a warm area for best results.
- Prep Time: 10 minutes
- Cook Time: 0 minutes
- Category: Bread
- Method: Fermentation
- Cuisine: Gluten-Free
- Diet: Gluten-Free
Nutrition
- Serving Size: 1 starter
- Calories: 80
- Sugar: 0g
- Sodium: 1mg
- Fat: 0g
- Saturated Fat: 0g
- Unsaturated Fat: 0g
- Trans Fat: 0g
- Carbohydrates: 18g
- Fiber: 2g
- Protein: 3g
- Cholesterol: 0mg