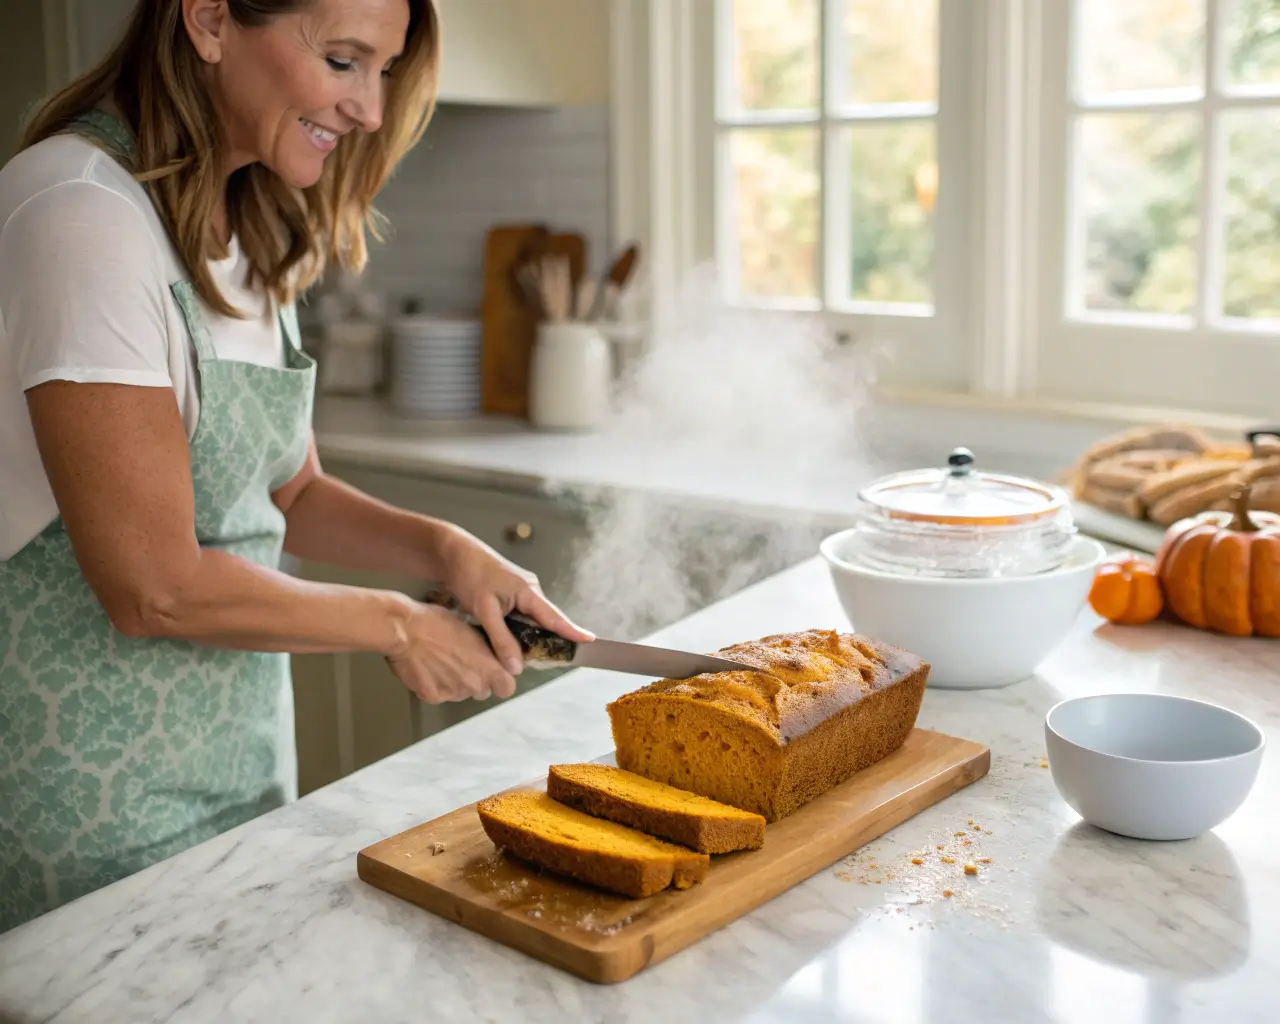
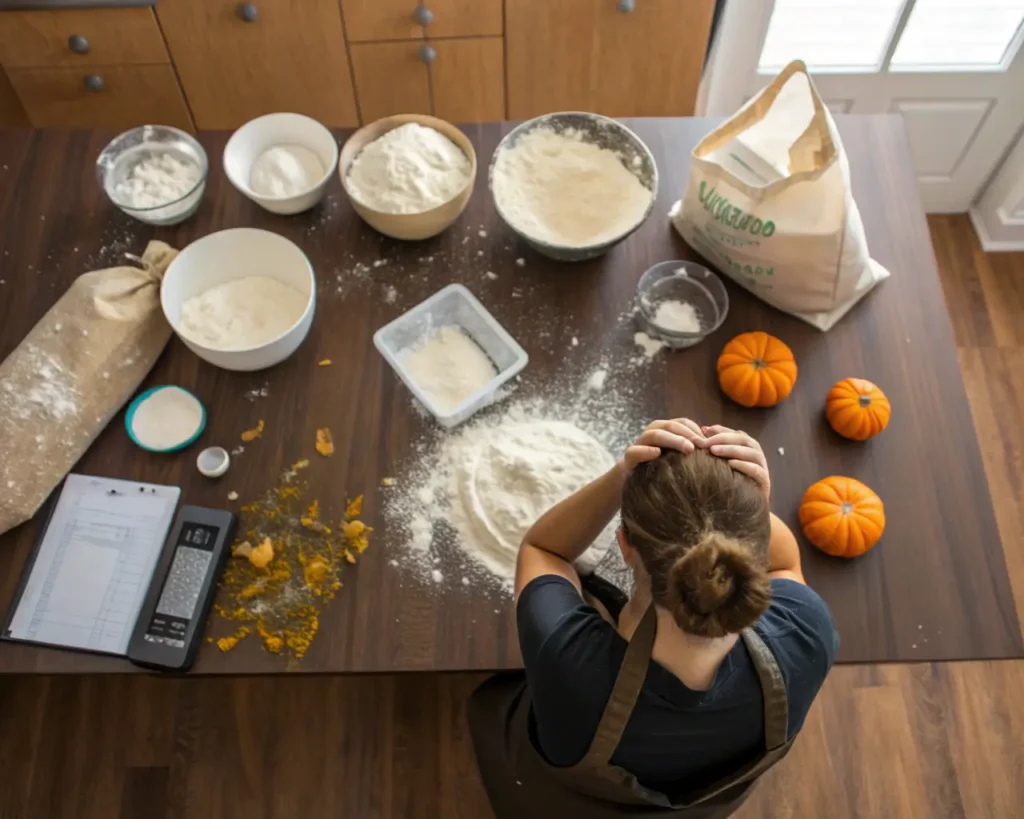
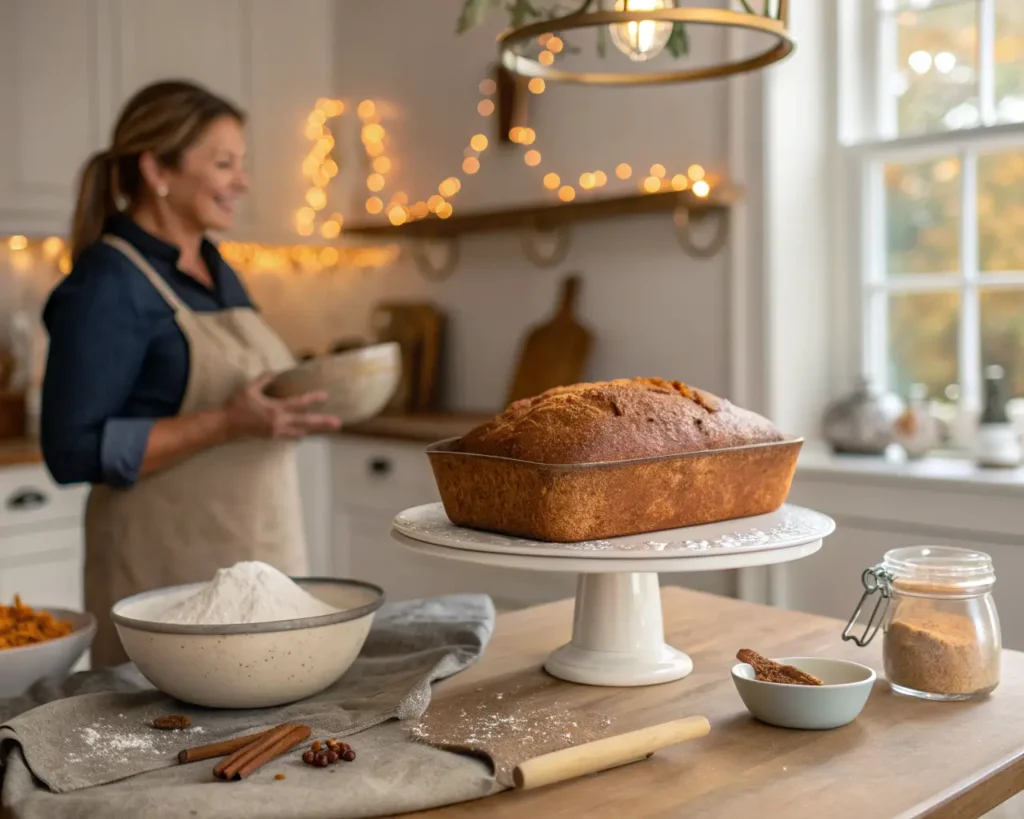
Oh honey, I see you there. Standing in your kitchen like a contestant on some twisted baking show nobody asked to be on, staring at what was supposed to be a gorgeous pumpkin bread but looks more like… well, let’s just say it’s not making it to Instagram. The counter’s a disaster zone — flour everywhere (why does gluten-free flour stick to EVERYTHING?), multiple mixing bowls telling the tragic story of attempt number… what are we on now, four? Five?
That knot in your stomach? Yeah, I know that feeling intimately. Like you’re failing at something that should be basic human instinct but somehow isn’t.
Listen — and I mean really listen — gluten-free Halloween bread isn’t failing you because you’re hopeless. Though it definitely feels that way when you’re scraping another dense brick into the trash while your neighbor’s house smells like cinnamon heaven and yours smells like… disappointment with notes of xanthan gum.
The thing is (and this took me embarrassingly long to figure out), gluten-free baking is like learning to drive a completely different car. You know how to drive, sure, but suddenly the brake pedal’s where the gas used to be and nothing responds the way you expect. It’s maddening. But it’s not you.
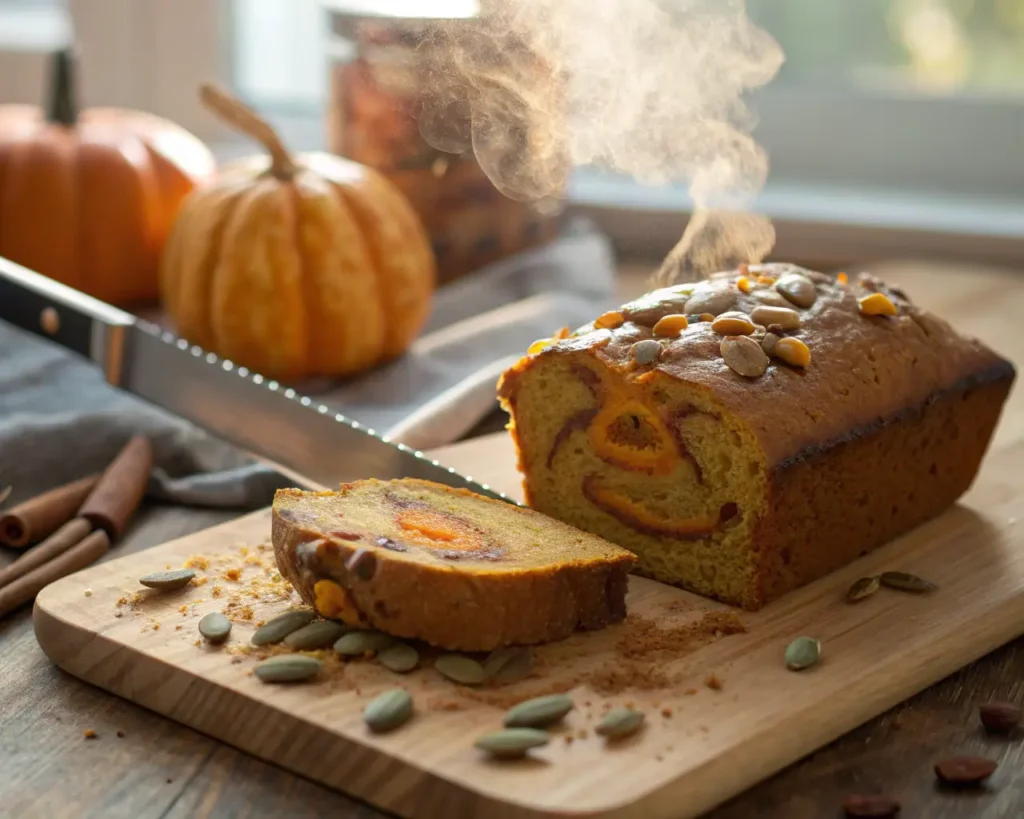
Halloween adds this extra layer of pressure, doesn’t it? Like we’re already dealing with ingredients that behave like moody teenagers, and now we need to make it festive too. Perfect orange color, just the right amount of spice, maybe some chocolate chips that don’t sink to the bottom like tiny delicious anchors…
Let me walk you through the chaos and show you where the clarity lives. Because it’s there, I promise.
The Great Flour Blend Catastrophe (Or: Why Everything Tastes Like Cardboard)
Here’s what nobody tells you when you first go gluten-free: that wall of flour options at the grocery store? It’s designed to make you feel overwhelmed. Seriously. Almond flour, coconut flour, rice flour, potato starch, tapioca… it’s like they’re speaking in tongues.
I spent probably $200 my first month just buying every single option, convinced I needed them all. Spoiler alert: I didn’t.
The brutal truth: Most of us are overthinking this to an absurd degree.
Pick ONE all-purpose blend. Just one. I know it feels like giving up or taking shortcuts, but trust me on this — master one blend completely before you even think about experimenting. King Arthur, Bob’s Red Mill, Cup4Cup… they all work fine. The magic isn’t in finding the “perfect” blend; it’s in learning how YOUR chosen blend behaves. (If you want to dive deeper into this flour madness, check out this comprehensive guide to gluten-free flour blends — but only AFTER you’ve mastered your first choice.)
Here’s what actually works:
- Buy ONE blend (resist the urge to hedge your bets with three different ones)
- Commit to using only this blend for your next three attempts — no cheating, no “maybe I’ll just try a little coconut flour too”
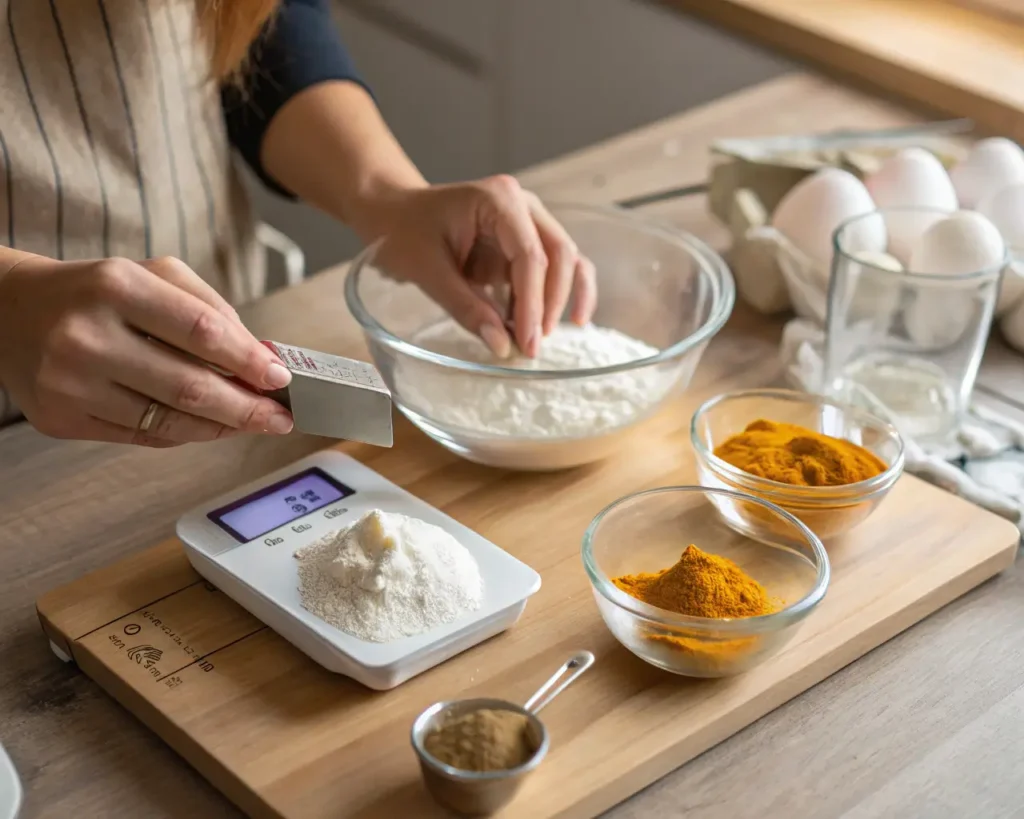
- WEIGH IT. 140 grams per cup, every single time. Volume measurements are the enemy of consistency in gluten-free baking
- Store it properly (airtight container, because rancid rice flour is… well, you’ll know it when you smell it)
- Only after you get three decent loaves should you even consider experimenting
The perfectionist in you is screaming right now, I know. But sometimes the path to excellence runs straight through “good enough.”
Xanthan Gum: The Mysterious White Powder That Ruins Everything (Until It Doesn’t)
Can we talk about xanthan gum for a hot second? Because this stuff is either your best friend or your worst enemy, and there’s basically no middle ground.
Some recipes mention it casually, like “oh, and add some xanthan gum” — SOME? How much is some?! Others don’t mention it at all, leaving you wondering if it’s optional (it’s not) or if your flour already has it (maybe?). Too much and your bread turns into a science experiment gone wrong — all gummy and weird. Too little and it crumbles faster than my resolve during a Netflix binge.
I once made a loaf with too much xanthan gum that literally bounced when I dropped it. Bounced. Like a rubber ball made of disappointment and orange food coloring.
The reality check: Treat this stuff like medication. Precise. Calculated. Unforgiving.
According to King Arthur Baking’s comprehensive xanthan gum guide, “we start with 1/4 teaspoon of xanthan gum for every 1 cup of flour in a recipe” — and honestly, this ratio has saved my sanity more times than I can count. For the complete science behind why this works, there’s an excellent deep dive on xanthan gum in gluten-free bread that explains the molecular magic happening in your mixing bowl.
Step-by-step sanity:
- Check your flour blend label FIRST — if it says “contains xanthan gum,” do NOT add more (learned this the hard way)
- If your blend doesn’t have it: exactly 1/4 teaspoon per cup of flour. Not a pinch, not “about that much”
- Mix it with your dry ingredients before anything wet touches the bowl
- Get a small digital scale — seriously, even 1/8 teaspoon difference matters with this stuff
- For Halloween bread specifically (which tends to be dense and moist anyway), lean slightly lower on the amount
The Great Moisture Mystery (AKA Why Your Bread is Either Sahara Desert Dry or Swamp-Like)
This one nearly broke me. Completely.
Traditional baking logic says “follow the recipe exactly.” Gluten-free baking laughs in the face of that logic, then steals your lunch money. Your batter might look too thick, too thin, too… alien. Every instinct from years of conventional baking screams that something’s wrong.
But here’s the thing — gluten-free batters ARE supposed to look different. Sometimes they’re thicker than cake batter, sometimes thinner than you’d expect. It’s like they exist in their own parallel universe where the rules of physics are merely suggestions.
I remember calling my mom in tears once (yes, over bread, don’t judge me) because my batter looked “wrong” and I was convinced I’d messed up again. She very patiently reminded me that I was literally creating something that didn’t exist in nature — flour without gluten — so maybe my expectations needed adjusting.
The game-changer: Embrace the extra moisture. Love it. Welcome it into your heart.
Your rescue plan:
- Add one extra egg OR 1/4 cup applesauce to any converted recipe (insurance policy against dryness)
- Throw in 2 tablespoons of ground flaxseed or chia seeds — they’re like tiny binding agents
- Let that batter sit for 10 minutes after mixing (this was a revelation for me — the flours need time to drink up the liquid)
- Pumpkin puree adds moisture, so reduce other liquids slightly (learned this after several very wet disasters)
- When testing doneness, expect it to look more moist than regular bread — that’s normal, not underbaked
The Rise and Fall Drama (Literally)
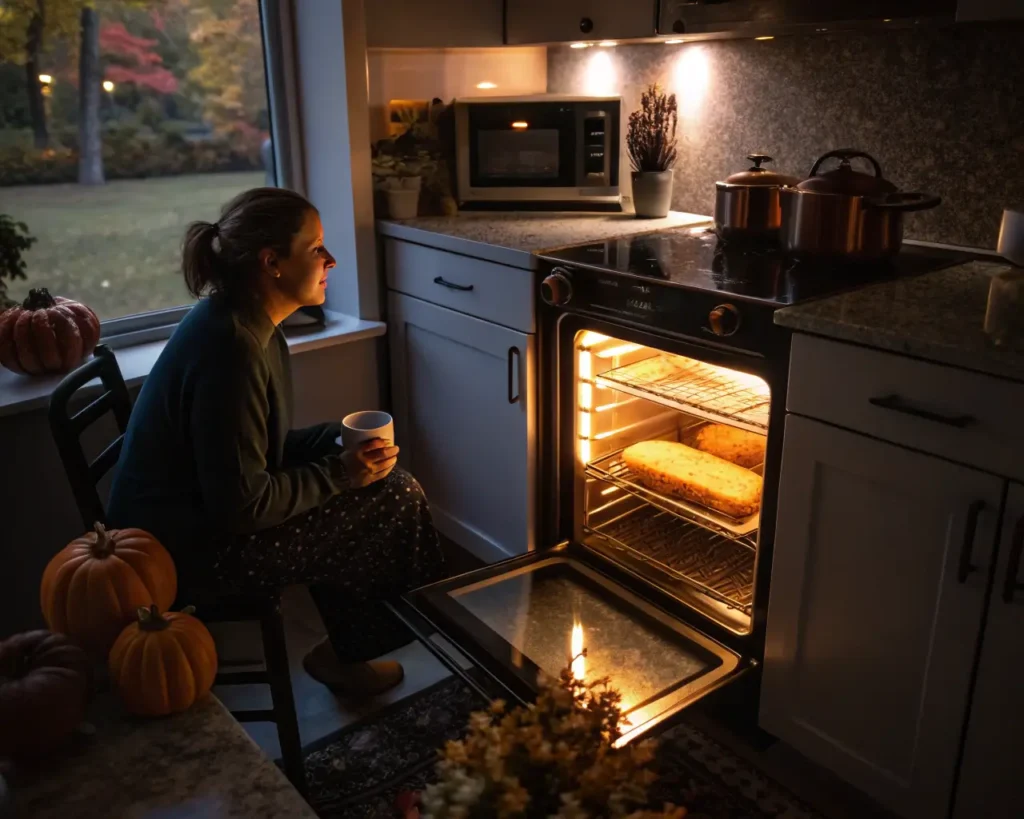
Nothing — and I mean NOTHING — is more heartbreaking than watching your beautiful loaf rise in the oven, feeling smugly successful for approximately seven minutes, then watching it collapse like a deflated balloon.
Or worse: it doesn’t rise at all. Just sits there, dense and accusing, like a edible brick of judgment.
The texture roulette is real too. Sometimes it’s gritty (like eating sand, but festive sand). Sometimes it’s gummy (chew for days and never quite swallow). Rarely — oh so rarely — it’s actually… bread-like.
The breakthrough moment: Gluten-free breads need different rules. Not wrong rules, just… different ones. America’s Test Kitchen’s gluten-free flour research shows that potato starch, arrowroot starch, and tapioca starch serve similar purposes of adding a lightness and buoyancy to the final product — which explains why your bread needs these specific structural supports that regular flour just… has naturally.
What actually works:
- Check your leavening agents like you’re defusing a bomb — fresh baking powder and soda are NON-NEGOTIABLE
- Don’t overmix once liquids enter the equation. Fold gently, like you’re tucking in a baby
- Fill your pan only 2/3 full (I know it looks like not enough, trust the process)
- Lower oven temp — 325°F instead of 350°F. Patience, grasshopper
- Let it cool COMPLETELY in the pan. I know you want to check, I know it smells amazing, but resist. Structural integrity depends on patience
Halloween Ingredients: The Seasonal Saboteurs
Pumpkin puree, warm spices, chocolate chips, maybe some pecans… these ingredients should make everything better, right? Instead, they seem determined to sabotage your already-precarious gluten-free situation.
The pumpkin sinks. The spices disappear into flavorless oblivion. The chocolate chips form a sad layer at the bottom like they’ve given up on life. And don’t even get me started on how much moisture pumpkin adds to an already-complicated equation.
It’s like trying to conductor an orchestra where half the musicians are rebelling and the other half forgot their instruments.
The seasonal strategy: Work WITH these ingredients instead of fighting them. And speaking of seasonal — if you’re ready to take your Halloween game to the next level, there’s actually a whole world of beginner-friendly Halloween gluten-free bread guide waiting for you once you master these basics.
Your autumn action plan:
- Drain that pumpkin puree on paper towels for 15 minutes — yes, it feels wasteful, do it anyway
- Toss chocolate chips and nuts in flour before folding in (this prevents the great sinking disaster)
- Bloom your spices in melted butter first — game changer for flavor intensity
- Orange zest is your friend when flavors seem muted (gluten-free baking sometimes needs extra oomph)
- Pumpkin pie spice blend instead of individual spices — consistency is your friend here
And here’s where it gets fun — once you nail the basics, you can get creative with Halloween gluten-free bread shaping techniques to make your loaves look as spooky as they taste delicious. Because let’s be honest, presentation matters when you’re trying to impress trick-or-treaters.
The Light at the End of the Tunnel (It’s Not a Train, I Promise)
Look, I’m not going to lie to you and say this journey from overwhelm to clarity happens overnight. It doesn’t. There will still be failures. There might be tears (there were definitely tears in my kitchen).
But here’s what I wish someone had told me earlier: your gluten-free Halloween bread doesn’t need to be identical to the traditional version to be absolutely, completely, ridiculously delicious.
Sometimes the best path forward is sideways. Or backwards. Or in a completely different direction that leads somewhere unexpectedly wonderful.
Start with one thing. Master the flour blend. Then tackle xanthan gum. Then moisture. Build your confidence one small victory at a time, because every slightly-better loaf is teaching you something new about how these weird, wonderful ingredients want to play together.
Your family won’t remember if the texture was slightly different. They’ll remember that you cared enough to try, to keep trying, to fill the house with warm spices and love and the promise that good things are possible even when the rules have changed.
Embrace the beautiful imperfection of it all. Celebrate the small wins. Trust that your next loaf will be better than your last.
And when all else fails, there’s always store-bought — but honestly, after all this, you probably won’t need it. If you’re still struggling with consistent results, don’t beat yourself up — even experienced bakers need help sometimes. There’s an incredibly thorough gluten-free bread troubleshooting guide that covers every possible disaster scenario (trust me, I’ve been through most of them).

Gluten-Free Halloween Bread
A guide to creating delicious gluten-free Halloween bread that celebrates the season with pumpkin and spices.
- Total Time: 70 minutes
- Yield: 8 servings
Ingredients
- 2 cups gluten-free all-purpose flour blend
- 1/4 teaspoon xanthan gum
- 1 teaspoon baking powder
- 1/2 teaspoon baking soda
- 1 teaspoon pumpkin spice blend
- 1/2 cup pumpkin puree
- 1/4 cup sugar
- 3 large eggs
- 1/4 cup applesauce
- 1/4 cup melted butter
- 1/2 cup chocolate chips
- 1/2 cup pecans (optional)
Instructions
- Preheat the oven to 325°F (163°C) and grease a bread pan.
- In a large mixing bowl, combine the gluten-free flour blend, xanthan gum, baking powder, baking soda, and pumpkin spice blend.
- In another bowl, mix together the pumpkin puree, sugar, eggs, applesauce, and melted butter.
- Pour the wet ingredients into the dry ingredients and mix gently. Do not overmix.
- Fold in the chocolate chips and pecans, tossing them in a little flour first to prevent sinking.
- Pour the batter into the prepared bread pan, filling it only 2/3 full.
- Bake for 45-50 minutes or until a toothpick comes out clean.
- Let it cool completely in the pan before removing.
Notes
Tip: Drain the pumpkin puree on paper towels for 15 minutes to reduce moisture. Blooming spices in melted butter also enhances the flavor.
- Prep Time: 20 minutes
- Cook Time: 50 minutes
- Category: Dessert
- Method: Baking
- Cuisine: American
- Diet: Gluten-Free