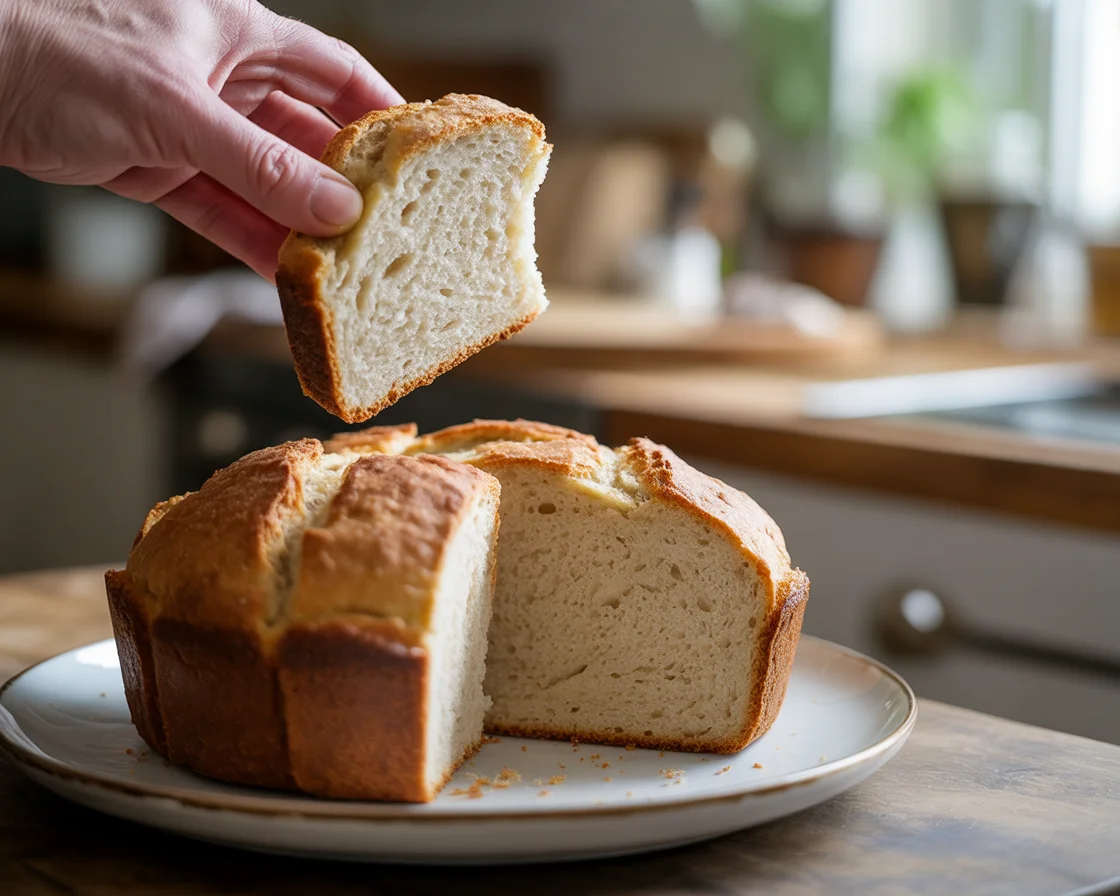
Picture this: it’s 4 PM, guests are arriving at 6, and you’re craving that warm, crusty bread aroma filling your kitchen. Traditional yeast breads? Out of the question. But here’s where the magic of Irish soda bread tradition meets modern gluten-free innovation—creating bakery-worthy loaves in under 45 minutes.
After perfecting this craft over eight years of gluten-free baking (and yes, countless “learning experiences” that fed the birds), I’ve discovered something beautiful: no yeast gluten-free soda bread isn’t just a quick substitute—it’s an art form that delivers superior texture and authentic flavor every single time.
If you’re just starting your gluten-free baking journey, this beginner-friendly approach offers the perfect foundation before diving into more complex yeast-based recipes.
The Secret Behind Soda Bread’s Gluten-Free Success
Here’s what most home bakers don’t realize: soda bread actually prefers the gluten-free treatment. While wheat-based breads fight against the absence of gluten, our gluten-free version embraces it.
The science is elegant in its simplicity. According to research published in the Journal of Chemical Education, baking soda reacts with acidic ingredients (buttermilk, lemon juice) to create immediate lift through carbon dioxide gas production—no waiting, no guessing, no collapsed loaves from over-proofed yeast. For a deep dive into the complete science of gluten-free yeast-free baking, including the precise chemistry behind these reactions, explore our comprehensive guide.
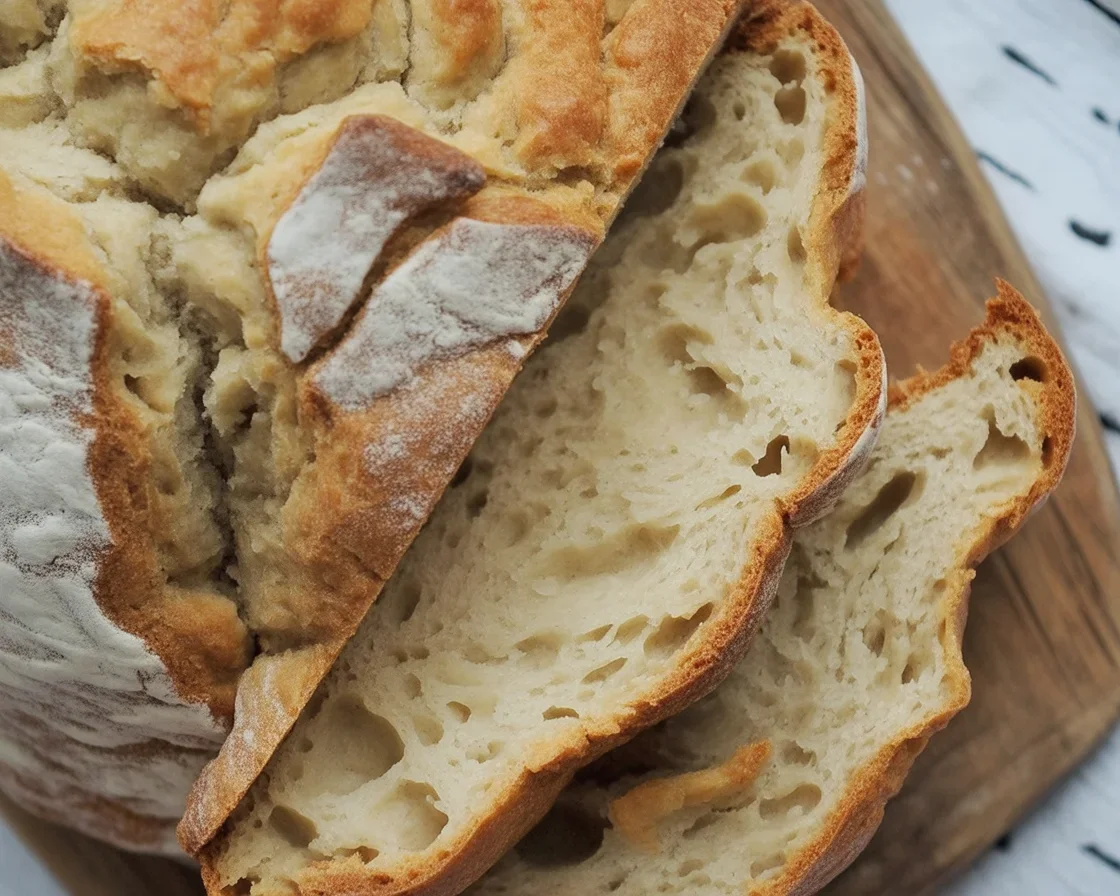
Unlike traditional gluten-free sourdough starters that require days of cultivation, soda bread delivers instant gratification with consistent results. The result? A tender crumb with rustic character that rivals any artisan bakery.
Sarah, one of my baking students, put it perfectly: “I spent three years struggling with yeast breads that never rose properly. This soda bread technique gave me back my confidence—and my family’s Sunday bread tradition.”
Mastering Your Ingredient Foundation
The beauty of exceptional soda bread lies in understanding each ingredient’s role in creating that perfect, tender crumb.
The Flour Blend That Changes Everything
Forget single-ingredient flour substitutes. The magic happens when you combine:
- 60% rice flour blend (for structure)
- 25% almond flour (for richness and binding)
- 15% tapioca starch (for elasticity and chew)
Pro insight: I always toast my rice flour lightly in a dry pan for 2-3 minutes. This simple step adds a subtle nutty depth that transforms the entire loaf’s flavor profile. For more detailed guidance on creating the perfect gluten-free flour blends, check out my comprehensive flour guide.
The Acid-Base Chemistry
Here’s where precision meets art. The golden ratio I’ve perfected after hundreds of test loaves:
- 1¼ cups buttermilk (the classic choice)
- 1 tablespoon fresh lemon juice (brightens and enhances the tang)
- 1½ teaspoons baking soda (your leavening powerhouse)
Why this matters: Too little acid, and your bread stays flat. Too much, and you’ll taste the bitterness. This ratio creates the perfect chemical reaction for maximum rise with balanced flavor. As detailed by Kansas State University’s Food Science program, the acid-base reaction between baking soda and acidic ingredients produces carbon dioxide gas that creates the characteristic lift and texture in chemically leavened breads.
The Complete Master Recipe
Serves 8-10 generous slices
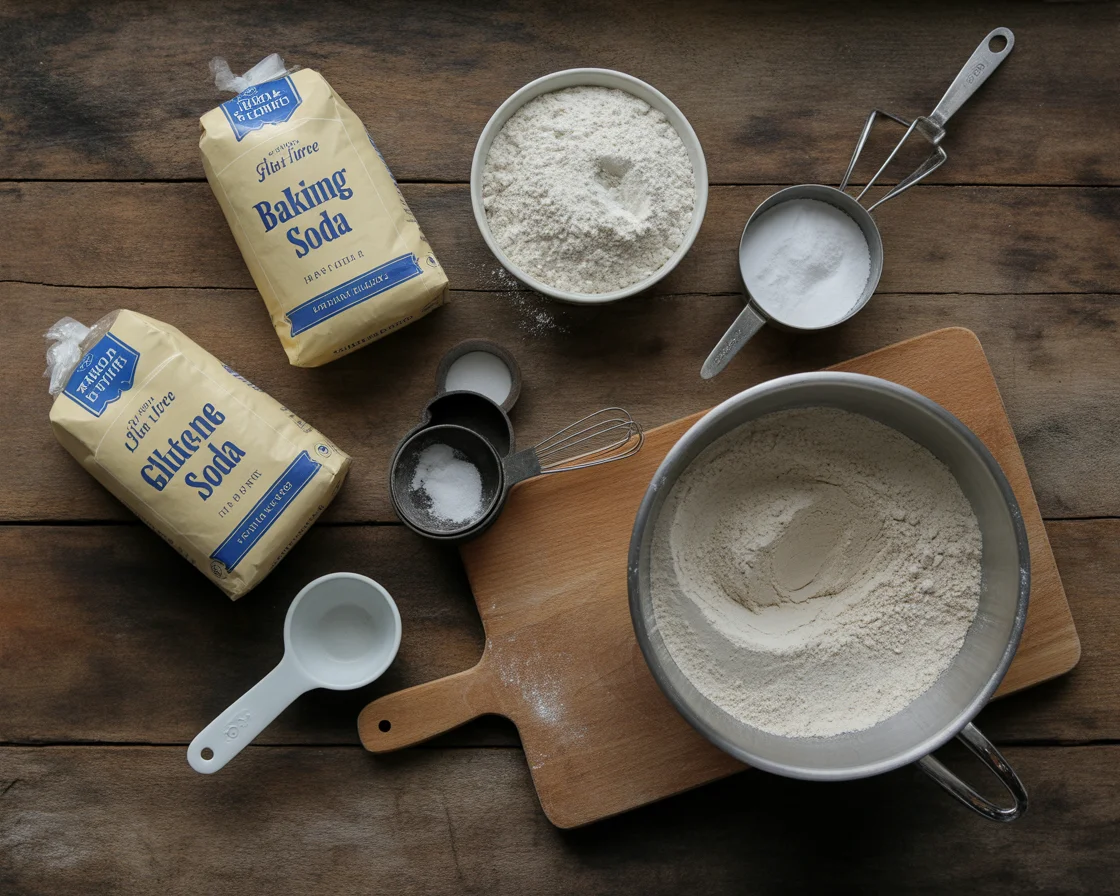
Dry Ingredients:
- 2½ cups gluten-free flour blend (recipe above)
- 1 teaspoon xanthan gum (if not in your flour blend)
- 1½ teaspoons baking soda
- 1 teaspoon salt
- 2 tablespoons sugar
Wet Ingredients:
- 1¼ cups buttermilk, room temperature
- 1 large egg
- 1 tablespoon fresh lemon juice
- 2 tablespoons melted butter (cooled slightly)
The Technique That Makes the Difference
- Preheat your oven to 425°F—high heat creates the signature crust
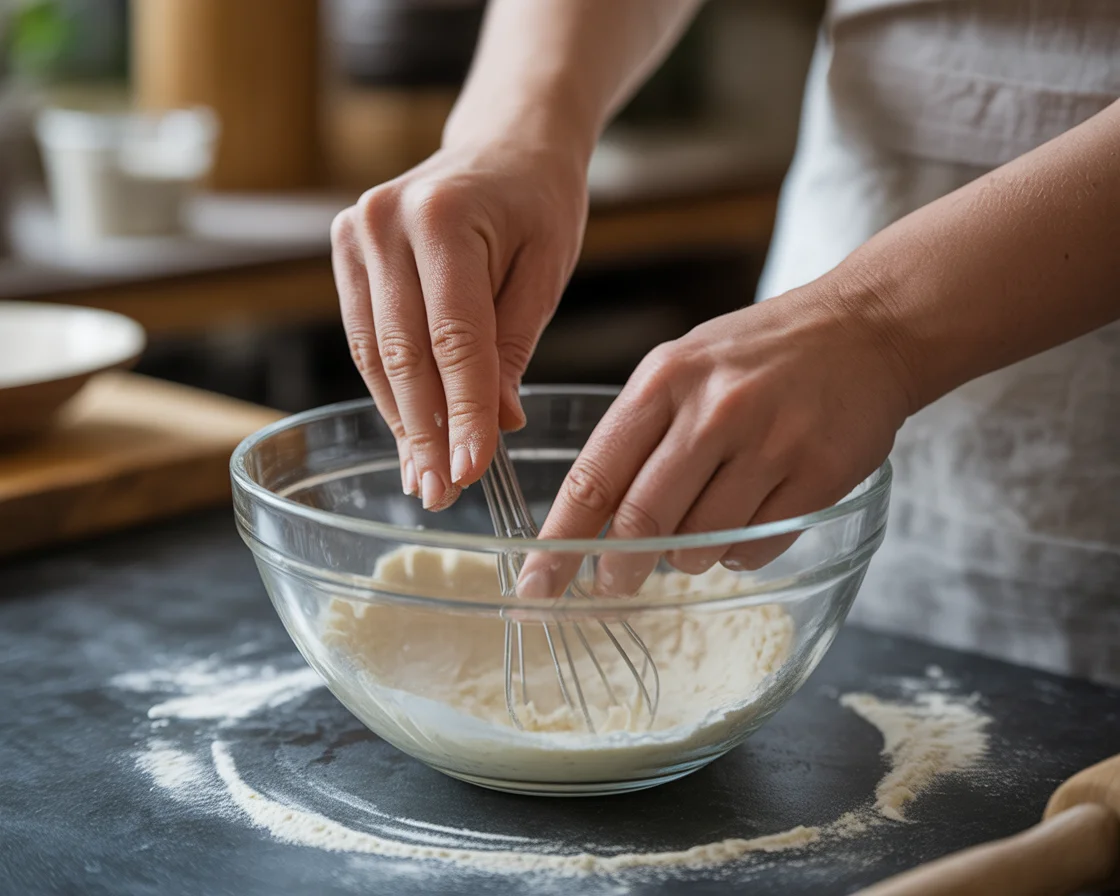
- Whisk dry ingredients in a large bowl, ensuring even distribution
- Create a well in the center (this prevents overmixing)
- Pour all wet ingredients into the well at once
- Fold gently with a fork until just combined—you should still see flour streaks
Critical moment: Stop mixing when you can barely hold the dough together. Overmixing is the #1 cause of dense soda bread.
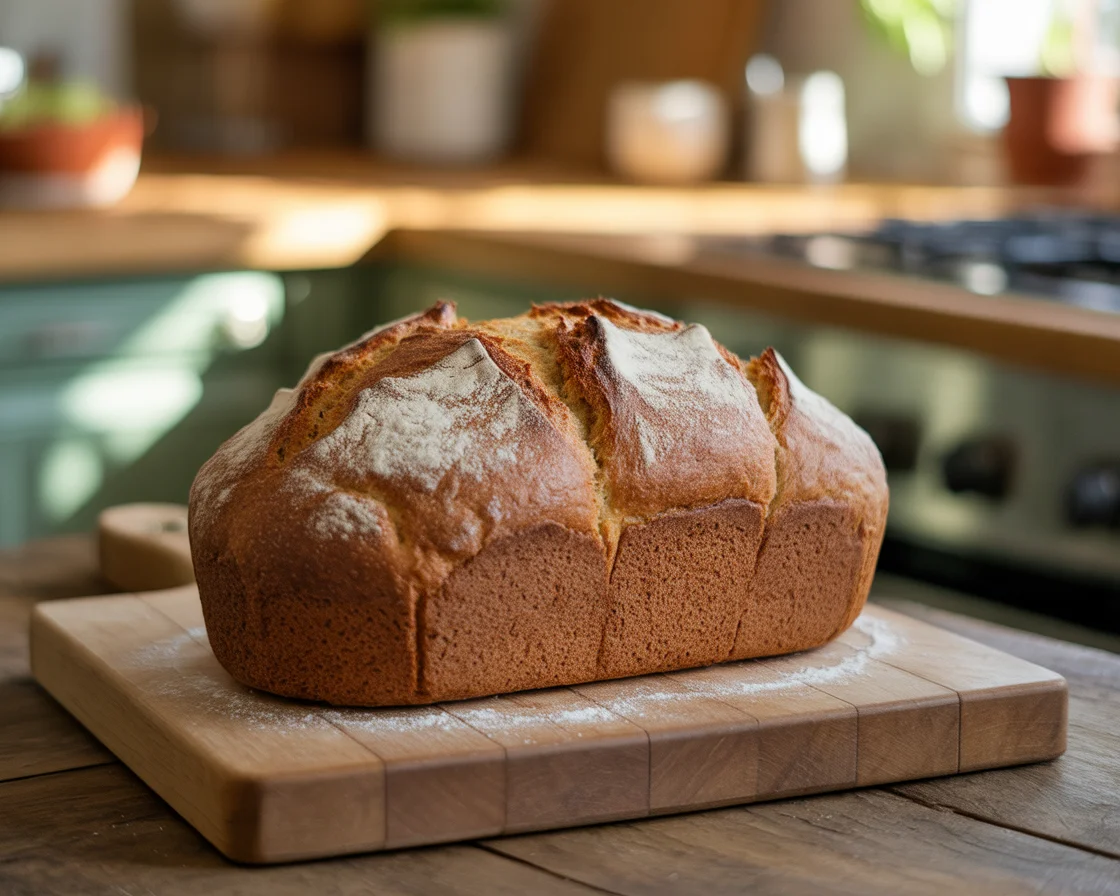
- Turn onto floured surface and gently shape into a round loaf
- Score deeply in a cross pattern (¼ inch deep)
- Bake 30-35 minutes until golden and hollow-sounding when tapped
| Baking Tip | Importance | Pro Tip |
|---|---|---|
| Use Fresh Baking Soda | Crucial for proper rising | Check the expiration date; replace if unsure |
| Mix Dry Ingredients First | Ensures even distribution of leavening agent | Use a whisk for best results |
| Cut a Deep X on Top | Promotes even baking and texture | Make it at least 1/2 inch deep |
| Store Properly | Keeps bread fresh longer | Wrap in a towel or freeze for longer life |
Elevating Your Soda Bread Artistry
Once you’ve mastered the basics, these professional techniques will set your loaves apart:
The Steam Secret: Place a small oven-safe dish with ice cubes on the bottom rack. This creates the steam that gives you that coveted crusty exterior with tender interior—just like Irish bakeries. For more traditional approaches, explore my authentic Irish soda bread recipe.
Flavor Variations That Work:
Breakfast Perfect: Dried cranberries with orange zest
Traditional Irish: Add 1 cup golden raisins and 1 teaspoon caraway seeds
Herb Garden: Fresh rosemary, thyme, and a hint of black pepper
Troubleshooting Like a Pro
You’ve overmixed or used cold ingredients. Room temperature buttermilk is non-negotiable—it reacts faster and more completely with the baking soda.
Either insufficient binding (add 1 extra egg) or not enough moisture (increase buttermilk by 2 tablespoons next time). For alternative binding solutions, explore how psyllium husk transforms gluten-free bread texture.
You’ve used too much baking soda relative to acid. Stick to the tested ratios. For a complete troubleshooting guide covering these and other common issues, visit my gluten-free bread troubleshooting resource.
The Storage Secret Nobody Talks About
Here’s what separates good bakers from great ones: soda bread peaks within 6-8 hours of baking. For day-two enjoyment, wrap in slightly damp paper towels and microwave for 15-20 seconds. This restores the tender texture perfectly.
For longer storage, slice and freeze immediately after cooling. Frozen slices toast beautifully straight from the freezer. Learn more advanced preservation techniques in my guide to storing gluten-free bread for maximum freshness.
The Easiest Bread You’ll Ever Brag About
So there it is. A No Yeast Gluten-Free Soda Bread that’s as doable for total beginners as it is for shortcut-seekers. You don’t need fancy tools, a proofing basket, or any magical chef skills. Try it this week – go wild with add-ins if you’re feeling creative. I promise, this is the one bread recipe you’ll actually use again and again. Still skeptical? Check out this gluten-free baking guide from King Arthur. Now go make your kitchen smell like heaven.
Your Path to Soda Bread Mastery
The transformation from intimidated baker to confident bread artisan happens faster than you think. Start with this master recipe exactly as written—no substitutions on your first attempt. Once you’ve experienced that perfect texture and flavor, you’ll understand how each ingredient contributes to the magic.
Then experiment. Try my herb variation next weekend. Add those golden raisins your grandmother would have used. Make it yours. If you’re craving variety, explore other quick gluten-free bread recipes that don’t require yeast, or dive deeper into artisan gluten-free bread techniques for your next baking adventure.
Ready to begin? Gather your ingredients tonight. Tomorrow morning, in less time than it takes to drive to the bakery, you’ll be slicing into your own rustic, golden loaf—one that rivals any artisan creation and surpasses it in one crucial way: it’s made by your hands, in your kitchen, for the people you love.
Because the best bread isn’t just about the recipe—it’s about the joy of creating something wonderful from simple ingredients and timeless technique.
Lily Whisker is a certified gluten-free baking specialist and Writer in NoGluBread. She has helped over 15,000 home bakers master gluten-free techniques through her online courses and workshops. Her work has been featured in Gluten-Free Living Magazine and Food Network’s gluten-free recipe collection.
Print
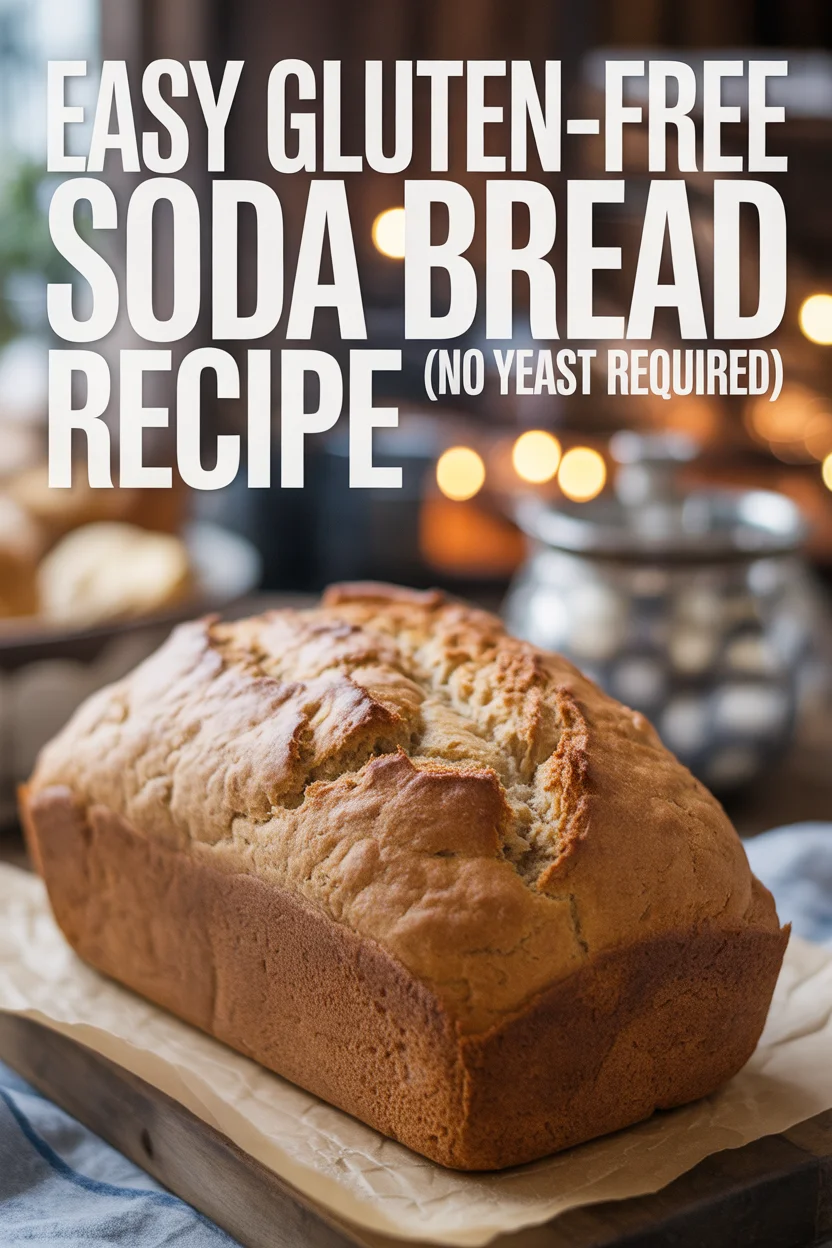
No Yeast Gluten-Free Soda Bread
A no-yeast gluten-free soda bread recipe that creates a tender, rustic loaf in under 45 minutes.
- Total Time: 40 minutes
- Yield: 8-10 slices
Ingredients
- 2½ cups gluten-free flour blend
- 1 teaspoon xanthan gum (if not in your flour blend)
- 1½ teaspoons baking soda
- 1 teaspoon salt
- 2 tablespoons sugar
- 1¼ cups buttermilk, room temperature
- 1 large egg
- 1 tablespoon fresh lemon juice
- 2 tablespoons melted butter (cooled slightly)
Instructions
- Preheat your oven to 425°F.
- Whisk dry ingredients in a large bowl, ensuring even distribution.
- Create a well in the center.
- Pour all wet ingredients into the well at once.
- Fold gently with a fork until just combined; do not overmix.
- Turn onto floured surface and gently shape into a round loaf.
- Score deeply in a cross pattern (¼ inch deep).
- Bake for 30-35 minutes until golden and hollow-sounding when tapped.
Notes
For a crusty exterior, place a dish with ice cubes on the bottom rack while baking. Experiment with flavor variations such as dried cranberries or golden raisins.
- Prep Time: 10 minutes
- Cook Time: 30 minutes
- Category: Bread
- Method: Baking
- Cuisine: Irish
- Diet: Gluten-Free
Dutch Oven vs. Open Dish: For soda bread, definitely go with an open dish or regular loaf pan. Unlike yeasted breads, soda bread doesn’t need steam – it wants that direct heat to develop a nice crust while letting moisture escape.
The Baking Powder “Oops” (purely hypothetical, of course 😉): If someone theoretically made this swap, the bread would be denser since baking powder is about 3-4 times weaker than baking soda.
Quick Science Fix: If caught before baking, use 3 times the amount of baking powder to compensate. So if the recipe calls for 1 tsp baking soda, use 3 tsp total baking powder instead.
The key difference: baking soda needs your buttermilk’s acid to activate immediately, while baking powder already contains its own acid. That immediate reaction is what gives soda bread its signature quick rise!
Hope this helps with any future “scientific experiments” in the kitchen! 🧪
Noted! 🤓 Thank you for your commitment & dedication to the scientific process. LOL #ForScience!
Despite all my “Lemony Snickety” missteps (AKA: a series of unfortunate events), the soda bread turned out decently, and I was able to use your troubleshooting guide to pinpoint what to tweak next time.
Thanks again for helping me nerd out on gluten free baking science, making it way less daunting and frustrating to understand and succeed. There’s so much quality information you’ve got here. The nerdy academic and trained educator in me applaud you & this team.
Thank yooouuuuus so much!! 🩷
OH MY GOODNESS, this comment just made my entire week!! 🤓✨ #ForScience indeed! I’m absolutely CACKLING at “Lemony Snickety missteps”—honestly, that’s the most delightful way I’ve ever heard someone describe baking trials!
The fact that you not only pushed through the unfortunate events but also used the troubleshooting guide to identify tweaks for next time? Chef’s kiss THAT is exactly what science-driven baking is all about! Every “failed” experiment teaches us something valuable about flour behavior, hydration ratios, and chemical reactions.
Your educator background totally shows—you approached this with the perfect scientific mindset: hypothesis, experiment, observe, analyze, iterate. That’s precisely how I developed these recipes, and it’s SO validating to hear from someone who appreciates the methodology behind the madness.
I’m genuinely thrilled that the troubleshooting section served its purpose. What tweaks are you planning for round two? I’m always curious about fellow baking scientists’ observations!
Thank you for being such a thoughtful reader and for bringing that beautiful nerdy energy to the NoGluBread community. Comments like yours remind me exactly WHY I do the deep dives into gluten-free chemistry! 🧪🍞💙