What if I told you—and I know this sounds borderline ridiculous but stay with me here—that the difference between those sad, mediocre gluten-free crackers gathering dust in your pantry and the kind people literally cannot stop grabbing off the cheese board has nothing to do with your standard himalayan pink salt recipes or even your tried-and-true himalayan sea salt recipes?
Nothing to do with whether you’re using Bob’s Red Mill or King Arthur flour. Not about your oven (even though mine runs hot and drives me crazy). Not even about the seventeen Pinterest boards you’ve saved titled “perfect crackers.”. but something magical happened when I stumbled across a little pink salt trick. Sort of blew my mind, not gonna lie. If you love simple, surprising hacks like this, also check out my himalayan pink salt trick for gluten free bread recipe.
The real game-changer—something I stumbled on completely by accident while developing new himalayan pink salt recipes for the blog—is so simple that most home bakers miss it entirely. The secret? It’s not what salt you’re buying, but how you use it, when you apply it, and which grain size you choose. Bakeries specializing in both himalayan pink salt recipes and himalayan sea salt recipes know this triple-layer approach is the difference between average and truly addictive snacks.
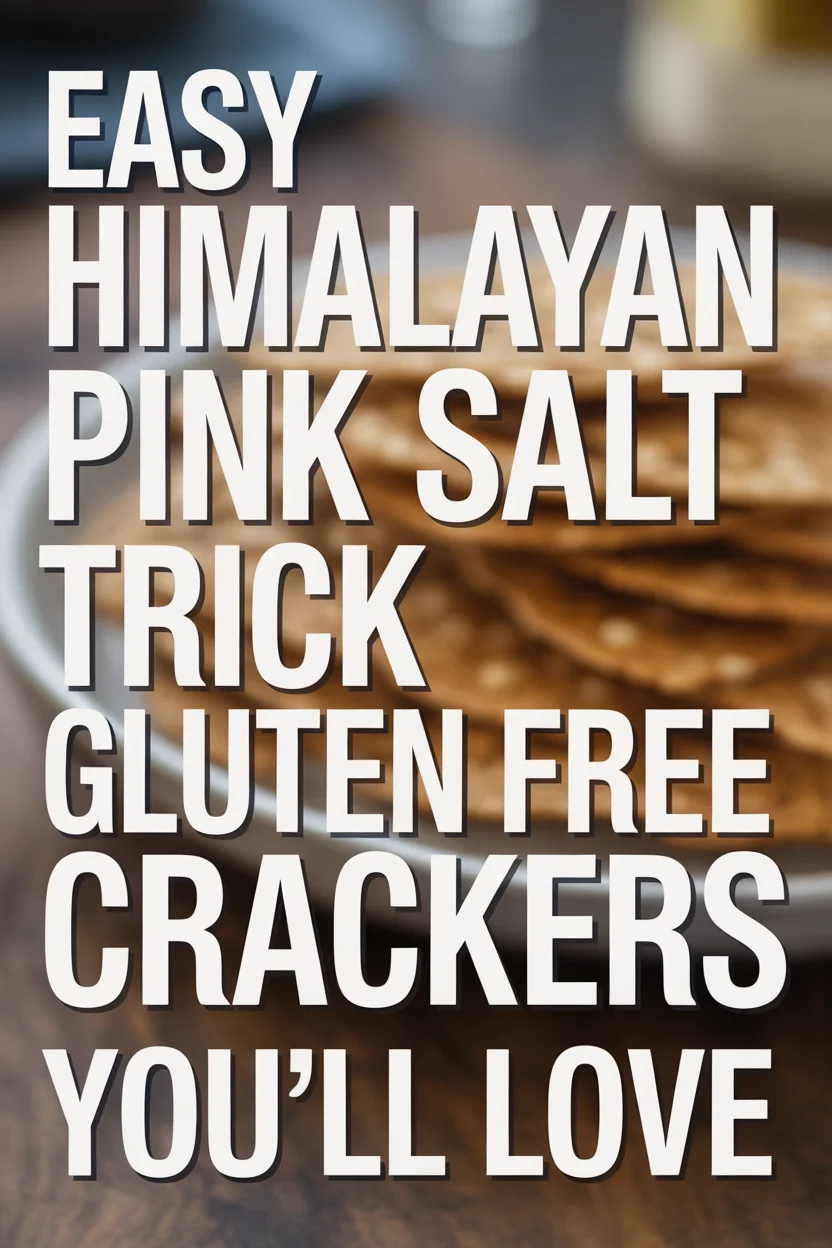
Himalayan Pink Salt Trick Gluten Free Crackers
Deliciously crispy and flavorful gluten free crackers made with a unique double grain and double salt technique.
- Total Time: 50 minutes
- Yield: 4 servings 1x
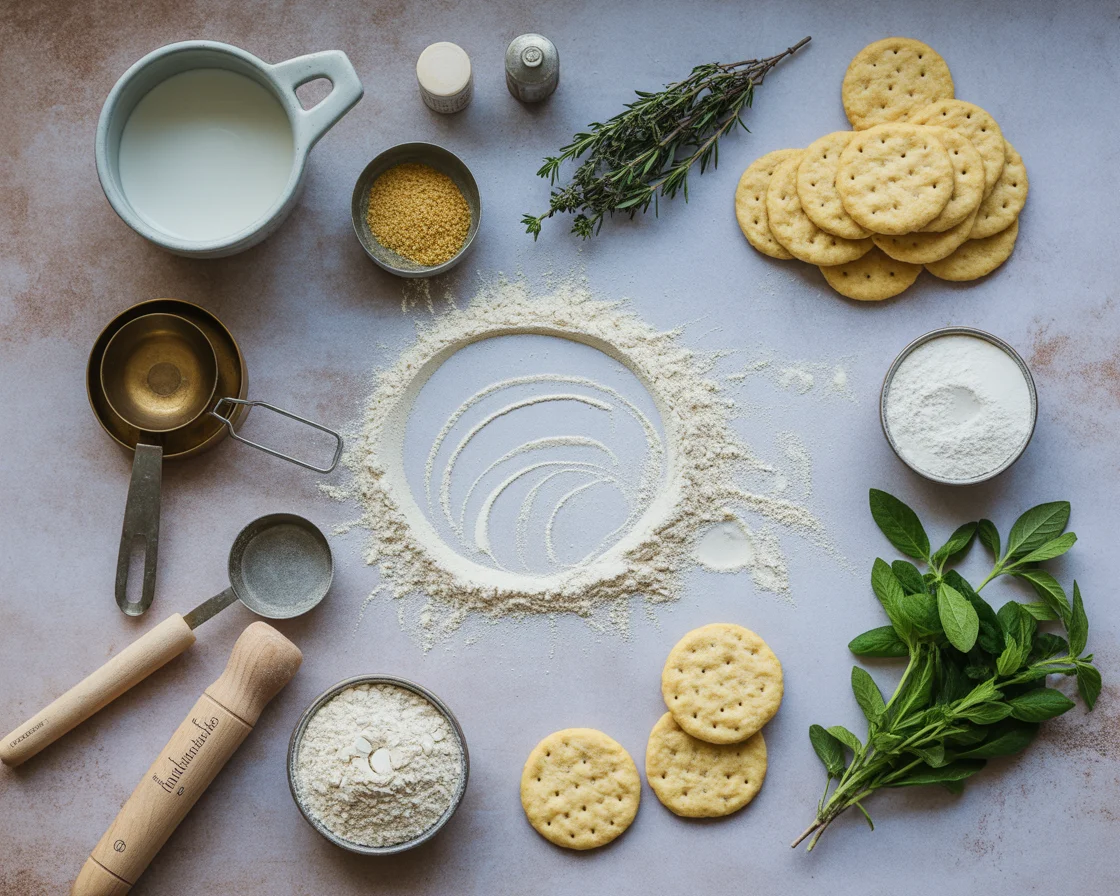
Ingredients
You´ll Need
- 1 cup brown rice flour
- 1 cup sorghum flour
- 1 teaspoon Himalayan pink salt (for dough)
- additional Himalayan pink salt (for topping)
- warm water (as needed)
Instructions
Mixing
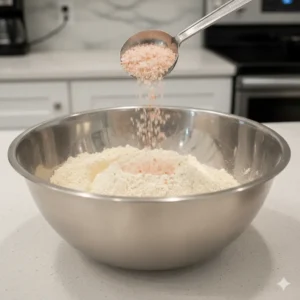
- In a mixing bowl, combine brown rice flour and sorghum flour.
Kneading Dough
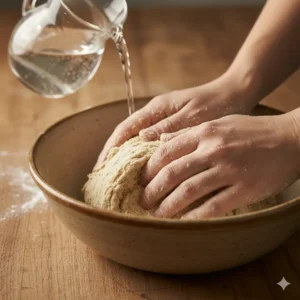
- Add 1 teaspoon of Himalayan pink salt and stir to combine.
Leaving the dough rests
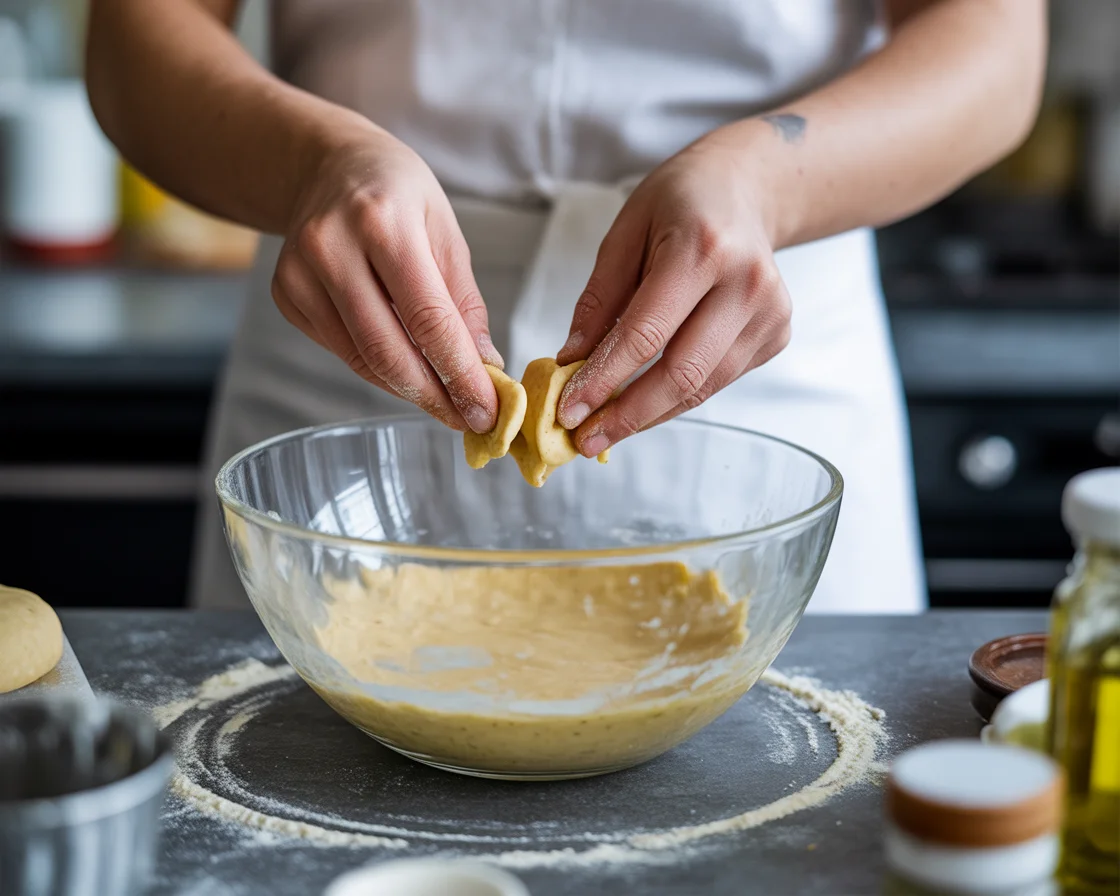
- Gradually add warm water until a dough forms. The dough should feel slightly sticky but manageable.
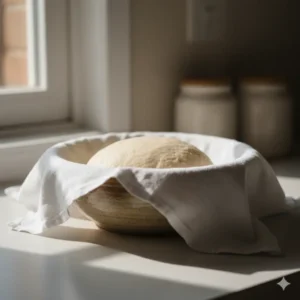
- Let the dough rest for about 30 minutes to hydrate.
- Preheat the oven to 350°F (175°C).
Shaping
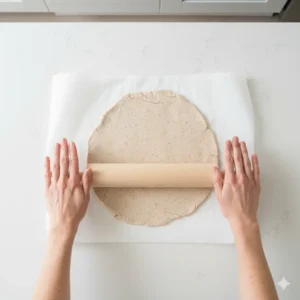
- Roll out the dough between two pieces of parchment paper to a thin layer.
- Cut into desired cracker shapes and fluff each onto the baking sheet.
Sprinkling
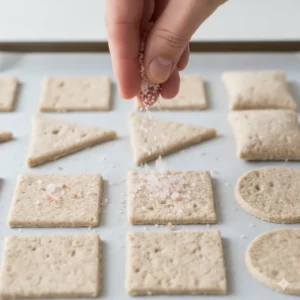
- Sprinkle unevenly with additional Himalayan pink salt before baking.
Preheated oven
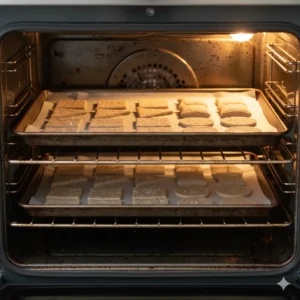
- Bake for 15-20 minutes, or until golden brown, keeping a close eye to prevent burning.
- Let cool before serving.
Notes
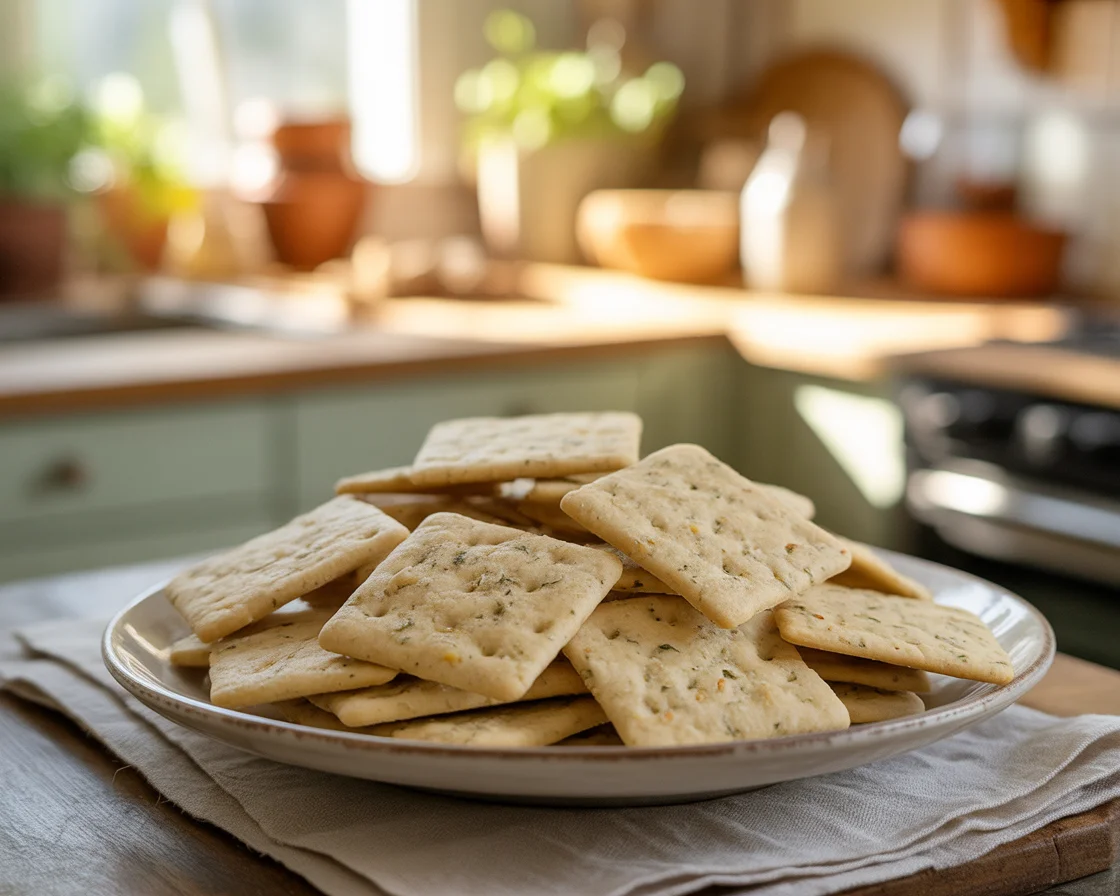
These crackers pair well with hummus, cheese spreads, or can be crumbled over salads.
- Prep Time: 30 minutes
- Cook Time: 20 minutes
- Category: Snack
- Method: Baking
- Cuisine: American
- Diet: Gluten Free
Nutrition
- Serving Size: 4 crackers
- Calories: 150
- Sugar: 1g
- Sodium: 200mg
- Fat: 5g
- Saturated Fat: 0g
- Unsaturated Fat: 4g
- Trans Fat: 0g
- Carbohydrates: 24g
- Fiber: 2g
- Protein: 3g
- Cholesterol: 0mg
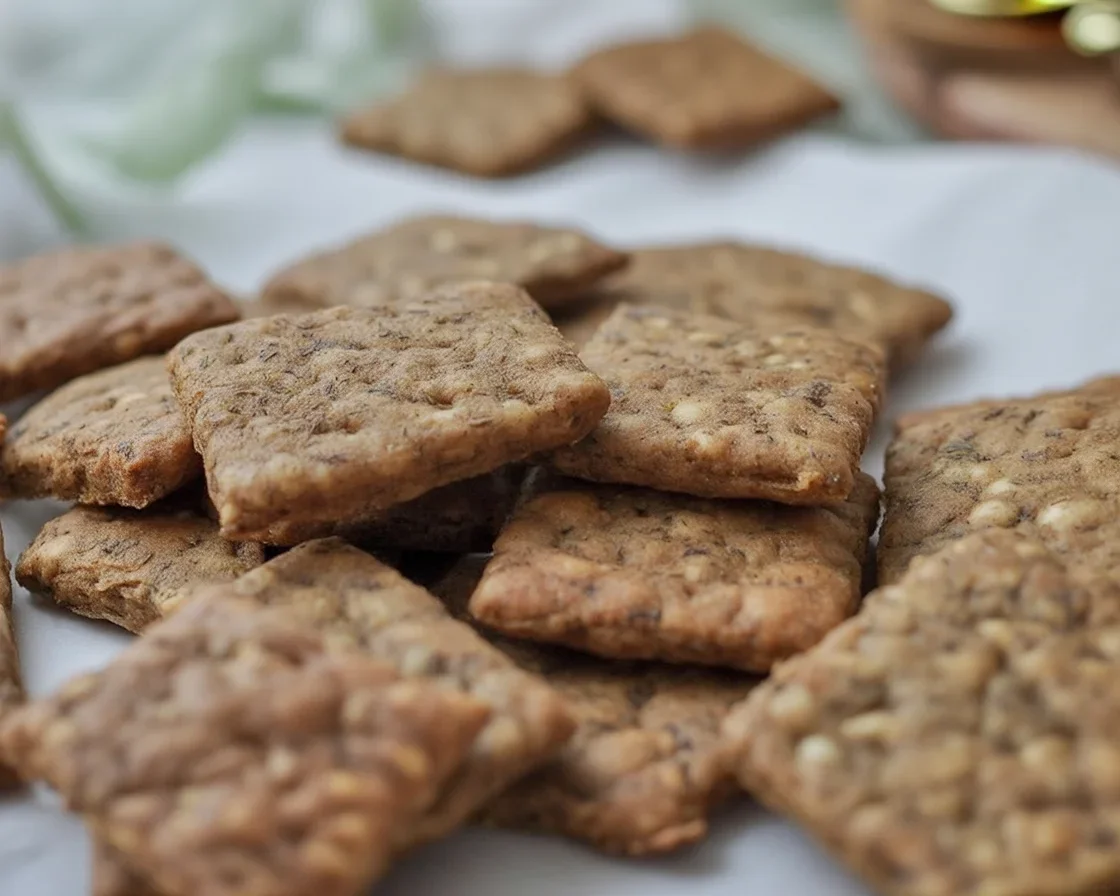
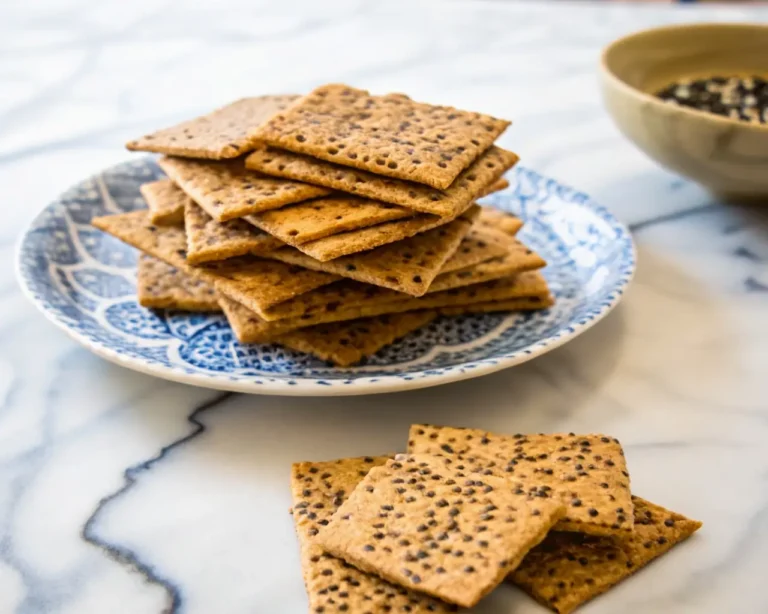
Dual-Grain Salt Layering (And Why Nobody Talks About It)
Alright, let’s talk about this weird little technique. Most homemade gluten free crackers call for one type of flour. Boring. What happens if you layer? Meaning: mix two grains (I tend to use brown rice and sorghum), and then… get this… sprinkle Himalayan pink salt twice during the process. I know, sounds odd. Trust me though.
This lil’ move? It legitimately boosts texture. Crackers taste less like cardboard, more like something you snag at a bougie café when you’re pretending to like jazz. I found accidentally while experimenting after skimming an artisan gluten free bread guide. The first salt layer, you add into the dough so the flavor is throughout. The second, you sprinkle on top before baking. It’s not even hard.
Why don’t more people talk about this? No clue. Maybe everyone’s just busy complaining about pasty snacks. Or maybe, honestly, people hoard their secrets like dragon gold. Who knows.
“These crackers genuinely changed my snack game. The double grain, double salt just hits different—super crispy, super flavorful. My family crushed an entire batch in one sitting!”
—Margo, seasoned snack lover
Timing Is Weirdly More Important Than Anyone Admits
Oh, the lies I’ve told myself about how “timing doesn’t really matter.” Truth bomb: it matters—a lot. When you’re working with gluten free dough, letting it rest is basically the golden ticket. You mix, you’re tempted to flop it right onto the baking tray, but wait. Nope. You walk away.
I give my dough about 30 minutes to chill out, sometimes longer (I’m lazy and get distracted). This downtime lets the grains hydrate (so technical, but accurate) and makes your cracker way less crumbly… and oddly, easier to roll out. Try to rush right into baking and you’ll get bits that look like cracker shrapnel. Oops.
Then, another little timing secret: watch your bake like a hawk, because gluten free crackers can go from golden to burnt-tan-mess in, like, two minutes. I set multiple timers because, honestly, my memory’s shot when there are delicious smells in the kitchen.
If you’re curious, baking times can shift a bit if you’re using different ovens—gas, convection, or whatnot—so checking out how baking gluten free bread in different ovens acts is a smart move.
The Visual Psychology Element Nobody Discusses (But Should)
This is goofy but stick with me. So much of loving a cracker (or any snack, really) is how it looks. Weird, right? But yeah—those perfectly imperfect edges, that little pink salt sparkle. When I first tried making these crackers, they came out looking like they’d been run over. Ugly as sin. And I picked at them: “Maybe these aren’t even worth eating.” That was a mistake.
Make the effort to roll your dough a little thinner at the edges (life hack: put the dough between two pieces of parchment, use a wine bottle, not a rolling pin). Then, after cutting, pick up each cracker and “fluff” it up onto the baking sheet. Yes, really, like you’re at a little Italian bakery. Fancy! Sprinkle Himalayan pink salt on top right before baking for that Instagram-level sparkle.
It’s wild, but your mind genuinely decides these look like “real” food, so they taste better. Super subjective, but once you notice it, you can’t unsee. (My friend laughed when I first said this, then I served them next to apple cinnamon sweet gluten free bread and… nobody left a crumb.)
The Moisture Management Factor (Gets Complicated But Bear With Me)
Okay, here’s a spot everyone screws up—and yes, I’m guilty. Gluten free dough doesn’t behave. It drinks up water one minute, spits it back the next. If your dough feels sticky, don’t panic. Add rice flour, a sprinkle at a time—and I mean literally a sprinkle. Give it a second to absorb, then try rolling again. Don’t get wild and dump in flour all at once or you’ll get concrete.
If it’s too dry, dab wet hands on the surface, or mist with a spray bottle. The dough should feel a bit like Play-Doh. My first batch? Looked like zombie skin. Second batch? Bagels. I had no clue. If it feels right, you’re golden.
A lot of friends ask, “How do you know?” Honestly, it’s vibes at first, then experience. Some days you nail it, some days it’s “toss that batch.” That’s why I always keep my best gluten free sandwich bread on standby, just in case best gluten free sandwich bread, because a snack emergency is real.
Flavor Distribution Geometry (Sounds Fancy, Isn’t Really)
The final piece, and this one’s almost too simple. When you’re putting the Himalayan pink salt on top, scatter it unevenly. I used to be fussy and did perfect little rows—nope, boring. Now, a pinch here, a pinch there, shake your hand like you just washed lettuce.
- Serving suggestions? Oh, easy:
- Pair with your favorite hummus or a good herby cheese spread.
- Crumble over salads for crunch.
- Stack with turkey and avocado for a pseudo-sandwich snack.
- Dunk them in tomato soup instead of croutons.
That uneven salt distribution makes each bite just a little different. Feels more “homemade,” less “factory.” Chefs say stuff like “play with your food”—this is your chance, without getting grounded.
Final Thoughts for the Snack-Obsessed
Let’s be real: these Himalayan pink salt trick gluten free crackers are probably the easiest, tastiest fix I’ve found for the perpetual cracker crisis. Salt layering, timing, and the “look good, taste good” mind games? Worth every second. If you want to take your gluten free snack game even further, try tossing some Gluten-Free Pita Chips | Sizes & Flavors into the mix, or get creative with cheesy gluten free artisan bread for truly dreamy grazing. And hey, don’t forget to share your pics—unless you eat them too fast for proof. Promise, these are good enough to make you brag. You’ll never go back to those bland boxed ones again.