If rustic gluten-free boule bread has ever flopped for you, hey, I completely get it. That crunchy, thick crust and fluffy inside can seem like some wild alchemy, especially if wheat is off the table. But let me tell you, nailing an easy artisan gluten-free bread that doesn’t collapse or taste like cardboard is absolutely possible. You don’t need a Michelin star or a second mortgage on your kitchen gadgets either. Just a bit of real-life trial and, okay, a pinch of patience—plus my complete guide to mastering artisan gluten-free bread to walk you through every step.

Why You’ll Love This Recipe
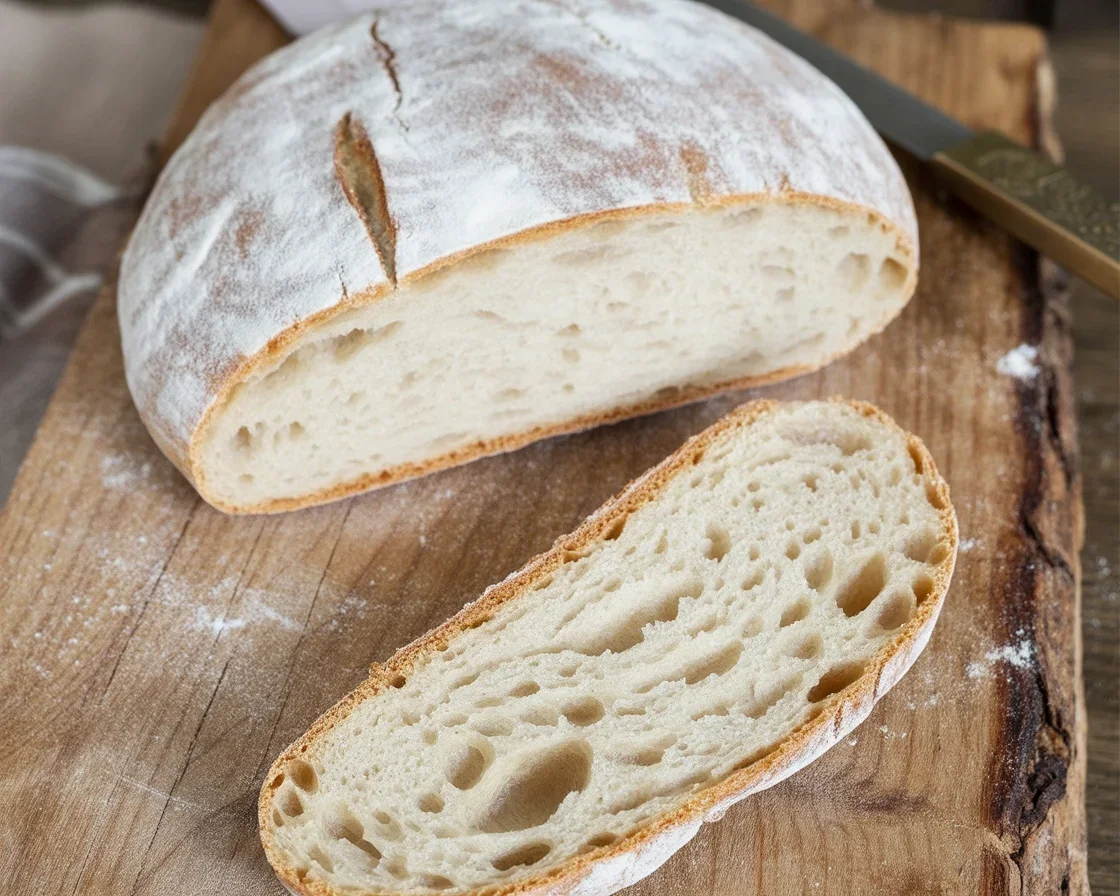
Honestly, this rustic gluten-free boule has rescued more than one sad Saturday brunch for me. You get that hearty, chewy feel of bakery bread, but without any tummy regret from the regular stuff. And the crust? Oh my. It crackles just right, like you bought it at a Parisian market (or at least wish you did).
The popularity of artisan-style breads continues to soar. Market research indicates that the global gluten-free products market size was estimated at USD 7.75 billion in 2024 and is projected to reach USD 13.67 billion by 2030, growing at a CAGR of 10.0% from 2025 to 2030. This tremendous growth is driven largely by demand for bakery products, which account for over 30% of the gluten-free market.
Probably my favorite thing though, besides the lovely bread smell throughout the house, is you don’t need fancy flour blends. Just easy-to-find ingredients, no pretentious stash from specialty stores. Perfect for folks with Celiac, gluten intolerance, or honestly—anyone craving homemade bread minus the drama.
“I never thought I’d eat real-tasting bread again until I found this recipe! My whole family devoured it straight from the oven.” – Tracy G.
If you’re just starting your gluten-free baking journey, understanding the fundamentals is crucial. Check out our comprehensive guide to gluten-free bread recipes for beginners to build your confidence with basic techniques.
Key Ingredients & Their Purpose
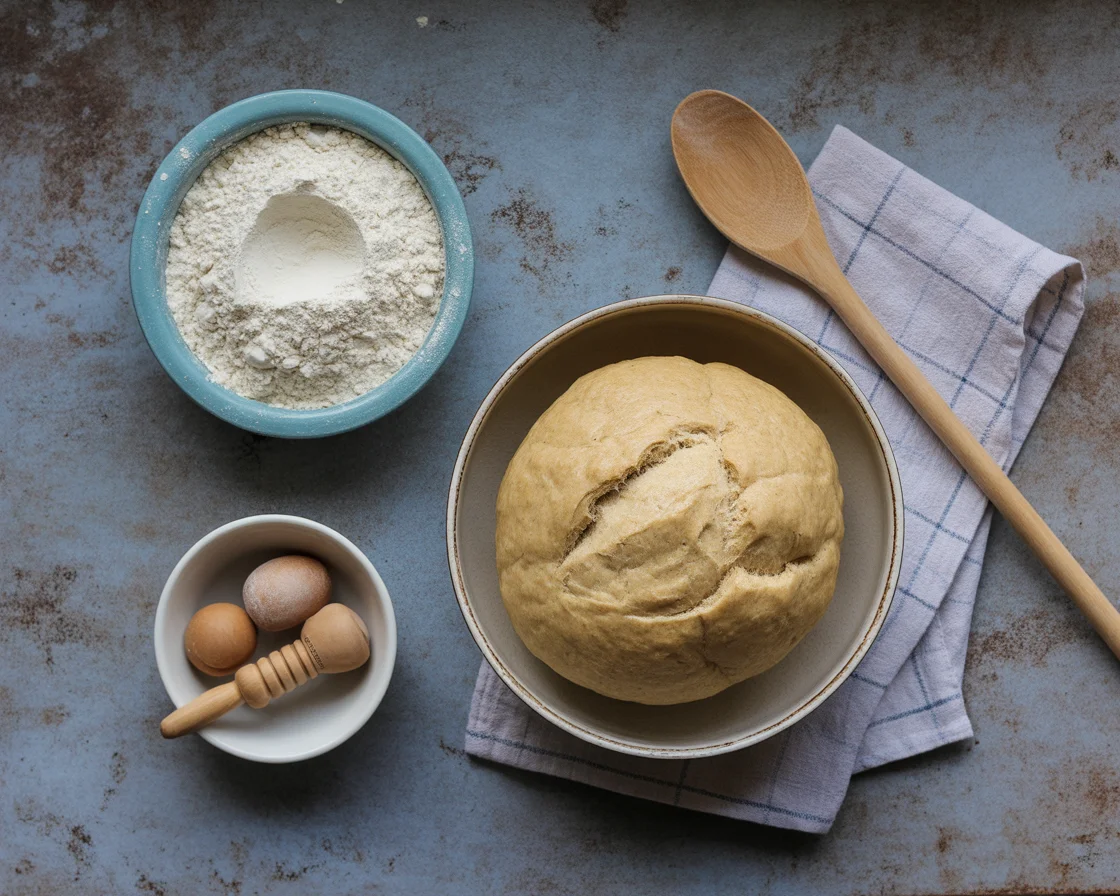
So, let’s break down what actually goes into this rustic gluten-free boule. The main grit is your gluten-free all-purpose flour—pick one that already has xanthan gum if you can. Can’t find that? Just toss a half teaspoon in. For the best results with different flour options, explore our detailed guide to gluten-free flour blends.
Warm water, of course, gets the yeast fired up. Speaking of, active dry yeast makes this loaf rise and gives you that yeasty, bread-shop aroma. Some folks try to skip the sugar, but trust me, yeast needs fuel and a tablespoon does the trick (it won’t make the bread sweet mid-sandwich). Salt equals flavor—use more than you’d expect. And finally, a touch of olive oil just helps keep it moist, not oily. It’s all about balance! There’s no wild science here, promise.
Recipe Ingredients:
2 tablespoons olive oil
3 cups gluten-free all-purpose flour (with xanthan gum)
1¼ cups warm water (110°F)
2¼ teaspoons active dry yeast
1 tablespoon sugar
1½ teaspoons salt
Step-by-Step Instructions
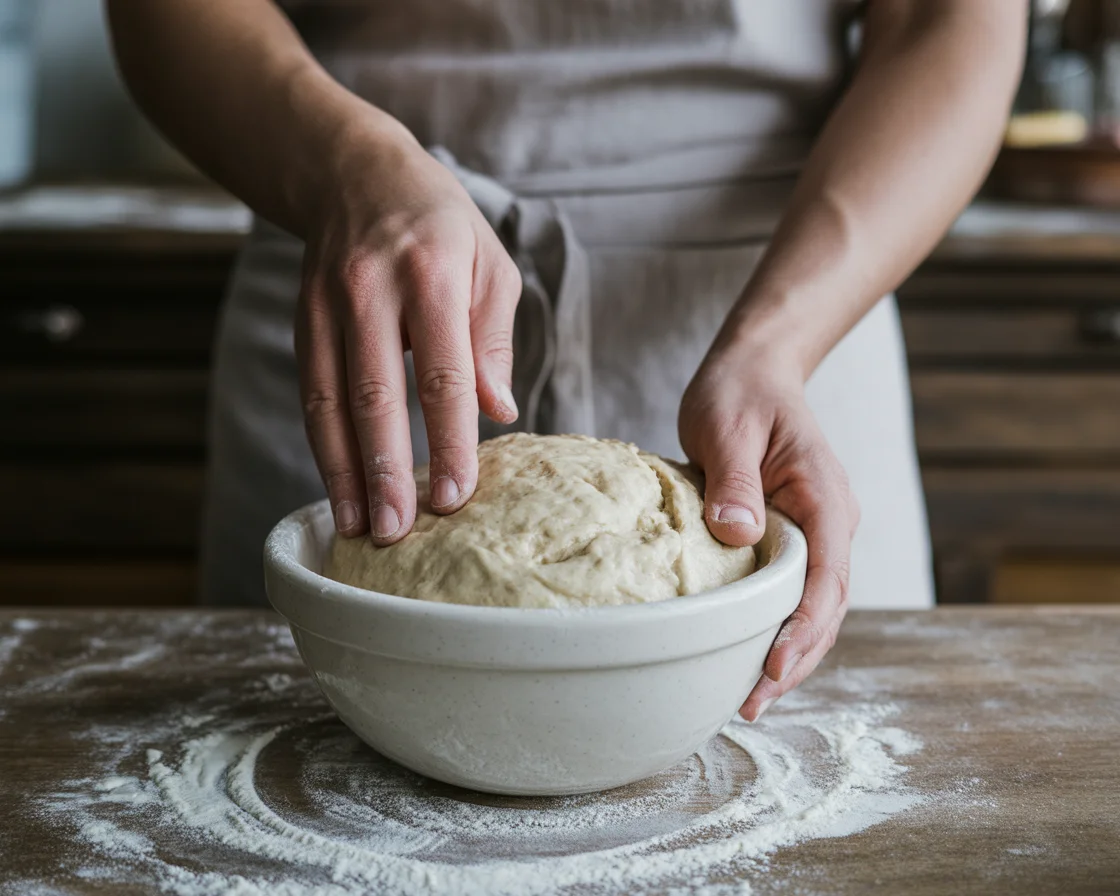
First, grab a big bowl and add your warm water, yeast, and sugar. Stir and let it sit for about five minutes—it’ll get foamy (seriously, don’t rush this or the bread stays sad and flat). Next, mix in the olive oil and salt. Now add the gluten-free all-purpose flour. Go slow! It’ll look too runny at first, but gluten-free dough is a bit more like thick pancake batter. Mix well, then cover the bowl and leave it alone somewhere warm for an hour. It’ll puff up, like magic. Preheat your oven to 450° F and toss in a Dutch oven if you’re feeling fancy (a baking tray works as backup). If the dough feels sticky, dust your hands with flour and shape it into a round. Drop it onto parchment and let it rise again for another 20 minutes. Slice a cross across the top with a knife—that makes it look all rustic and pro. Bake it covered for 25 minutes, then uncovered for 20 to finish the crust. Let it cool (if you can wait!).

Pro Tips for a Perfect Gluten-Free Boule
Alright, you want this loaf to be show-off material? Use filtered water if your tap has a weird taste. Also, don’t manhandle the dough—gluten-free stuff is shy and likes a gentle touch. Shape it quickly! And line the pan with parchment. Trust me, cleaning a stuck-on boule is zero fun. If the loaf browns too fast, pop a loose tent of foil over the top for the last ten minutes. Finally, patience is your best friend. If you slice into it hot, it’ll turn gummy. I know, I know, the smell is killer, but let it cool before cutting.
| Tip | Description |
|---|---|
| Use Warm Water | Ensure the water is warm but not hot to activate the yeast effectively. |
| Gentle Handling | Be gentle when shaping dough to avoid deflating it. |
| Allow Proper Rising | Let the dough rise in a warm spot to achieve the best texture. |
| Check for Hollow Sound | Tap the bottom of the loaf; if it sounds hollow, it is done. |
| Storage Tips | Wrap in a kitchen towel at room temperature for up to two days. |
Exploring More Artisan Bread Options
Once you master this basic boule technique, you might want to explore other artisan-style gluten-free breads. Our gluten-free baguette recipe uses similar techniques but creates those classic French loaves with a crispy crust.
For cheese lovers, try our cheesy gluten-free artisan bread that incorporates cheese directly into the dough for extra flavor and richness.
Variations & Flavor Additions
You know what’s cool? This rustic gluten-free boule can go any direction you want. Sometimes I’ll toss in some chopped rosemary or a dash of dried thyme into the dough. Sun-dried tomatoes and black olives make it taste like a vacation. People add shredded cheddar, caramelized onions, or even bits of jalapeno. One time I rubbed the top with garlic-infused olive oil before baking… my neighbors asked what magic I was up to. All this to say, the basic loaf is just the start. Explore, play, tweak! If it flops, you still get to eat your experiments.
Alternative Baking Methods
While this recipe is designed for traditional oven baking, some readers ask about bread machine options. For those interested in automated bread making, our guide to gluten-free bread in a bread machine covers techniques and adaptations, though artisan-style boules achieve their best texture through hand-shaping and traditional baking methods.
Troubleshooting Table
| Problem | Likely Cause | Solution |
|---|---|---|
| Pale crust | Oven not hot enough | Preheat longer, bake hotter at start |
| Dense loaf | Under-proofed dough | Let dough rise longer |
| Crust too hard | Overbaked | Reduce bake time or lower temp last 10 mins |
Serving Suggestions
Bread this good is begging for company, right? Try it these ways:
- Toast a fat slice with butter and a slather of jam—breakfast goals.
- Cube and dunk in your favorite chili or thick soup. Stomach = happy.
- Make an open-faced sandwich with smashed avocado, flaky salt, and chili flakes.
- Tear off chunks and nibble with aged cheddar on a chilly afternoon.
Storage & Freezing Tips
So—don’t panic if you can’t eat the whole loaf in one go. Wrap your rustic gluten-free boule in a clean kitchen towel at room temp. It’ll keep crusty for a day or two. To keep it longer, slice it up, pop slices in a freezer bag, and freeze. That way, you can toast from frozen and pretend you just whipped up a new loaf. Never store in the fridge, trust me, it gets rock-hard and sad. Freezer preserves texture way better.
For comprehensive storage techniques that’ll keep your artisan breads fresh for days or weeks, check out our detailed guide on storing gluten-free bread.
Common Questions
Could be the yeast didn’t activate or your water was too hot. Warm is good, but not scalding. Also, don’t skip letting it rise.
Absolutely! Just use a baking sheet. The crust might be slightly less snappy but still tastes great.
Look for a blend with xanthan gum. King Arthur and Cup4Cup have great ones that work every time for me.
Tap the bottom. It should sound hollow, like a little bread drum. Or just trust your nose—it should smell golden.
Yup, though maybe bake as two loaves so you don’t end up with a dough brick.
Give Your Oven a Chance: Try Something Homemade!
If you’re tired of brick-like loaves or crumbly disappointments, take my word and just try this rustic gluten-free boule recipe at home. It might not look like a five-star restaurant’s bread the first go (or maybe it will—who knows), but hey, it’ll be full of flavor, heart, and a sense of I-baked-this pride. Want more gluten-free baking inspiration? Check out resources like Gluten-Free Girl’s baking guide, you’ll find tips galore. The first slice is always the best. So what are you waiting for? Preheat your oven and bake up something awesome!
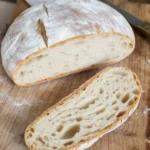
Rustic Gluten-Free Boule
“This rustic gluten-free boule brings the artisan bakery experience to your home kitchen with its beautifully crusty exterior and soft, open crumb. Shaped into a classic round loaf and baked to golden perfection, this bread features the irregular holes and chewy texture that make boules so beloved. With its impressive appearance and authentic flavor, this versatile bread is perfect for tearing and sharing, dipping in olive oil, or creating gourmet sandwiches that showcase true artisan craftsmanship
- Total Time: 60 minutes
- Yield: 1 loaf 1x
Ingredients
- 2 tablespoons olive oil
- 3 cups gluten-free all-purpose flour (with xanthan gum)
- 1¼ cups warm water (110°F)
- 2¼ teaspoons active dry yeast
- 1 tablespoon sugar
- 1½ teaspoons salt
Instructions
- In a large bowl, combine warm water, yeast, and sugar. Stir and let it sit for about 5 minutes until foamy.
- Add olive oil and salt to the mixture.
- Gradually mix in the gluten-free all-purpose flour until well combined. The dough will resemble thick pancake batter.
- Cover the bowl and let it rise in a warm place for 1 hour.
- Preheat the oven to 450°F and place a Dutch oven inside, or use a baking tray.
- If the dough is sticky, dust hands with flour and shape it into a round. Place onto parchment paper and let it rise for another 20 minutes.
- Slice a cross into the top of the dough for a rustic look.
- Bake covered for 25 minutes, then uncover and bake for an additional 20 minutes until the crust is golden.
- Let cool before slicing.
Notes
Use filtered water for best results, and handle the dough gently to prevent deflating.
- Prep Time: 15 minutes
- Cook Time: 45 minutes
- Category: Bread
- Method: Baking
- Cuisine: Gluten-Free
- Diet: Gluten-Free
Nutrition
- Serving Size: 1 slice
- Calories: 210
- Sugar: 2g
- Sodium: 400mg
- Fat: 7g
- Saturated Fat: 1g
- Unsaturated Fat: 4g
- Trans Fat: 0g
- Carbohydrates: 34g
- Fiber: 3g
- Protein: 5g
- Cholesterol: 0mg