These are my go-to waffles when I want something crisp outside, tender inside, and safe for gluten-free guests. I developed and tested this version several times to balance structure and flavor without relying on weird substitutes. Small tweaks — like resting the batter and using a hot waffle iron — made the biggest difference.
Why Make This Recipe
- Crispy outside and tender crumb inside — a texture most gluten-free waffles miss.
- Quick to mix: you can have batter ready in 10 minutes and waffles on the table in under 20.
- Easily adaptable for dairy-free or egg-free diets without losing structure.
- Great for breakfasts, brunches, or turning into waffle sandwiches for lunch.
- Personal insight: I love this recipe because it yields consistent results whether I use a 1:1 GF flour or a blend of oats and rice — no gummy center, just reliable crispness.
If you want help choosing flours and alternative milks, see this helpful guide to the best flours and milks for gluten-free baking (https://www.noglubread.com/best-flours-milks-gluten-free-dairy-free-bread/).
Recipe Overview
- Prep time: 10 minutes
- Cook time: 12–16 minutes (total for a batch; 3–4 minutes per waffle)
- Total time: 22–26 minutes
- Servings: 4–6 waffles (depending on iron size)
- Difficulty: Easy
- Method: Whisk dry ingredients, mix wet into dry (don’t overmix), rest briefly, then cook in a hot, lightly greased waffle iron set to medium-high.
My Experience Making This Recipe
I tested this recipe across three different waffle irons and with both a 1:1 gluten-free flour and a homemade oat-rice blend. The biggest discovery was that a 5–10 minute rest after mixing hydrates the flour and reduces cracking. Heating the iron fully before you pour batter is essential for consistent browning.
How to Make The Best Gluten Free Waffles
Start by whisking your dry ingredients (gluten-free flour blend, baking powder, a pinch of salt, and a little sugar) so the leavening is evenly distributed. Whisk wet ingredients separately (eggs, melted butter or oil, milk) and fold into the dry mix until just combined — a few small lumps are okay. Let the batter rest 5–10 minutes while the waffle iron heats to medium-high. Pour batter, close the lid, and cook 3–4 minutes or until steam slows and edges are golden-brown. Transfer waffles to a 200°F (95°C) oven on a wire rack to keep crisp while you finish the batch.
Expert Tips for Success
- Preheat the waffle iron fully — a good 5–7 minutes on medium-high — so steam escapes quickly and you get browning.
- Rest the batter 5–10 minutes to let the gluten-free flours hydrate; this reduces graininess and prevents cracks.
- Use oil or melted butter (about 2–3 tbsp per 2 cups flour) instead of butter alone for better crispness — fats conduct heat and promote browning.
- For extra crispness, cook until steam is minimal and then place waffles on a wire rack in a 200°F oven instead of stacking them.
- If using oats, use certified gluten-free rolled oats ground to a flour for best texture; add 1 tsp xanthan gum per 2 cups of gluten-free flour blend if your mix lacks binders.
How to Serve The Best Gluten Free Waffles
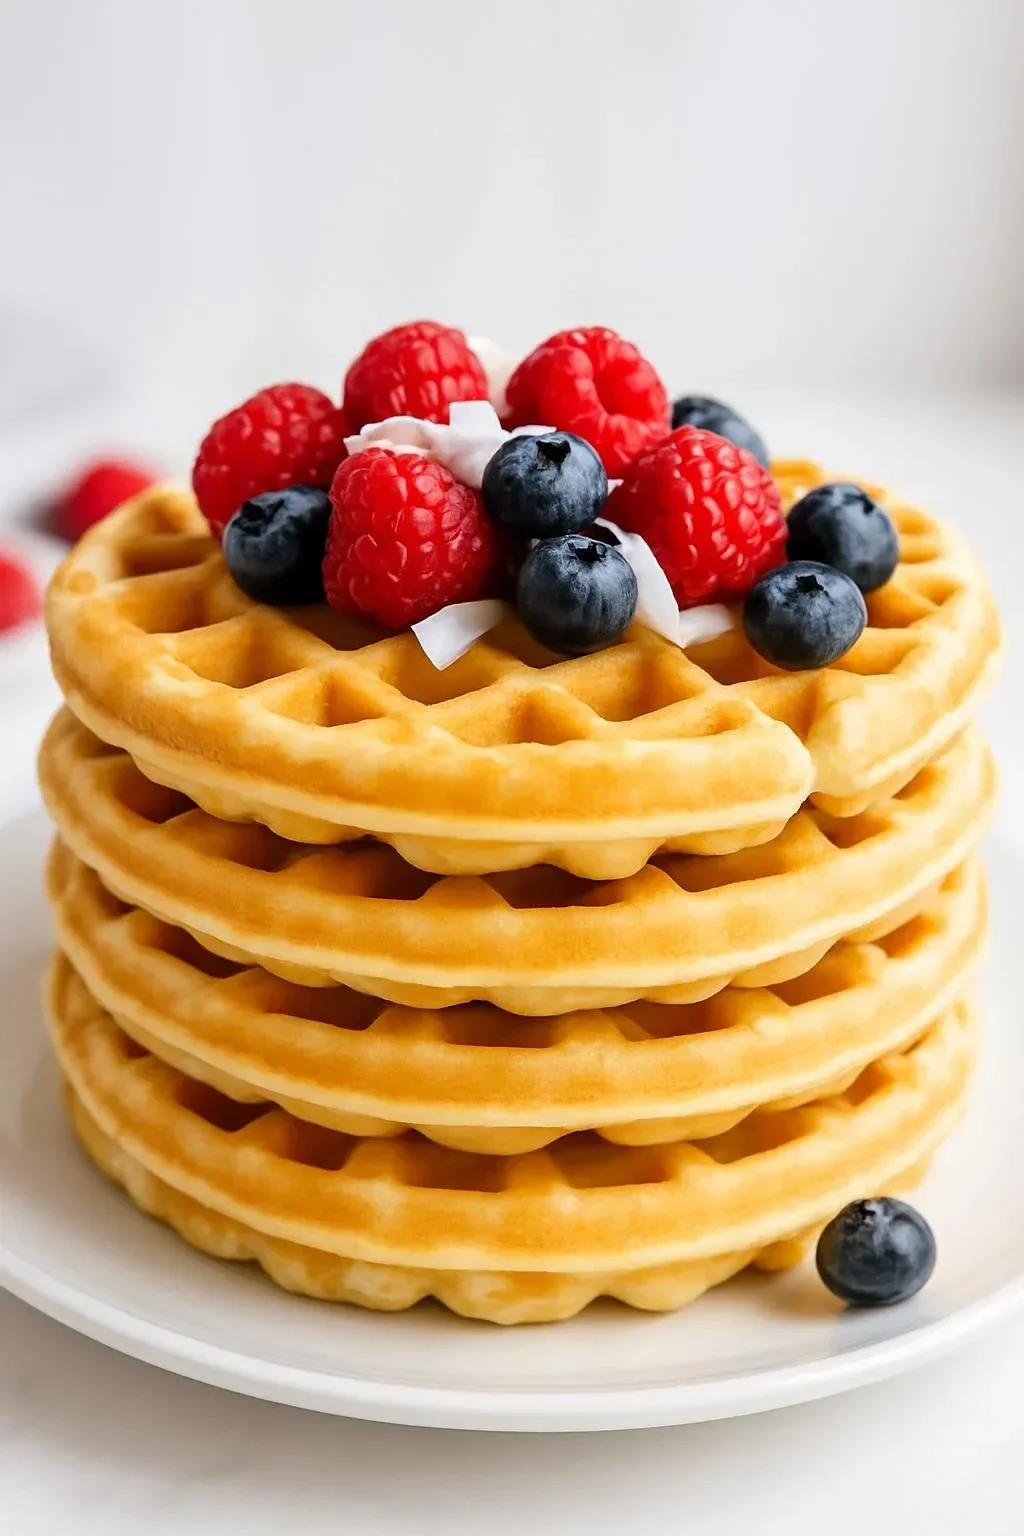
- Classic: butter, real maple syrup, and a scattering of fresh berries for bright acidity.
- Savory: top with fried chicken, herbs, and hot honey for a crowd-pleasing sandwich.
- Brunch platter: serve with Greek yogurt, toasted nuts, and a side of fruit compote.
- Presentation tip: stack waffles on a wire rack, top with fruit, and drizzle sauce in a slow zig-zag to avoid sogginess.
Storage and Reheating Guide
- Refrigerator: Store cooked waffles in an airtight container for up to 3 days. Reheat in a 350°F oven for 6–8 minutes or in a toaster oven until crisp.
- Freezer: Flash-freeze waffles in a single layer on a baking sheet for 1 hour, then transfer to a resealable freezer bag for up to 3 months.
- Reheating from frozen: Toast directly from frozen in a toaster or toaster oven for 3–5 minutes, or bake at 375°F for 8–10 minutes. Avoid microwaving unless you’re in a hurry — it will make them soft and chewy.
Recipe Variations
- Dairy-free: Substitute almond, oat, or soy milk and use coconut oil or light olive oil instead of butter.
- Egg-free: Replace each egg with 1 tablespoon ground flaxseed + 3 tablespoons water (let sit 5 minutes) for a reliable binder.
- Oat-based: Use 100% gluten-free oat flour with 1 tsp xanthan gum per 2 cups for a tender, nutty waffle.
- Savory herb waffle: Reduce sugar, add 1 tsp dried thyme and 2 tbsp grated Parmesan (or nutritional yeast for dairy-free) to the batter.
Nutritional Highlights
- Fiber: Using whole-grain oat or sorghum blends increases fiber compared with refined flours.
- Protein: Adding an egg and using milk contributes protein to help balance the carbs.
- Allergen note: This recipe commonly includes eggs and dairy; adapt as above for egg-free or dairy-free needs, and always use certified gluten-free labeled ingredients for celiac safety. Portion guidance: one standard waffle is about one serving — adjust toppings mindfully for calorie control.
Troubleshooting Common Issues
- Waffles turn out soggy: Make sure the iron is hot, don’t overfill, and finish waffles on a wire rack in a 200°F oven so steam escapes.
- Batter too thick or thin: Aim for a pourable but slightly thick batter — if too thick, add 1–2 tbsp milk at a time; if too thin, add 1 tbsp flour at a time.
- Waffles stick to the iron: Grease the iron lightly with oil or nonstick spray between batches and avoid using excessive sugar in the batter, which can caramelize and stick.
Frequently Asked Questions
Q: Can I make the batter the night before?
A: Yes. Store batter in the refrigerator covered for up to 24 hours. Bring it to room temperature and whisk gently before cooking — you may need a splash of milk if it thickened.
Q: How do I make the crispiest gluten-free waffles?
A: Use a mix with some rice or cornstarch for crispness, include a little oil, preheat the iron thoroughly, and finish cooked waffles on a wire rack in a 200°F oven to let steam escape.
Q: Are these waffles safe for people with celiac disease?
A: They can be when every ingredient is certified gluten-free and you avoid cross-contamination in your kitchen. Use separate utensils and a clean waffle iron if needed.
Q: Can I freeze the batter or cooked waffles?
A: Freeze cooked waffles (best method) on a sheet first then transfer to a bag for up to 3 months. I don’t recommend freezing batter because leavening can lose effectiveness; if you must, use within 24 hours and expect slightly different rise.
Conclusion
For more quick and tested recipes to compare techniques and textures, check this round-up of Easy Gluten-Free Waffles – Mama Knows Gluten Free. If you want another chef-tested version, see The Best Gluten Free Waffles Recipe – Maple and Thyme. Looking for store-bought options and a review of frozen varieties, this helpful article on Review of the Best Frozen Gluten-Free Waffles – Clean Eating … is a good reference. For an oat-forward recipe and technique notes, try Easy Gluten Free Waffles Recipe – Cookie and Kate. If you use a 1:1 baking flour and want a dairy-free crispy option, this guide on Gluten-Free Waffles (1:1 Baking Flour!) – Meaningful Eats is excellent.
Print
Crispy Gluten-Free Waffles
These gluten-free waffles are crisp outside and tender inside, perfect for gluten-free guests without relying on unusual substitutes.
- Total Time: 26 minutes
- Yield: 4-6 waffles 1x
Ingredients
- 2 cups gluten-free flour blend
- 2 tsp baking powder
- 1/4 tsp salt
- 1 tbsp sugar
- 2 eggs
- 1/4 cup melted butter or coconut oil
- 1 3/4 cups milk (dairy or non-dairy)
Instructions
- Whisk together the dry ingredients (gluten-free flour, baking powder, salt, sugar).
- In a separate bowl, combine wet ingredients (eggs, melted butter/oil, milk) and fold into the dry mix until just combined.
- Let the batter rest for 5-10 minutes while preheating the waffle iron to medium-high.
- Pour batter into the waffle iron, close the lid, and cook for 3-4 minutes until steam slows and edges are golden-brown.
- Transfer waffles to a wire rack in a 200°F (95°C) oven to keep crisp while finishing the batch.
Notes
Preheat the waffle iron fully for best results. For extra crispness, cook until steam is minimal and keep waffles in the oven to avoid sogginess.
- Prep Time: 10 minutes
- Cook Time: 16 minutes
- Category: Breakfast
- Method: Waffle Making
- Cuisine: American
- Diet: Gluten-Free
Nutrition
- Serving Size: 1 waffle
- Calories: 220
- Sugar: 3g
- Sodium: 150mg
- Fat: 9g
- Saturated Fat: 3g
- Unsaturated Fat: 6g
- Trans Fat: 0g
- Carbohydrates: 30g
- Fiber: 2g
- Protein: 6g
- Cholesterol: 50mg