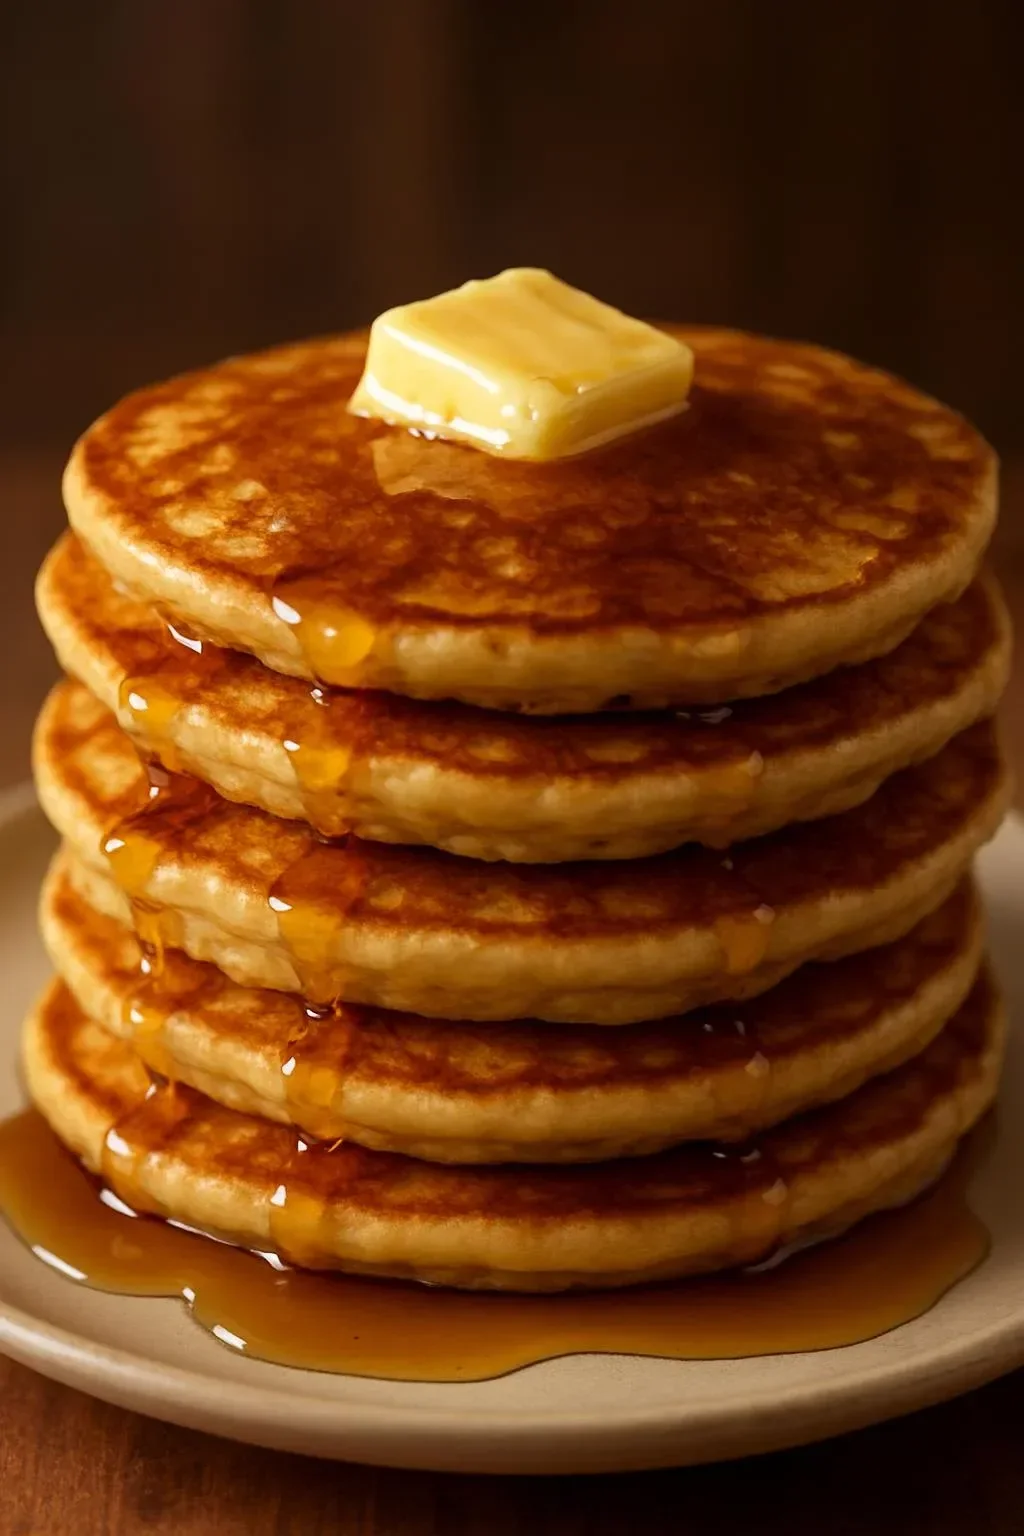
These light, tender pancakes are my go-to when feeding someone who needs gluten-free and low-FODMAP options without sacrificing classic flavor. I’ve tested this version several times to get the texture fluffy and the edges a little crisp, and it reliably wins even with picky eaters.
Why Make This Recipe
- Naturally gluten-free and low-FODMAP so more guests can enjoy breakfast without digestive upset.
- Fluffy, tender crumb with a lightly crisp edge — tastes like regular pancakes, not cardboard.
- Quick to make: batter mixes in one bowl and cooks on a hot griddle in just minutes.
- Versatile — works with dairy-free milks and the batter holds mix-ins like blueberries well.
- Personal insight: I love this recipe because the batter is forgiving — you can rest it 10–15 minutes for better texture without any fuss.
Recipe Overview
- Prep time: 10 minutes
- Cook time: 10–15 minutes (about 2–3 minutes per pancake)
- Total time: 20–25 minutes
- Servings: 8 pancakes (about 3–4 servings)
- Difficulty: Easy
- Method: Whisk dry ingredients, mix in wet, rest briefly, then cook on a medium-hot skillet or nonstick griddle (around 350°F / 175°C) until golden.
My Experience Making This Recipe
I tested this batter with different gluten-free flour blends and settled on a cup-for-cup blend with rice and tapioca starch for best lift. I also learned that resting the batter 10–15 minutes improves texture — it lets the starch hydrate and the baking powder work more evenly.
How to Make Best Gluten Free Low FODMAP Pancakes
Start by whisking the dry ingredients thoroughly so the baking powder distributes evenly; this prevents uneven rise. Whisk in wet ingredients just until combined — small lumps are fine and overmixing leads to tough pancakes. Cook on a preheated nonstick skillet at medium heat (about 350°F / 175°C) and flip when bubbles form and edges look set; each side should take about 1–2 minutes.
Expert Tips for Success
- Use a digital scale or level your cup measures; gluten-free batters are sensitive to extra flour and can dry out fast.
- Preheat the pan and test with a teaspoon of batter — the surface should sizzle gently and the batter should spread slowly.
- For lift, use baking powder that’s fresh (less than 6 months after opening) and don’t overmix — gluten-free flours don’t need long development.
- If you want a slightly crisper edge, add 1 tablespoon neutral oil to the batter and cook with a thin film of oil on the pan.
- For flour and milk choices, see this helpful best flours and milks guide to pick blends that hydrate well and stay low-FODMAP: best flours and milks guide.
How to Serve Best Gluten Free Low FODMAP Pancakes
- Classic: stack and top with pure maple syrup and a knob of dairy-free butter or lactose-free butter.
- Fruit-forward: fold low-FODMAP blueberries into the batter (up to 20–30 g per serving) and dust with powdered sugar.
- Savory brunch: serve with crispy bacon or smoked salmon and a dollop of lactose-free yogurt mixed with chives.
- Presentation tip: keep cooked pancakes warm in a single layer on a baking sheet in a 200°F (95°C) oven while you finish the batch.
Storage and Reheating Guide
- Refrigerator: store cooled pancakes in an airtight container or zip-top bag for up to 3 days.
- Freezing: freeze flat on a sheet tray, then transfer to a freezer bag for up to 2 months. Place parchment between layers to prevent sticking.
- Reheat from refrigerated: warm individual pancakes in a toaster or toaster oven at 350°F (175°C) for 3–4 minutes.
- Reheat from frozen: reheat in a 350°F (175°C) oven for 8–10 minutes or microwave on medium power in 20–30 second bursts until hot, then crisp in a hot skillet for 30–60 seconds if desired.
Recipe Variations
- Dairy-free: use lactose-free milk or almond milk (unsweetened) and dairy-free butter; both keep this low-FODMAP when used within recommended serving sizes.
- Higher protein: add 1 scoop (about 25 g) unflavored pea protein powder and reduce flour by 1/4 cup; add an extra tablespoon of liquid if batter seems thick.
- Blueberry pancakes: fold 1/2 cup low-FODMAP blueberries into batter right before scooping. I tested this and found small berries work best for even cooking.
- Crepe-style (thin pancakes): thin the batter with an extra 2–3 tablespoons of milk and spread thinner on the griddle; cook slightly less per side for tender crêpes.
Nutritional Highlights
- Lower in fermentable carbs when using lactose-free milk and measured fruit portions, which helps ease IBS symptoms for many.
- Provides protein from eggs and optional milk; choose fortified dairy-free milks for added calcium and B vitamins.
- Allergen note: contains eggs and may contain milk depending on substitutions; naturally gluten-free when using certified gluten-free flour. Portion sizes of fruit and certain milks should follow low-FODMAP serving guidance.
Troubleshooting Common Issues
- Pancakes are dense: you likely overmeasured flour or overmixed. Use correct flour weight and mix until just combined, then rest 10 minutes.
- They burn on the outside but are raw inside: pan is too hot. Lower heat to medium (about 350°F / 175°C) and allow batter to spread and cook more slowly.
- Batter too thin or watery: add 1–2 tablespoons of gluten-free flour or 1 tablespoon of ground oats to thicken, then rest 5–10 minutes to hydrate.
Frequently Asked Questions
Q1: Can I make the batter ahead and refrigerate it?
A1: Yes — you can refrigerate batter up to 24 hours. Expect slightly denser pancakes because the leavening will lose some lift; add 1/2 teaspoon fresh baking powder per cup of batter before cooking to refresh lift.
Q2: Which gluten-free flour blend gives the best texture?
A2: A cup-for-cup blend that contains rice flour plus tapioca or potato starch works well for lift and tenderness. Blends with xanthan gum help with binding; if yours doesn’t include gum, add 1/4 teaspoon per cup of flour.
Q3: Are these pancakes suitable for someone with a severe gluten allergy?
A3: Yes, if you use certified gluten-free flour and ensure all other ingredients (baking powder, oats, mix-ins) are certified gluten-free to avoid cross-contamination.
Q4: How do I prevent pancakes from sticking to the pan?
A4: Use a good nonstick skillet or well-seasoned cast iron, preheat it properly, and wipe a thin film of oil between batches. Use a thin, flexible spatula to flip when bubbles form and edges look set.
Conclusion
For more low-FODMAP pancake ideas and tested recipes, try this Low FODMAP Fluffy Pancakes – FODMAP Everyday for another fluffy approach. If you want a variant that emphasizes crispy edges, see Low FODMAP Pancakes (Gluten Free) – Pretty Delicious Life. For an alternative dairy-free American-style pancake method, check Gluten-free American Pancakes Recipe – BEST EVER!. Looking for berry-forward pancakes, visit Simply Delicious Low-FODMAP Blueberry Pancakes; Gluten-free … . And if you enjoy thinner pancakes, this Gluten Free Crêpes Recipe (dairy free, low FODMAP) offers a great crepe technique.
Print
Best Gluten Free Low FODMAP Pancakes
Deliciously fluffy and tender pancakes that are gluten-free and low-FODMAP, perfect for breakfast without digestive issues.
- Total Time: 25 minutes
- Yield: 4 servings (8 pancakes) 1x
Ingredients
- 1 cup gluten-free flour blend
- 2 tablespoons sugar
- 1 tablespoon baking powder
- 1/4 teaspoon salt
- 1 cup milk (lactose-free or dairy-free)
- 2 large eggs
- 2 tablespoons melted butter or dairy-free alternative
Instructions
- In a mixing bowl, whisk together the gluten-free flour, sugar, baking powder, and salt.
- In another bowl, combine the milk, eggs, and melted butter. Mix well.
- Pour the wet ingredients into the dry ingredients and stir until just combined (small lumps are fine).
- Let the batter rest for 10-15 minutes for better texture.
- Preheat a nonstick skillet over medium heat (around 350°F / 175°C).
- Pour 1/4 cup of batter onto the skillet and cook until bubbles form and edges look set (about 2-3 minutes).
- Flip and cook for another 1-2 minutes until golden brown.
Notes
For crispy edges, add 1 tablespoon of neutral oil to the batter and use oil on the skillet when cooking.
- Prep Time: 10 minutes
- Cook Time: 15 minutes
- Category: Breakfast
- Method: Griddling
- Cuisine: American
- Diet: Gluten-Free, Low-FODMAP
Nutrition
- Serving Size: 2 pancakes
- Calories: 300
- Sugar: 8g
- Sodium: 450mg
- Fat: 12g
- Saturated Fat: 4g
- Unsaturated Fat: 6g
- Trans Fat: 0g
- Carbohydrates: 36g
- Fiber: 2g
- Protein: 8g
- Cholesterol: 70mg