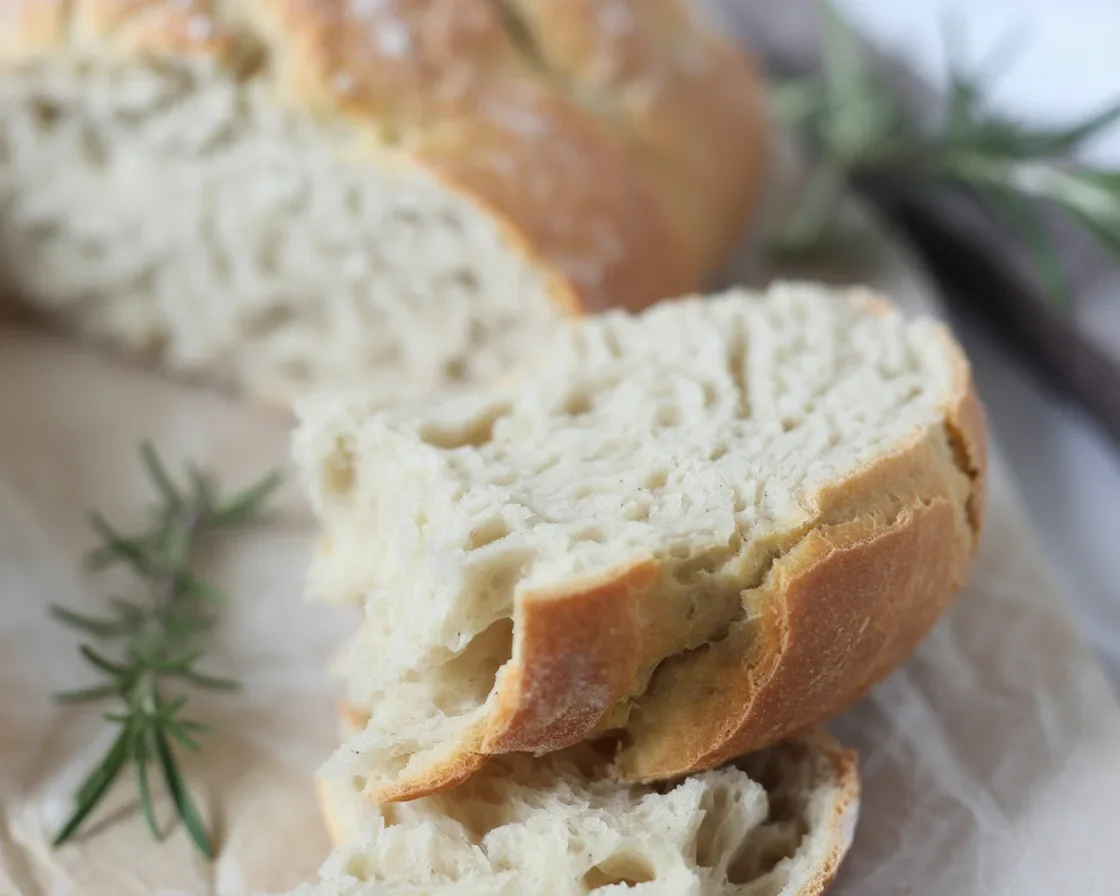
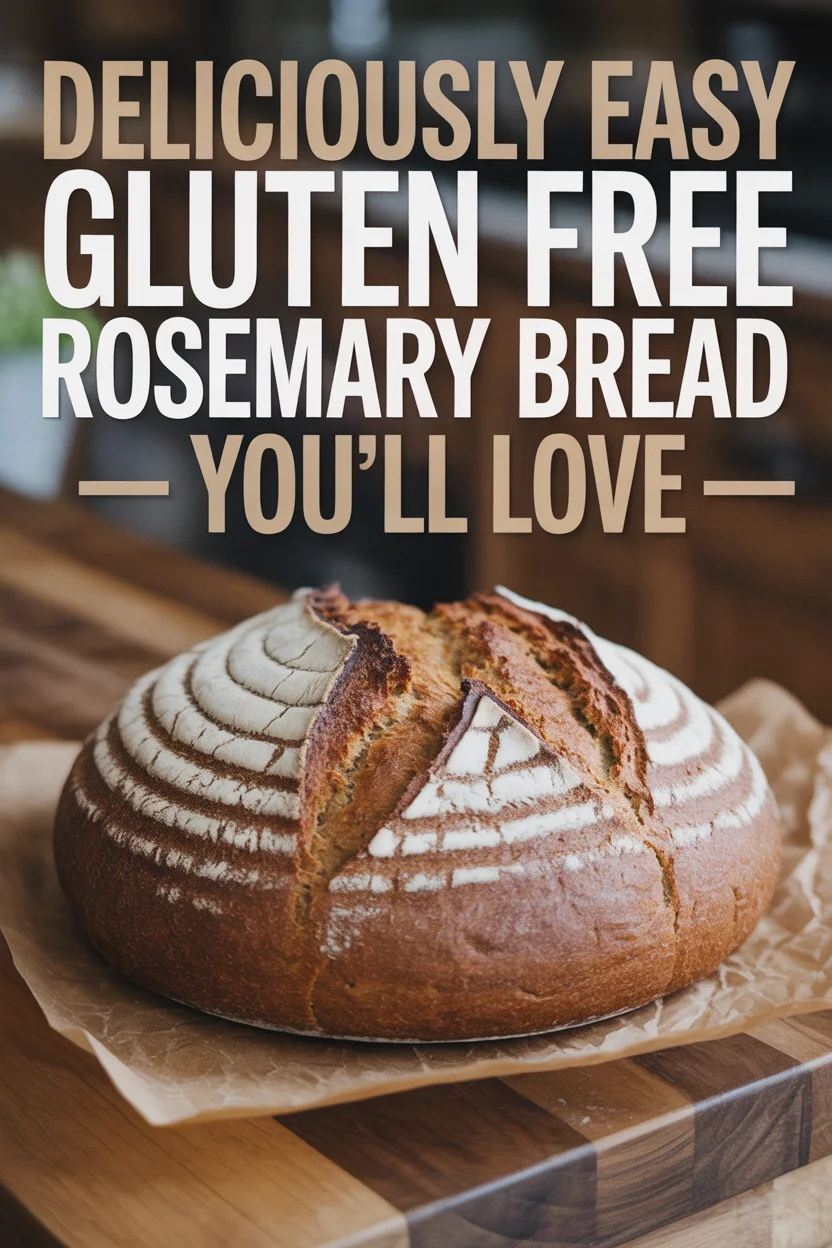
gluten free rosemary bread used to feel like a distant dream for me. Either the loaf turned out too dense or it tasted flat. I wanted something simple that still delivered that cozy bakery smell and a tender, sliceable crumb. After plenty of test bakes, this is the loaf I make every week. The flavor is bright with rosemary, the crust is lightly crisp, and the inside is soft enough to dunk in soup or slather with butter. If you want something easy that tastes like it came from a small bakery, you’re in the right kitchen.
Simple Ingredients for Gluten-Free Bread
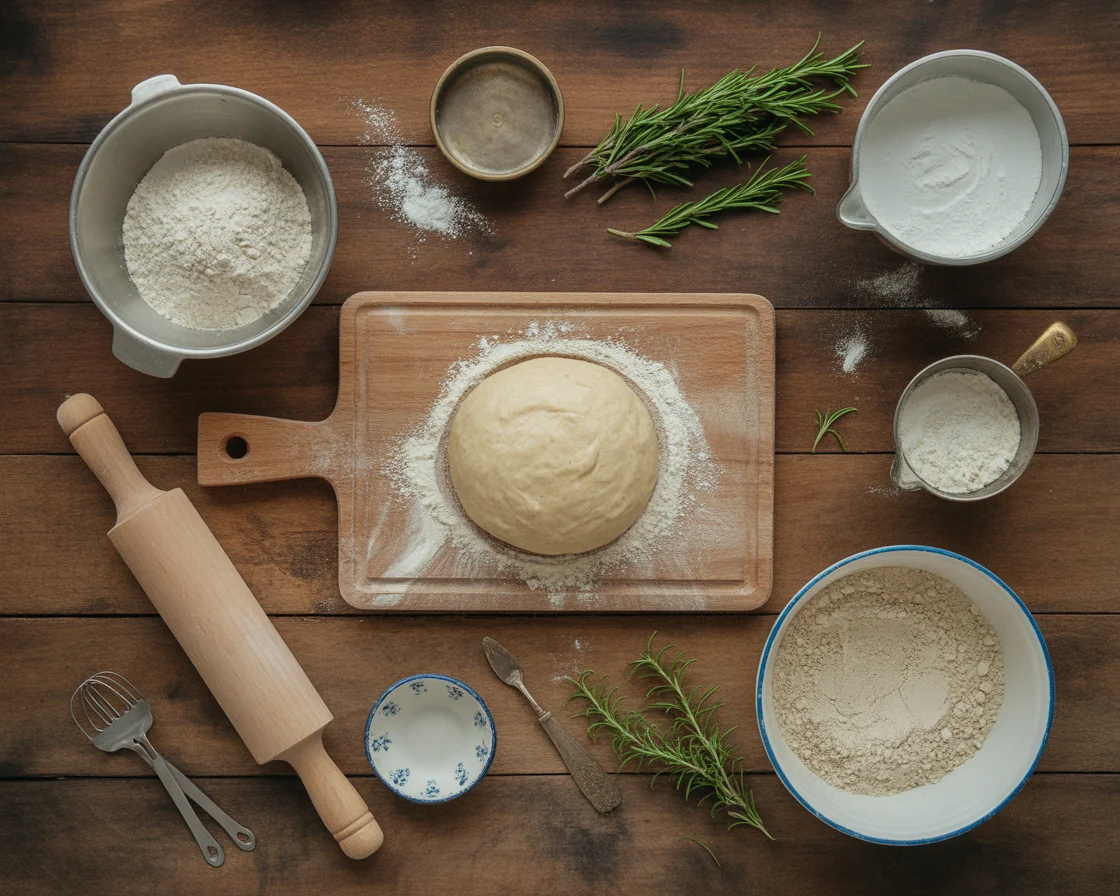
Let’s keep this straightforward. You do not need fancy equipment, and you do not need a long list of hard-to-find ingredients. Here’s what I use to make one medium loaf, and why each piece matters.
Pantry essentials
- Gluten-free flour blend: Choose a blend with rice flour and starches. A cup-for-cup style flour works great here.
- Tapioca starch: Adds chew and helps the crust crisp slightly.
- Instant yeast: Reliable and speedy. If using active dry, let it sit in warm water first.
- Sugar or honey: Feeds the yeast and rounds out flavor. I use 1 tablespoon.
- Salt: Do not skimp. Salt is flavor.
- Warm water: Slightly warm to the touch. Not hot.
- Olive oil: Gives tenderness and a hint of richness.
- Egg whites or aquafaba: Lighten the crumb without making it cakey.
- Xanthan gum if your flour blend does not include it: Helps everything hold together.
Fresh flavors
Fresh rosemary is the star. I chop it fine so it spreads evenly. A little garlic powder and a pinch of black pepper make it feel extra savory, almost like a focaccia vibe. If you prefer a simple loaf, just rosemary and salt will still taste lovely.
If you are new to gluten-free baking, this guide on the best flours and milks gives solid options for dependable blends and dairy alternatives. It is a handy reference when you are choosing your main flour.
How to Make Gluten-Free Artisan Bread Step by Step
I like to mix this bread by hand with a sturdy spatula. You can use a stand mixer if you prefer. Either way, the batter should be thick and a bit sticky, more like muffin batter than traditional dough. Here is the exact flow I follow.
Mixing and rising
- Whisk together the dry ingredients: flour blend, tapioca starch, yeast, salt, and xanthan gum if using.
- In a separate bowl, mix warm water, olive oil, sugar or honey, and egg whites or aquafaba.
- Pour the wet into the dry and stir until fully combined. The batter will look sticky and smooth.
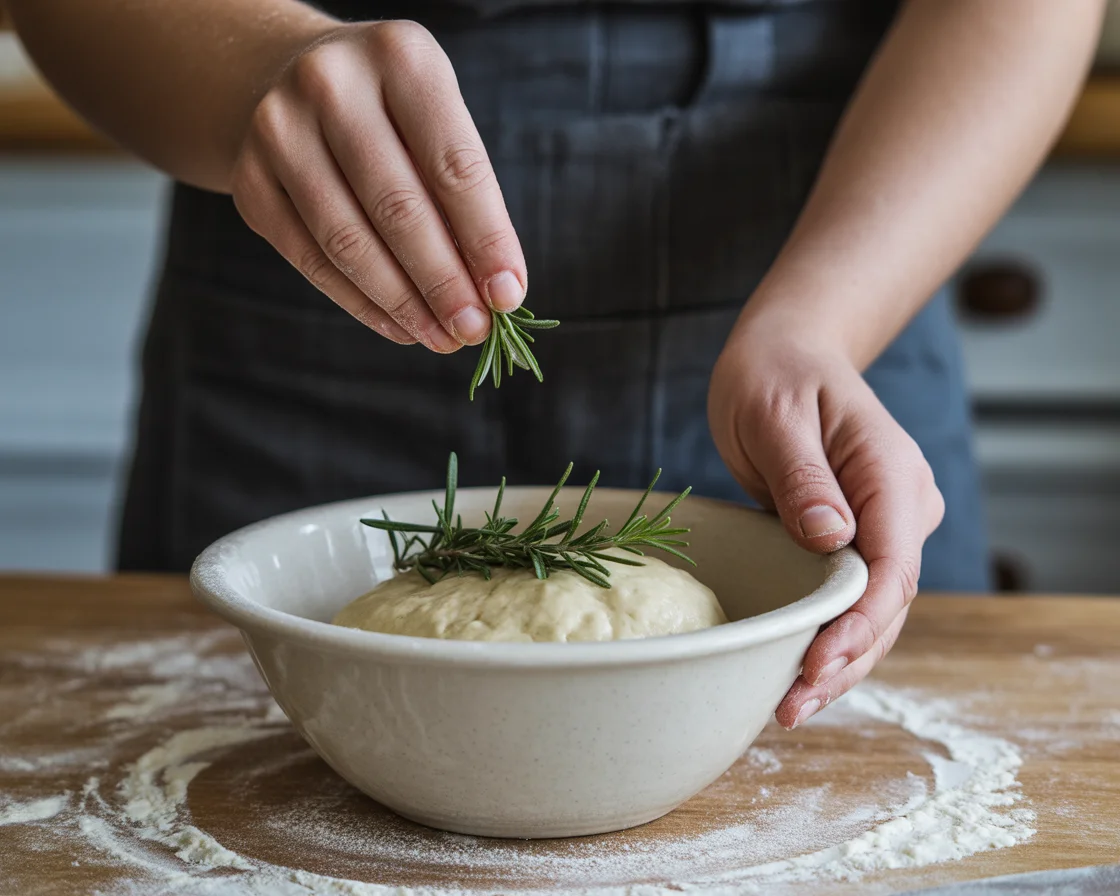
- Fold in the minced rosemary, garlic powder, and pepper. Taste a tiny pinch of batter to check seasoning. Yes, really.
- Scrape the batter into a greased loaf pan. Smooth the top with a wet spatula. Sprinkle on a little more chopped rosemary and a light pinch of salt.
- Cover loosely and let it rise in a warm spot until puffy, about 35 to 45 minutes. It should climb close to the top of the pan.
Baking for a crisp crust
- Preheat to 400 F. Place an empty baking sheet on the bottom rack while the oven heats to help build steam.
- When the oven is hot, place the loaf on the middle rack and pour a cup of hot water onto the preheated sheet below. Close the door quickly.
- Bake 25 to 35 minutes, until golden on top and firm around the edges. The internal temp should be around 205 to 210 F.
- Cool in the pan 10 minutes, then gently remove and cool fully on a rack before slicing.
If you want more artisan-style detail, this artisan gluten-free bread guide walks through shaping options and crust tricks. Baking in a different oven type? I have you covered. Here is a helpful piece on baking gluten-free bread in different ovens, from toaster to convection.
A Few Tips to Get This Recipe Just Right
Think of this loaf like a quick batter bread, not a kneaded dough. That mind shift helps a lot. You want a thick but spreadable mixture that holds gentle ridges. If it is too dry, add a tablespoon of warm water. If it is too wet, sprinkle in a bit more flour blend.
Water temperature matters. Aim for warm bath water. If it feels hot on your finger, it is too hot for the yeast. Give your rosemary a super fine chop, too. Big leaves can create bitter pockets and uneven flavor.
For the crust, use that simple steam method with a hot tray of water. It is not fussy and gives you a better finish without special gear. Also, let the bread cool fully before slicing. The crumb keeps setting as it cools and you will get cleaner slices.
I was honestly surprised. I made this on a weeknight and it actually tasted like the real deal. Soft inside, a little crisp outside, and the rosemary smelled amazing. My partner asked me where I bought it. I will be making this again.
– Jenna, home baker
Curious about pushing the crust even further? Check out this deep dive on achieving a crispy crust with gluten-free loaves. If you prefer to let a machine do the mixing, this method for using an artisan bread machine can help you adapt the recipe.
What to Serve with This Delicious Bread
This bread is friendly with almost everything. It is perfect with tomato soup or a simple salad. I also love it toasted with soft goat cheese and a drizzle of honey for a snack that feels fancy but takes two minutes.
For dinner, slice thick and brush with olive oil. Grill the slices until they pick up a little color, then rub with a cut clove of garlic. That little move turns your loaf into a rustic side for pasta night.
If you are gathering weekend brunch ideas, use this loaf as your toast base and set out jams, eggs, and avocado. For more everyday bread inspiration, have a peek at my favorite store options and sandwich classics. Here are my notes on the best store-bought gluten-free bread and my go-to gluten-free sandwich bread when I want simple slices for the week.
Additional Variations and Ideas for Gluten-Free Bread
Once you nail the base loaf, it opens so many doors. Try olives and lemon zest for a bright Mediterranean twist. Add roasted garlic for a mellow, cozy flavor. You can scatter grated Parmesan on top before baking for a savory crust, or swap in dairy-free cheese and keep it totally dairy free.
Feeling creative? Stir in chopped sun-dried tomatoes and a spoonful of oil from the jar for a deeper color and a hint of umami. You can even shape mini rolls by scooping the batter into a muffin tin. Bake until golden and you have little rosemary buns for soup night.
For more flavor-forward ideas, take a look at my cheesy gluten-free artisan bread. If you want to browse lots of recipe options, the specialty and artisan bread section has plenty of fun spins.
And if you like quick loaves, the oat version here lives on my busy week list: easy gluten-free oat quick bread. You can also dive into the broader collection for even more ideas in the gluten-free bread recipes archive.
How I serve and store this loaf
After the loaf cools, I slice most of it and keep the slices in an airtight bag at room temp for a day. The rest goes to the freezer with parchment between slices so I can grab one at a time. Reheat in the toaster and it springs back nicely. If it ever seems a touch dry, toast it and add olive oil or butter to bring it back to life.
Why this recipe works
I know the struggle of getting a gluten-free loaf to feel like bread, not cake. This batter method keeps things easy while the combo of flour blend and tapioca starch gives structure and tenderness. Egg whites or aquafaba add lift without heaviness. Rosemary brings bold aroma so every slice tastes special even if your dinner is as simple as scrambled eggs and a salad.
And yes, this is absolutely a weeknight bake. Stir, rise, bake, done. For me, that is the sweet spot. It is why I return to this gluten free rosemary bread again and again. The end result tastes like a bakery treat, but it fits into real life.
Small troubleshooting guide
If your loaf sinks a little in the center, it likely needed a few more minutes in the oven. Check the internal temperature. If the crumb feels gummy, let it cool longer and try reducing water by a tablespoon next time. If the top browns too quickly, tent with foil for the last 10 minutes. Little tweaks lead to big improvements, so take a quick note on what you changed each time you bake.
By the way, this base method adapts well to other herbs like thyme or sage. Just keep the amounts similar to the rosemary so the balance stays right. And when in doubt, a little extra salt often makes flavors pop.
Flavor notes and pairing ideas
Rosemary has a piney, bright smell that loves citrus, garlic, and pepper. Add a light squeeze of lemon over warm slices if you like a fresh kick. Serve with a simple tomato and cucumber salad or a creamy soup like potato leek. For a sandwich, layer turkey, provolone, and arugula with a smear of pesto. It is simple, but it tastes like a cafe lunch.
When friends come over, I slice the loaf, brush with olive oil, toast on a skillet, and set out a little board with olives, marinated artichokes, and soft cheese. People go for it every time. If dessert is on your mind, save a couple slices for the morning and turn them into savory French toast with a pinch of Parmesan in the egg mixture. It is unexpected and so good.
Baker’s notes for consistency
Use a scale if you can. Measuring flour with cups can swing texture a lot. If the batter is too stiff, the loaf will not rise as high. On humid days, I sometimes reduce water by a tablespoon. On dry winter days, I sometimes add it. Think of it like giving your bread what it needs in the moment.
Finally, remember that gluten free rosemary bread appreciates a patient cool-down. I know it smells amazing and the urge to slice is real. Waiting 45 to 60 minutes creates slices that are soft, sturdy, and ready for butter.
Ready to bake and share?
You have the ingredients, the steps, and the small tricks that make this loaf sing. If you want to compare styles or explore more herb-forward ideas, this take on Gluten Free Rosemary Bread – Just As Good is a helpful reference. For a fluffier, pan-style twist, I also love this Easy Gluten-Free Focaccia Bread. Now it is your turn. Grab the rosemary, preheat the oven, and bake a loaf you will be proud to slice and share.
Print
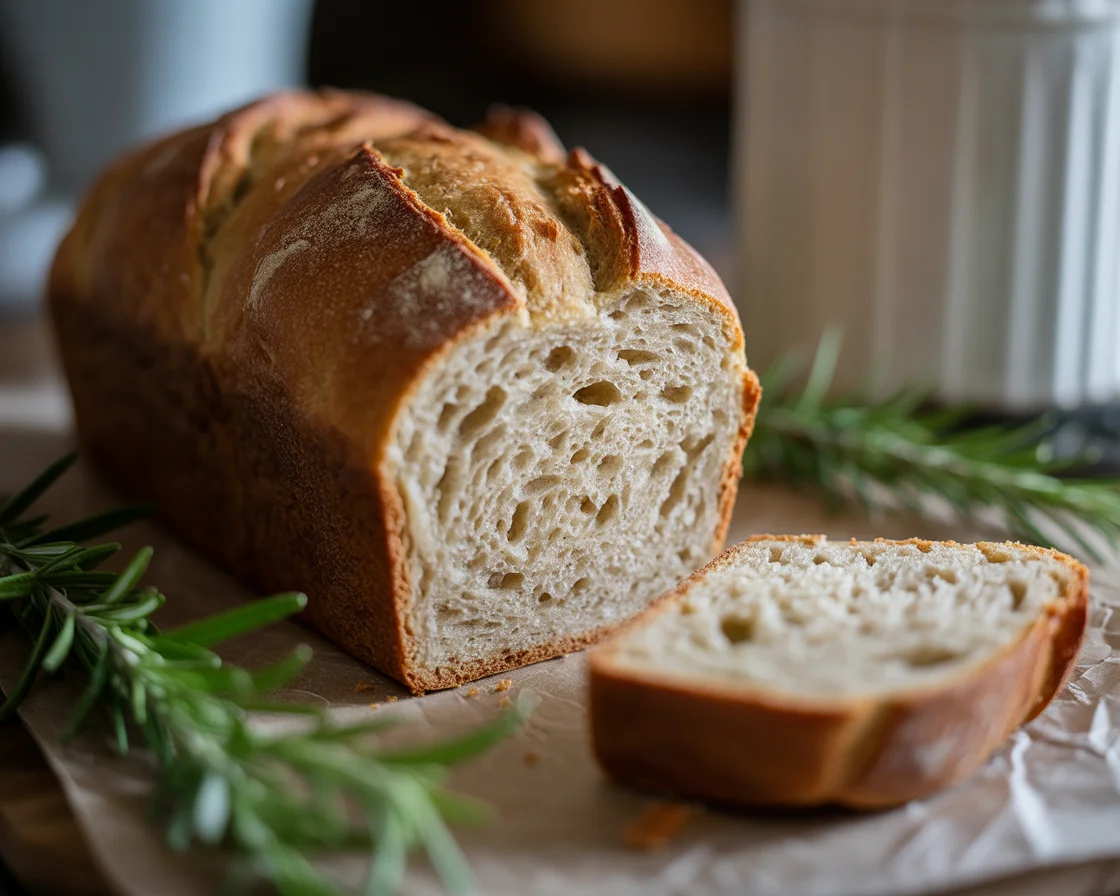
Gluten-Free Rosemary Bread
This gluten-free rosemary bread is a cozy and flavorful loaf with a tender, sliceable crumb and a lightly crisp crust.
- Total Time: 50 minutes
- Yield: 1 medium loaf
Ingredients
- 2 cups gluten-free flour blend
- 1/2 cup tapioca starch
- 1 tablespoon instant yeast
- 1 tablespoon sugar or honey
- 1 teaspoon salt
- 1 1/4 cups warm water
- 2 tablespoons olive oil
- 2 egg whites or 1/4 cup aquafaba
- 1 teaspoon xanthan gum (optional)
- 2 tablespoons fresh rosemary, chopped
- 1/2 teaspoon garlic powder
- 1/4 teaspoon black pepper
Instructions
- Preheat the oven to 400°F (200°C) and place an empty baking sheet on the bottom rack.
- In a bowl, whisk together the gluten-free flour blend, tapioca starch, instant yeast, salt, and xanthan gum if using.
- In another bowl, mix warm water, olive oil, sugar or honey, and egg whites or aquafaba.
- Combine the wet and dry ingredients, stirring until smooth and sticky.
- Fold in the chopped rosemary, garlic powder, and black pepper, tasting for seasoning.
- Scrape the batter into a greased loaf pan and smooth the top.
- Cover loosely and let rise in a warm spot for 35 to 45 minutes, until puffy.
- When ready, pour a cup of hot water onto the preheated sheet below and place the loaf in the oven.
- Bake for 25 to 35 minutes until golden on top and firm around the edges, with an internal temperature of 205°F to 210°F (96°C to 99°C).
- Cool in the pan for 10 minutes, then remove and cool fully on a rack before slicing.
Notes
For best results, allow the loaf to cool fully before slicing to get clean cuts. Storage: Slice and keep at room temperature for up to a day, or freeze with parchment between slices.
- Prep Time: 15 minutes
- Cook Time: 35 minutes
- Category: Bread
- Method: Baking
- Cuisine: American
- Diet: Gluten Free