Ever bite into a gluten-free loaf and think, “Meh. How do people eat this?” Yep, I’ve been there too. Let’s be honest, not all gluten-free bread lives up to its soft-and-fluffy reputation. That’s why this Gluten-Free Millet Pan Bread recipe is honestly a total game changer (and trust me, it’s easier than you might think). If you’ve struggled with dense, crumbly failures, you’re not alone. I seriously wish I’d found out about millet sooner. For even more easy gluten-free ideas, check out my favorite gluten-free bread recipes and pro tips on baking basics & techniques.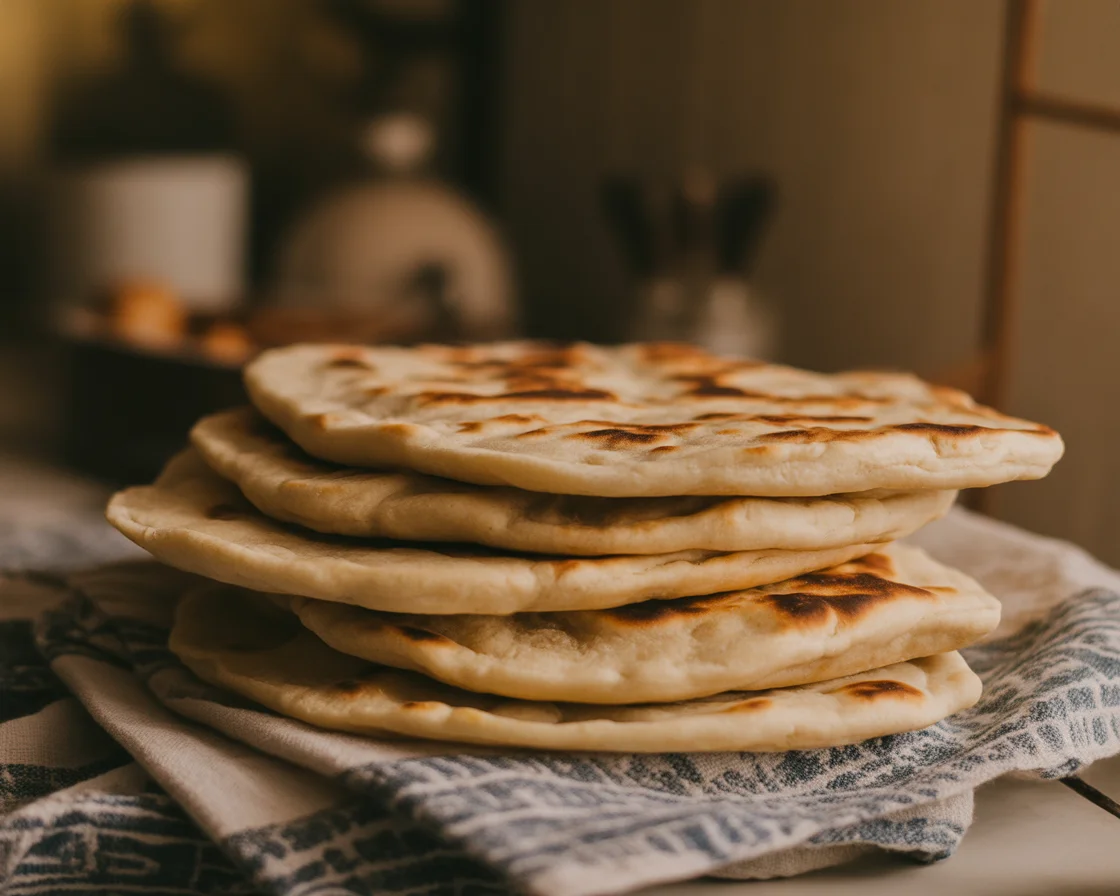
What is Millet?
So here’s the scoop: millet is a little seed, not a grain (I know, it confuses everyone). It’s naturally gluten-free, mild, and honestly way less “weird” than quinoa in bread. I find it gives a soft crumb, almost like bakery bread, without the weird aftertaste. Plus, it’s a superstar for folks avoiding gluten for health, lifestyle, or allergy reasons.
If you’ve only seen millet in birdseed bags—don’t freak out. The stuff used for bread is food-grade. It soaks up flavor and moisture beautifully. You don’t end up with that chalky texture some other gluten-free flours bring to the table. And fun fact, millet’s used all over the world for flatbreads, porridge, even pancakes. It feels a little like a secret ingredient others just haven’t caught onto yet.
I started using it for Gluten-Free Millet Pan Bread because I wanted something I could treat like “real” sandwich bread. Honest to goodness, my family eats this without a single side-eye.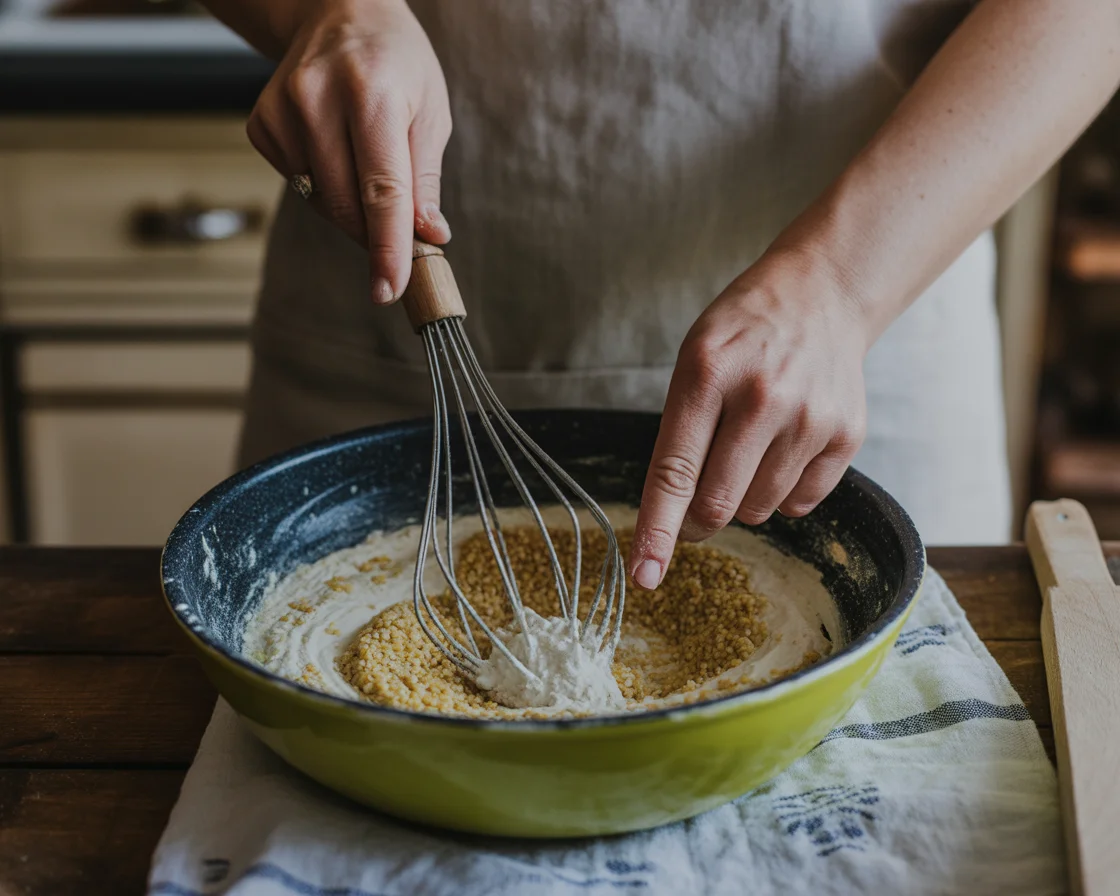
Recipe Benefits
If you need extra nudging to give this a whirl, here comes my unofficial top-three list. First off—you get that tender, slightly springy texture you miss in store-bought gluten-free loaves. Secondly, millet packs a punch with fiber, vitamins (hello, B6 and magnesium), which is always great (my dietitian bestie swears by it). Third, this recipe is also vegan. No eggs, no dairy. No hassle.
And let’s talk budget for a sec. Millet flour won’t cost your last dime. I grab mine at the international aisle, or sometimes I just blitz whole millet in my blender. You can too!
If you’re into experimenting with gluten-free flour blends, millet works well in most combos, but here it steals the spotlight all by itself. Not bragging, but friends say my loaf beats some “real” breads out there.
“I tried the Gluten-Free Millet Pan Bread recipe and wow—this is the first time my gluten-free bread didn’t come out like a doorstop! The crust was crispy, and the inside stayed moist. I can finally eat PB&J sandwiches again.” — Jess, loyal bread-hunter
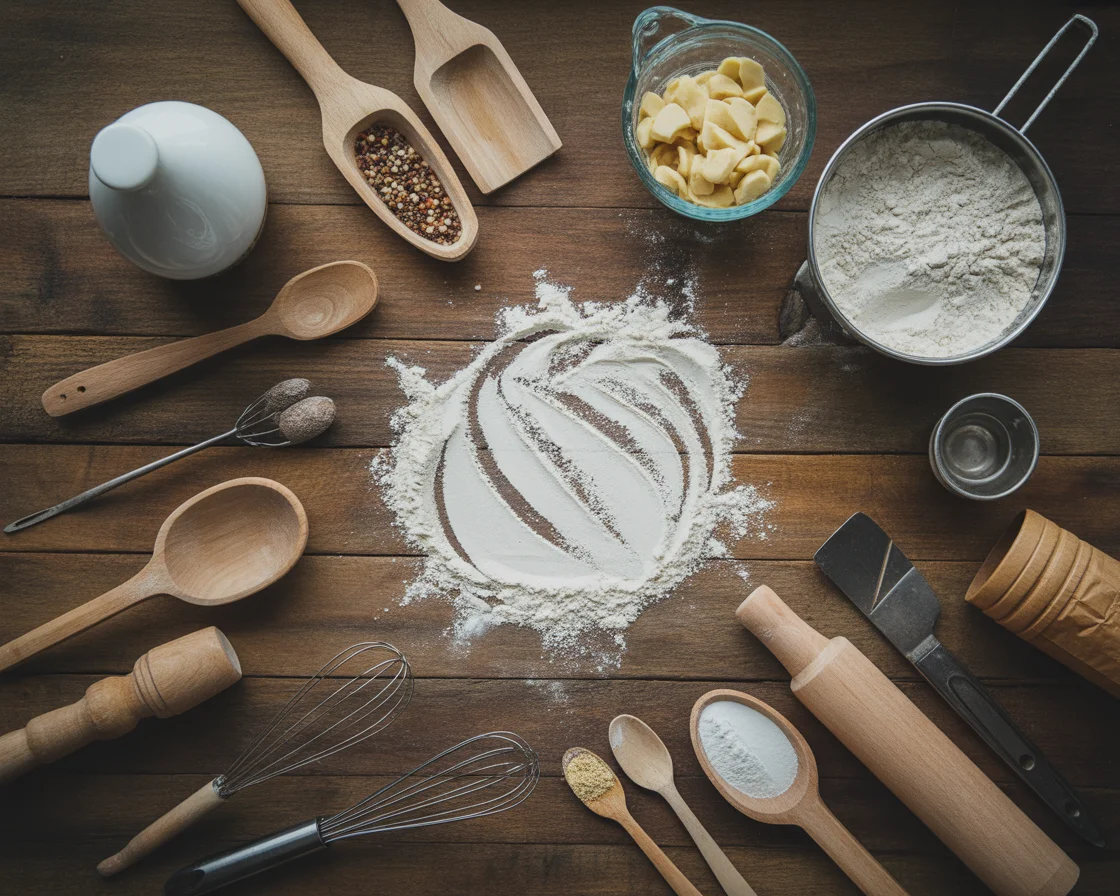
Ingredients You’ll Need
Here’s what you’ll need on deck (don’t worry, nothing fancy-pants):
- 2 cups millet flour (fresh if you can, but no shame if pre-bagged)
- 1 cup potato starch (helps keep it lighter)
- 1/2 cup tapioca flour
- 2 teaspoons instant yeast
- 2 tablespoons olive oil, or whatever oil you like
- 2 tablespoons maple syrup (or honey if you’re not vegan)
- 1 teaspoon salt
- 1 1/4 cups warm water, maybe a splash more if your flour’s thirsty
That’s it. Most, you might even have at home! If you wanna swap flours, check my tips below (but millet really should be the star).
How to Make Millet Bread (Step by Step)
Here’s where things get pretty chill, honestly. First, toss all your dry goodies (millet flour, starches, yeast, salt) into a big bowl and whisk. This part’s oddly satisfying and—yes—I’m the type to pick out lumps.
Mix up your wet stuff: warm water, olive oil, maple syrup. Pour that straight into the dry. Now, for just a few minutes, use a wooden spoon or, heck, your hands if you’re feeling brave, to stir it all together until it’s smooth and thick (not soup, but not pizza dough, either. Like heavy pancake batter).
Grease your pan—a loaf tin or square pan both work. Scoop and spread. You might need to flatten the top with wet hands if it’s sticky. Cover and let it rest somewhere warm. Half an hour to forty-five minutes is usually enough. Preheat your oven to 375°F.
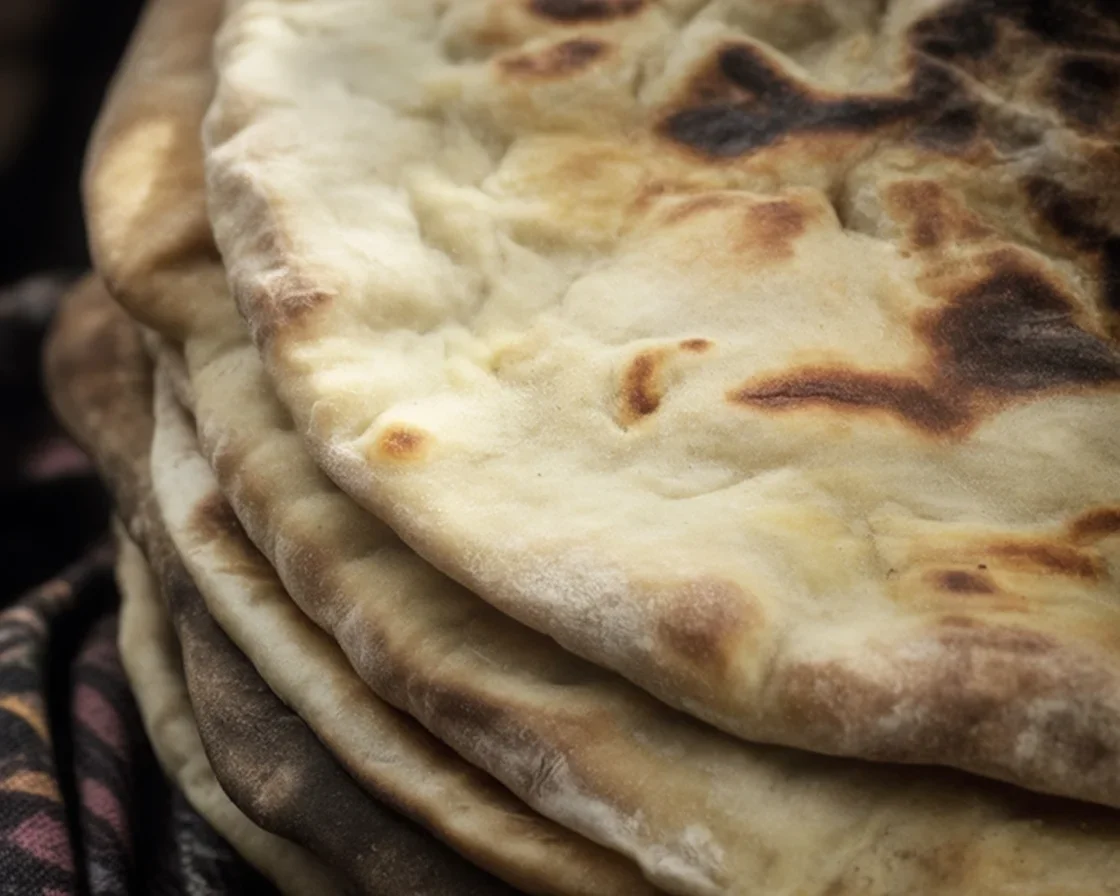
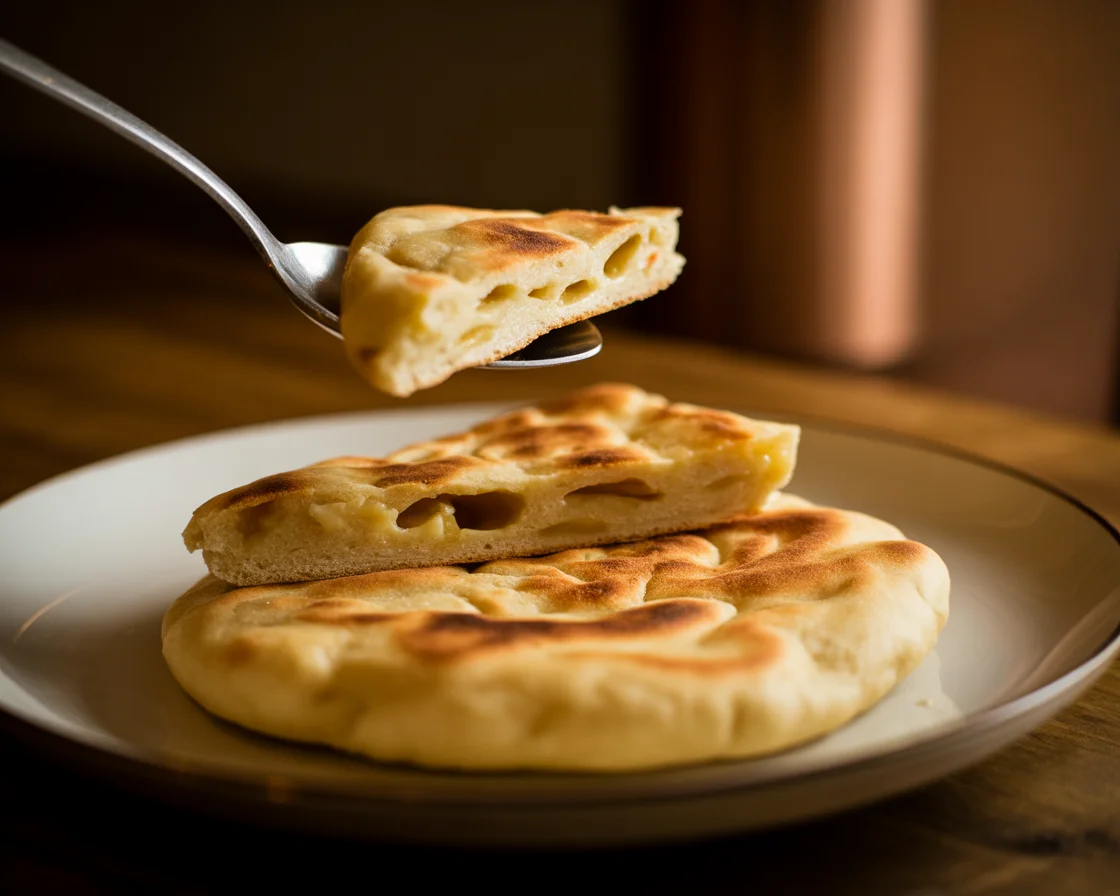
Once risen (it’ll puff up like a happy pillow), bake for 35-40 minutes. The top should look golden and maybe cracked, and it’ll sound kinda hollow if you tap it (my grandma trick). Let cool completely. Don’t slice early unless you want mushy bread—I learned the hard way.
That’s pretty much it! Easy peasy, and your kitchen will smell absolutely drool-worthy.
| Nutritional Component | Amount per Serving (1 slice) | Daily Value % |
|---|---|---|
| Calories | 100 | 5% |
| Total Fat | 3.5g | 5% |
| Sodium | 200mg | 9% |
| Total Carbohydrates | 18g | 6% |
| Dietary Fiber | 2g | 8% |
| Protein | 3g | 6% |
| Vitamin B6 | 0.1mg | 5% |
| Magnesium | 30mg | 8% |
Tips for Variations and Substitutions
Personal pet peeve? Recipes that say “no swaps” (come on, we all run out of stuff). You totally have room to play here. Mix in 2 tablespoons of seeds—pumpkin, sunflower, or chia are ace. Sub in applesauce for the oil if you want lower fat, or use agave instead of maple syrup. For extra tang, try a splash of apple cider vinegar in the mix.
Not a fan of potato starch? Swap with corn starch, but expect a tiny texture change (not a dealbreaker though). I tossed in herbs once—rosemary and thyme—and everyone devoured it toasted with soup. And, for those egg-lovers, a flax or chia egg is totally optional for extra binding, but honestly, I skip it most times.
Serving it warm is next-level, especially with dairy-free butter, hummus, or toasted for breakfast with nut butter. Yum. (I’ve also used this for open-faced sandwiches, which is nowhere near as fancy as it sounds.)
- Pop a slice in the toaster and slather with peanut butter (absolute nostalgia trip)
- Use for your go-to vegan grilled cheese (melty cheese works beautifully)
- Cube it for croutons—sounds wild, but it’s great for soups
- Pile on veggies and hummus for a quick lunch
Basically, possibilities are wide open here. For more classic gluten-free options, browse through these classic everyday breads and my favorite beginner bread recipes.
Common Questions
Sure! Cover the dough well and slide it into the fridge overnight. Just let it come back to room temp before baking.
Nope. Any basic loaf pan works, or even a square cake pan in a pinch.
A bit tricky. The recipe is built for millet, but you can try gluten-free flour blends if you’re feeling brave—let me know how it goes!
Wrap well and keep at room temp for 2 days, or slice and freeze for up to a month. Toast from frozen, trust me.
For sure—especially if you let it cool completely first, then store airtight. Drier homes, add a slice of apple in the bag.
Ready to Bake? Get that Oven Going!
So there you go: why I’m basically obsessed with this Gluten-Free Millet Pan Bread recipe and why, if you’re after real-deal soft bread that’s both easy and affordable, you gotta try it. You’ll find so many more ideas at trustworthy sites—like my top pick for Gluten-Free Millet Flat Bread (Bajri no Rotlo) if you want to branch out—and don’t forget to explore more gluten-free bread recipes and some firsthand tips on baking basics & techniques or even when you’re ready for beginner bread recipes. Can’t wait for you to dip your toes in the millet-baking pool—trust me, your toaster will thank you. Happy baking! 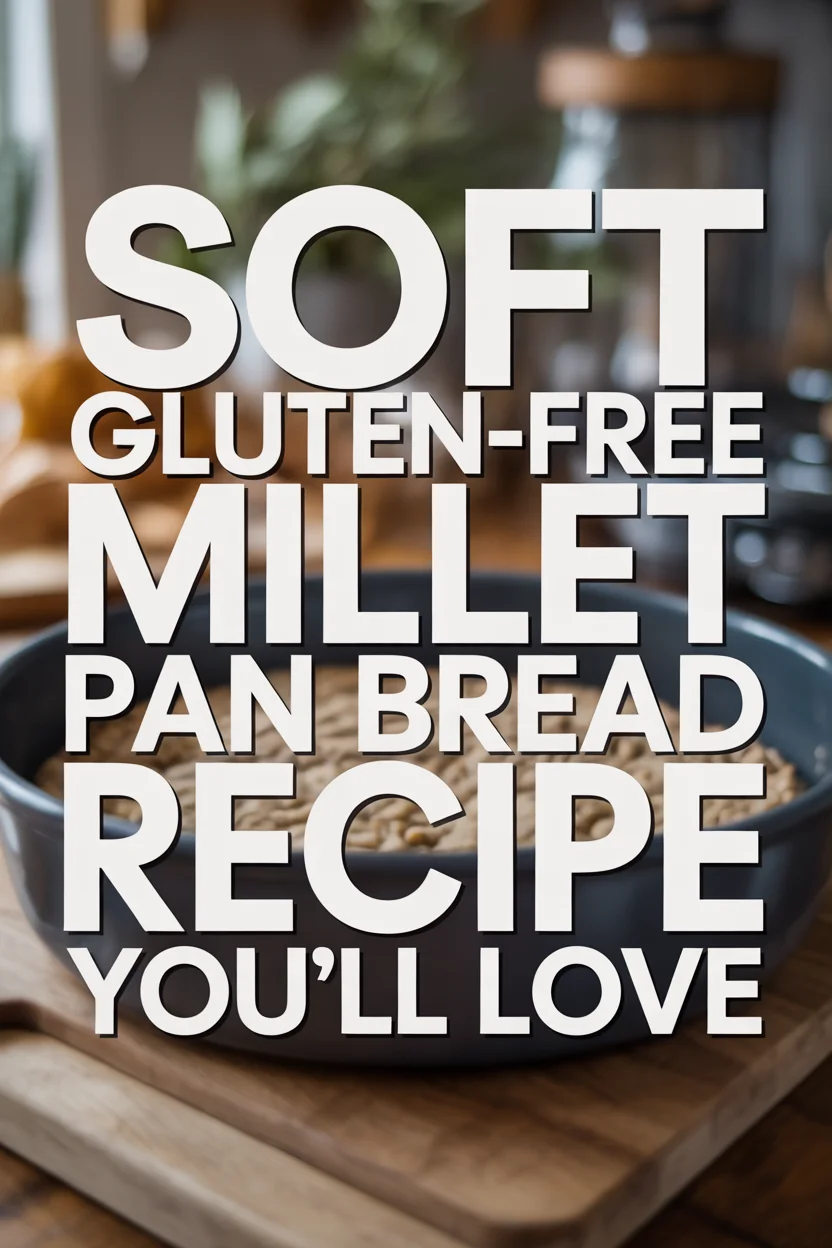
Gluten-Free Millet Pan Bread
This nutritious Gluten-Free Millet Pan Bread showcases the delicate, slightly sweet flavor of millet in a perfectly tender, easy-to-slice loaf. Created by Emma Oatmill, founder of NoGluBread, this recipe draws from her 10+ years of gluten-free baking experience and personal journey of transforming traditional recipes into gluten-free masterpieces. Tested through NoGluBread’s comprehensive 3-phase process using certified gluten-free ingredients safe for celiac disease, this wholesome bread offers exceptional nutrition and digestibility. Perfect for daily meals, this versatile pan bread brings the comforting joy of fresh-baked bread to your gluten-free kitchen without compromising on taste or texture.
- Total Time: 55 minutes
- Yield: 1 loaf (approximately 12 slices)
Ingredients
- 2 cups millet flour
- 1 cup potato starch
- 1/2 cup tapioca flour
- 2 teaspoons instant yeast
- 2 tablespoons olive oil
- 2 tablespoons maple syrup (or honey)
- 1 teaspoon salt
- 1 1/4 cups warm water
Instructions
- In a large bowl, whisk together the millet flour, potato starch, tapioca flour, instant yeast, and salt.
- In another bowl, mix the warm water, olive oil, and maple syrup.
- Pour the wet ingredients into the dry ingredients and stir until smooth and thick.
- Grease a loaf pan and transfer the dough, flattening the top if needed.
- Cover and let it rise in a warm place for 30-45 minutes.
- Preheat the oven to 375°F.
- Bake for 35-40 minutes, until the top is golden and sounds hollow when tapped.
- Let cool completely before slicing.
Notes
Feel free to experiment with seeds or substitutions such as applesauce for oil or agave for maple syrup. For added flavor, consider incorporating herbs.
- Prep Time: 15 minutes
- Cook Time: 40 minutes
- Category: Bread
- Method: Baking
- Cuisine: Gluten-Free
- Diet: Vegan