
I used to wake up at 5 AM every Saturday—every single Saturday—to make gluten-free bread. That’s the kind of dedication usually reserved for specialty himalayan pink salt recipes, or maybe those intricate himalayan sea salt recipes you scroll by online, but never try. Let’s be honest: most of us approach gluten-free bread like it’s some culinary Rubik’s Cube. Weighing flours with almost anxious precision, waiting for the dough to cooperate, hoping eight hours in the kitchen leads to something better than just “meh.”
Eight hours later—EIGHT HOURS—I’d finally cut into a loaf that was… fine. Maybe. If I squinted and pretended really hard. Dense, crumbly, with that texture that screams “gluten-free!” in the worst possible way. If you love simple, surprising hacks like this, also check out my himalayan pink salt gluten free crackers recipe.
Here’s what makes me legitimately frustrated: we’ve all been taught that gluten-free bread needs to be complicated. Like, unnecessarily complicated. We approach it like we’re defusing a bomb or something, when really—and I cannot stress this enough—some of the best techniques I’ve discovered are actually simpler. Faster. Less fussy.
And that Himalayan pink salt sitting in your cabinet? It’s not just pretty. It’s basically magic, and I’m not even exaggerating (okay, maybe slightly, but stick with me).
The gluten-free world keeps pushing this narrative that shortcuts equal bad bread. Compromise. Mediocrity. But what if—what if—the long complicated road is just… the road everyone takes because nobody’s bothered to find a better route?
Let me show you what I mean.
If you’re looking for more himalayan pink salt recipes beyond GF bread, I’ve put together a complete guide with tested techniques and recipes that actually work.
Print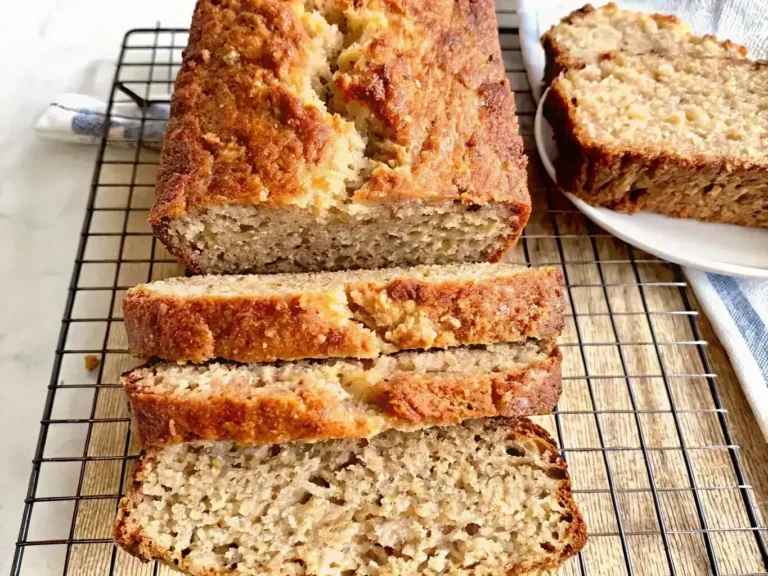
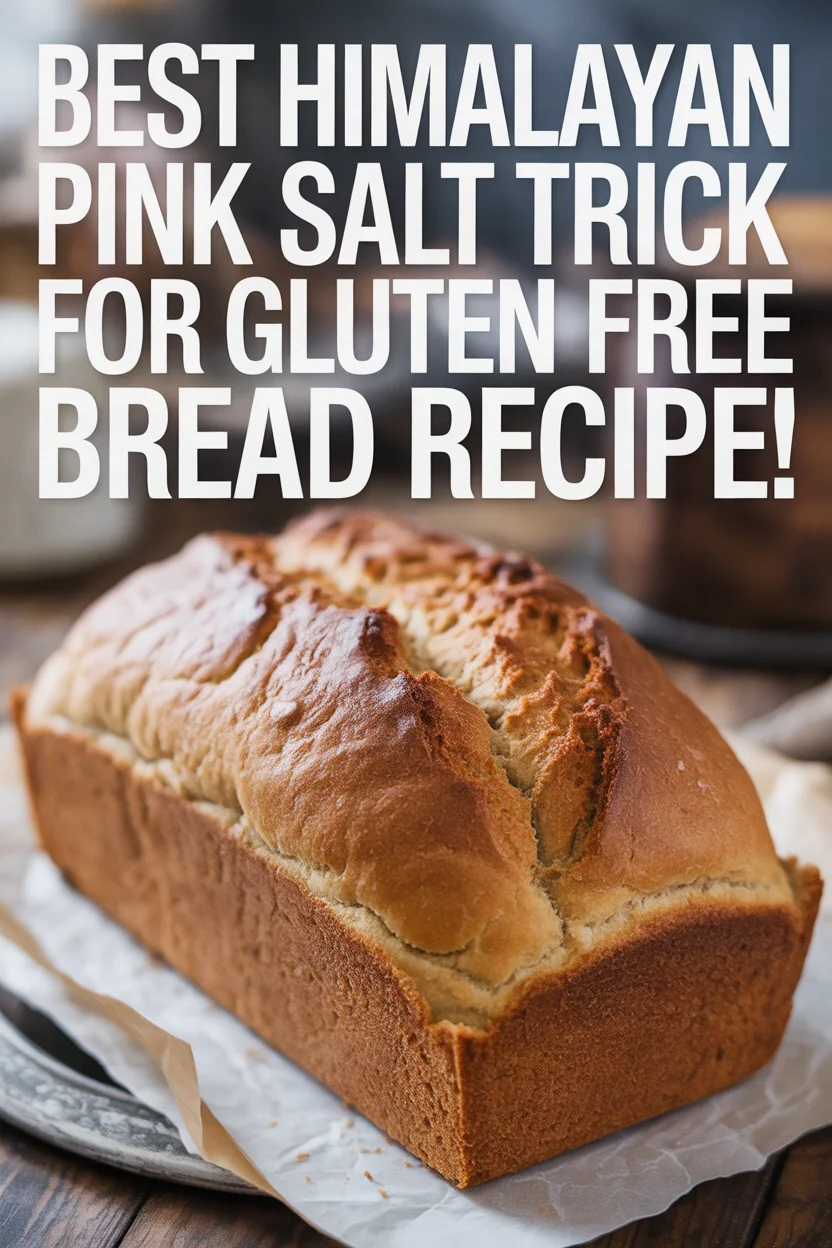
Himalayan Pink Salt Trick Gluten Free Bread
Discover the secrets to making delicious gluten free bread using the Himalayan pink salt trick that enhances flavor and texture.
- Total Time: 60 minutes
- Yield: 1 loaf
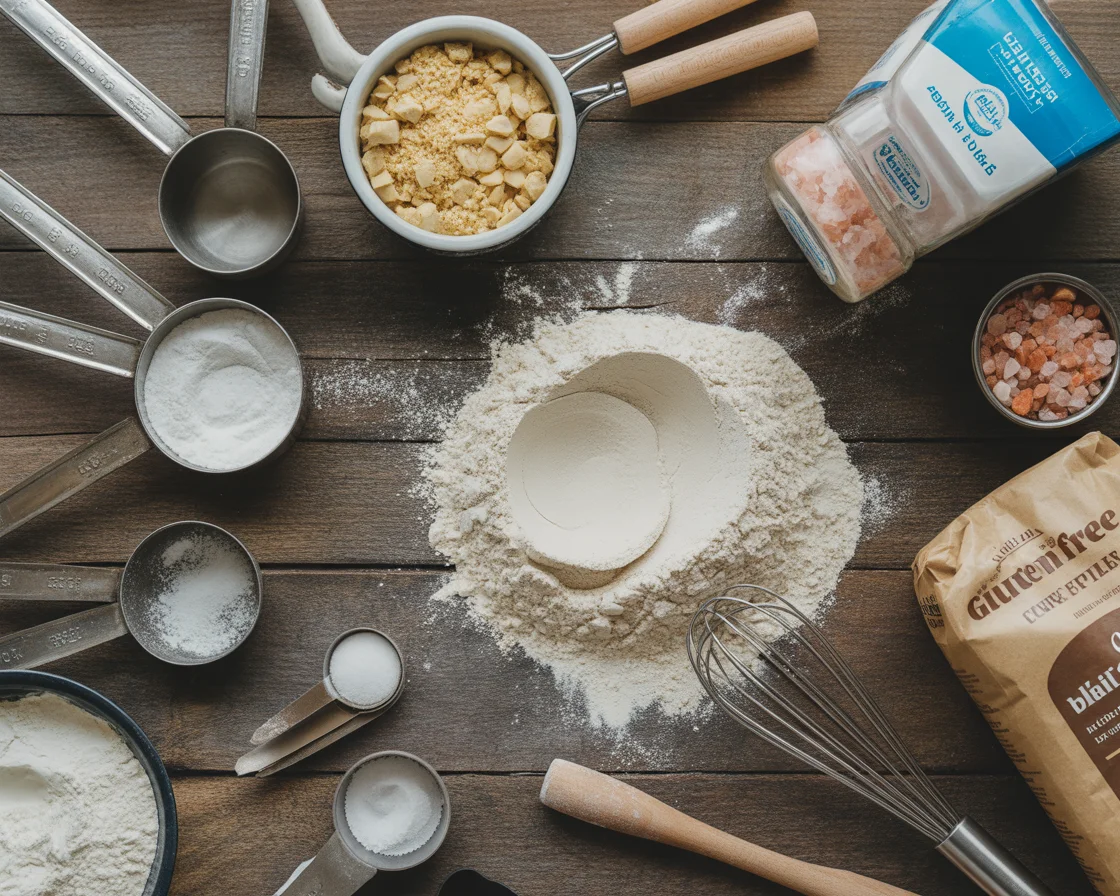
Ingredients
- Gluten free flour blend
- Himalayan pink salt
- Water
- Yeast
- Oil (olive or avocado)
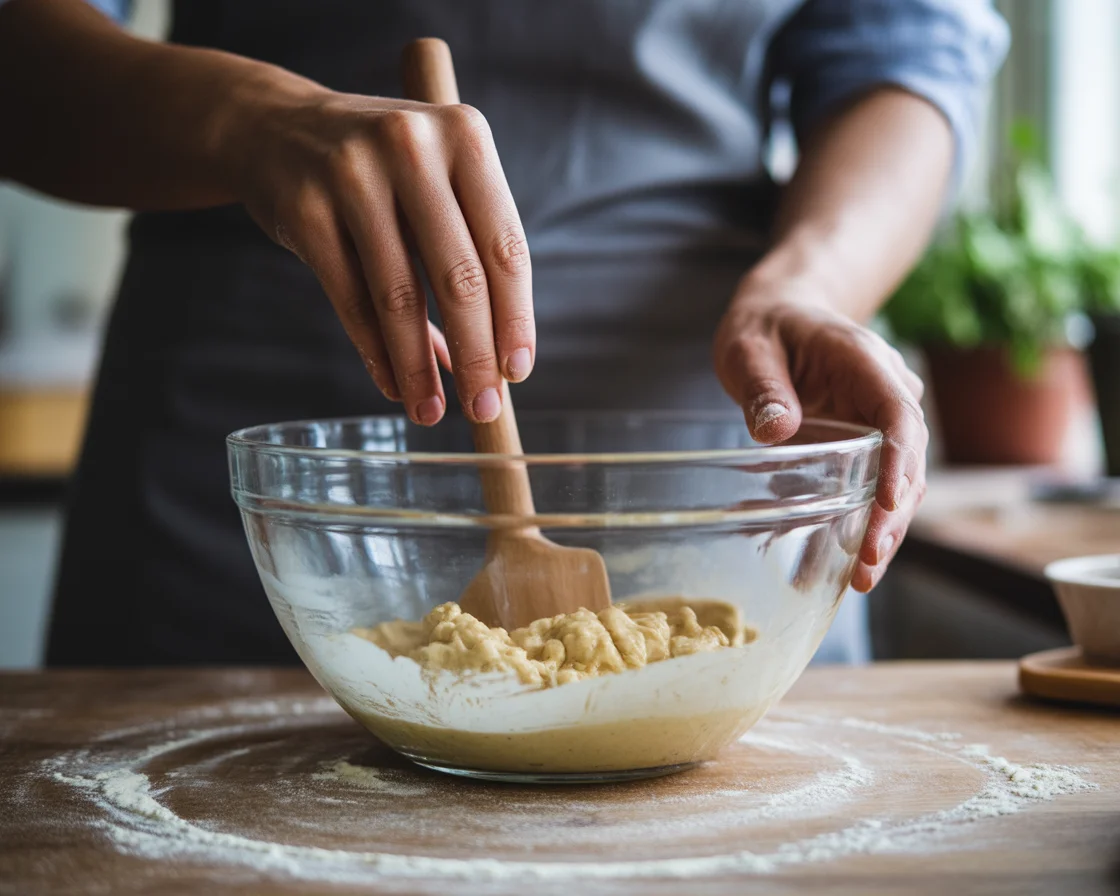
Instructions
- Mix the gluten free flour blend and Himalayan pink salt together.
- Add in yeast and warm water, preferably using boiling water to activate.
- Add in a spoonful of oil to soften the crumb.
- Knead until well combined, then let the dough rise in a warm place until doubled.
- Preheat the oven and place a metal pan filled with boiling water on the bottom rack for steam.
- Shape the dough and place it in a loaf pan.
- Once doubled, place the bread in the oven and bake until golden brown.
- Remove and let cool before slicing.
Notes
Cold fermentation enhances flavor. Always include moisture in the oven for a better crust.
- Prep Time: 15 minutes
- Cook Time: 45 minutes
- Category: Bread
- Method: Baking
- Cuisine: Gluten Free
- Diet: Gluten Free
Nutrition
- Serving Size: 1 slice
- Calories: 200
- Sugar: 1g
- Sodium: 300mg
- Fat: 10g
- Saturated Fat: 1g
- Unsaturated Fat: 8g
- Trans Fat: 0g
- Carbohydrates: 30g
- Fiber: 3g
- Protein: 4g
- Cholesterol: 0mg
Why Himalayan Pink Salt and Sea Salt Make It Different
Let’s get this out there: Himalayan pink salt isn’t just for showpiece tables, and himalayan sea salt recipes aren’t just for gourmet kitchens. Their trace minerals go beyond taste. When you add them to gluten-free bread, a transformation happens—one your favorite himalayan pink salt recipes might never mention. The minerals help yeast perform more consistently, make the crumb softer, and—here’s the real twist—actually make baking easier.
The Cold Fermentation Thing That Changed Everything
So traditional recipes are all like “let your dough rise at room temperature for 2-4 hours” and you’re supposed to just… watch it? Check on it? I don’t know about you, but I have literally anything else I’d rather be doing.
Here’s what I discovered kind of by accident: stick your dough in the fridge overnight. That’s it. Add a pinch of Himalayan pink salt to your preferment (the minerals in there—magnesium, calcium, all that good stuff—they actually regulate the yeast at cold temperatures, which prevents that over-fermentation nightmare we’ve all experienced). Then go to sleep.
While you’re sleeping—dreaming about bread or whatever—enzymes are slowly breaking down starches into sugars. Creating flavors that rushed, hot rises can never achieve. It’s like… imagine trying to get to know someone in a speed-dating situation versus having a long conversation over coffee. The depth is different, you know?
According to research on cold fermentation techniques, this slow process actually develops more complex flavor compounds and improves texture in ways that rapid fermentation simply can’t replicate. The science backs up what my taste buds were telling me all along.
My friend James, who lives in Portland and makes some seriously good bread now, was super skeptical when I told him about this. “I went from spending my entire Sunday afternoon making bread to mixing dough on Friday night,” he told me last month. “The texture was better—way more extensible, less of that gummy thing. I actually had time to take my kids to soccer.”
The impact? You get back 3-4 hours of your life. The bread tastes better. And you’re not standing in your kitchen on a beautiful weekend day wondering if your dough has risen enough. (It never feels like it has, does it?)
If you’re working with a gluten-free sourdough starter, this cold fermentation method works even better—the tang develops beautifully overnight.
I never believed overnight dough would help gluten free bread taste better—or rise better. Now, I use this trick every time. It honestly makes me look like I know what I’m doing!
Boiling Water—Yes, Really
Most recipes say use room-temperature water and wait for the flours to absorb liquid. This is—and I’m not being dramatic here—the biggest waste of time in gluten-free baking.
Try this instead: pour boiling water directly over your psyllium husk. Add half a teaspoon of Himalayan pink salt. Watch it turn into gel in like 60 seconds. The trace minerals act as natural emulsifiers (I didn’t believe this either until I tested it five times in a row), helping everything bind faster and more uniformly.
The heat activates psyllium’s binding properties immediately. Something that normally takes 15-20 minutes of sitting around doing nothing.
I discovered this completely by accident when I was running late for a brunch thing and grabbed boiling water from my kettle instead of waiting for tap water to warm up. The dough came together so fast I thought I’d messed it up. But then—and this is the part that made me actually laugh out loud—it had this silky texture I’d never achieved before. Ever. Not once in three years of trying.
Elena, who owns a bakery in… I think it’s Vermont? Or maybe New Hampshire? Anyway, she went gluten-free three years ago and found the same thing. “I won’t make it any other way now,” she told me over email. “That texture is impossible to replicate with cold water, no matter how long you wait.”
Let it cool for five minutes while you measure other ingredients. Boom. You just eliminated the most boring part of bread-making. If you want to dive deeper into how psyllium husk works in gluten-free bread, there’s some fascinating science behind why this method is so effective.
The Single-Rise Thing (Prepare to Be Angry)
Okay, this one’s going to make you mad if you’ve been doing two rises. I apologize in advance, but also… you need to know.
Gluten-free bread doesn’t need multiple rises.
I’ll say it louder for the people in the back: GLUTEN-FREE BREAD DOES NOT NEED MULTIPLE RISES.
Here’s why—and this is where the science gets interesting (bear with me). Gluten-free doughs lack that elastic gluten network that actually benefits from punch-downs and second proofs. The structural differences in gluten-free dough mean that what works for wheat-based breads can actually damage gluten-free versions. That second rise you’re doing? Pure theater. It makes you feel like a real baker, but it’s actually deflating the air bubbles you worked so hard to create. Plus it’s giving your bread more time to become gummy, which is the exact opposite of what we want.
Shape your dough right after mixing. Proof it once in the pan. Put a Himalayan salt crust on top—the minerals literally draw out excess moisture during proofing, and honestly? It looks stunning. Like professional-bakery stunning.
This single change (and I tested this obsessively over two months, because I didn’t believe it either) cut my baking time in half.
Marcus runs this gluten-free blog I follow, and he tested it over 30 loaves. “Twenty-seven out of thirty were better with one rise,” he wrote in his newsletter last week. “The crumb was more open. Less gummy. I was legitimately furious I’d wasted years doing it the hard way.”
That’s the feeling, right? When you discover something this simple works better than the complicated method everyone swears by? It’s exciting and infuriating at the same time.
Need help with shaping gluten-free bread properly? The technique is different from wheat bread, and getting it right makes all the difference.

The Store-Bought Blend Hack (Because We’re All Busy)
Everyone—and I mean everyone—says you need to mix five different flours from scratch for good gluten-free bread. Track down sorghum flour, brown rice flour, tapioca starch, potato starch, maybe some teff if you’re feeling fancy…
But here’s the thing: quality pre-made blends exist. They do. You just need to enhance them.
Take your store-bought blend (I use King Arthur’s, but Bob’s Red Mill works too). Add one tablespoon of Himalayan pink salt per three cups of flour. Let it sit together for 24 hours before using.
The 84 trace minerals in Himalayan salt—and yes, there really are 84 of them, I looked it up when I didn’t believe it—literally alter the flour’s chemistry. Calcium strengthens cell walls (or something, I’m not a scientist but I read the research). Magnesium enhances enzymatic activity. Potassium improves moisture retention.
It sounds like alchemy. Like something someone made up on a wellness blog. But it’s just… chemistry, I guess?
My friend Priya—who’s an actual food scientist, unlike me who just obsesses over bread—explained it like this: “Commercial gluten-free blends often lack mineral content because the flours are so processed. Adding minerals back through salt recreates what wheat flour naturally has. Better rise, better texture. No PhD required.”
This shortcut doesn’t save you time during baking exactly, but it saves you from becoming a flour chemist. And honestly? Some days that’s more valuable.
If you’re curious about which gluten-free flour blends work best for different types of bread, that guide has been a lifesaver for me.
Steam-Baking Without Burning Yourself
Professional bakeries have these fancy steam-injected ovens that cost more than my car. Home bakers get told to spritz water bottles around or throw ice cubes into hot pans—both of which are inconsistent at best and genuinely dangerous at worst. (I have a small burn scar on my forearm that proves this point.)
Here’s what I do now: place your loaf pan inside a larger pan containing one inch of water mixed with a tablespoon of Himalayan pink salt. The salt raises the boiling point slightly (high school chemistry coming back to haunt us all) and creates mineral-rich steam that conditions your bread’s exterior while keeping the interior moist.
Understanding how steam affects bread crust development completely changed my approach to baking. Steam keeps the crust flexible during the initial baking phase, allowing for better oven spring and that gorgeous crackling exterior we all want.
Bake the first 20 minutes with this water bath, then remove the bread to finish crisping.
You’ll get a crackly, golden crust—the kind you thought was impossible with gluten-free bread—without that dry interior that makes you want to give up entirely.
Total extra effort? Like 30 seconds to fill a pan with water. Maybe less if you’re quick.
If you’re baking gluten-free bread in different ovens, the steam technique needs slight adjustments depending on whether you’re using convection, conventional, or toaster ovens.
Don’t Sleep on the Himalayan Pink Salt Trick
Alright, so we’ve gone through a lot of kitchen drama together. If you only remember one thing, let it be this: Himalayan pink salt trick gluten free bread isn’t hype—it’s the tiny bit of magic your sandwich (or toast) dreams need.
These shortcuts aren’t about cutting corners—I hate that phrase, it implies we’re doing something wrong or lazy. They’re about cutting through all the nonsense and mythology that gluten-free baking has to be complicated to be good.
I make bread now in under three hours total time. Most of it hands-off. And it rivals anything from those specialty bakeries charging $12 a loaf (which… I love you, specialty bakeries, but also my wallet can’t handle that every week).
The Himalayan pink salt isn’t just making things taste better—though it does—it’s a multi-tool. Regulating fermentation, improving structure, enhancing mineral content. Those 84 trace minerals are working overtime in your dough.
You don’t need more time. Or more equipment. Or five specialty flours you’ll only use once. You need better information, and honestly? The baking world hasn’t been great at sharing it.
So here’s my challenge—and I’m serious about this—choose ONE of these shortcuts for your next loaf. Just one. See what happens when you stop taking the long road because everyone says you should.
Your Saturday mornings are waiting. And trust me, they’re better spent doing literally anything other than hovering anxiously over rising dough.
If you’re just starting out, check out these gluten-free bread recipes for beginners—they’re designed with these time-saving principles in mind. And when things don’t go as planned (because let’s be honest, sometimes they don’t), this gluten-free bread troubleshooting guide has saved me more times than I can count.
Just try the Himalayan pink salt trick gluten free bread method once. I promise you’ll wonder how bread ever tasted “meh” before. Don’t be afraid to make a little mess or get a little weird with your next loaf—the best bakes come from happy accidents, in my humble view. November snow or sticky summer, bread should always make you smile!