gluten free cornbread can be tricky. Too crumbly one day, too dense the next, and often missing that buttery comfort you expect from a warm square of cornbread. I’ve been there, and I promise you, it doesn’t have to be that way. Today I’m sharing the exact method I use to make a pan that’s golden on top, tender in the middle, and lightly sweet without being cake-like. It’s simple, it’s reliable, and it’s the perfect cozy side for chili night or weekend brunch.
Why this recipe works
What makes it fluffy and moist
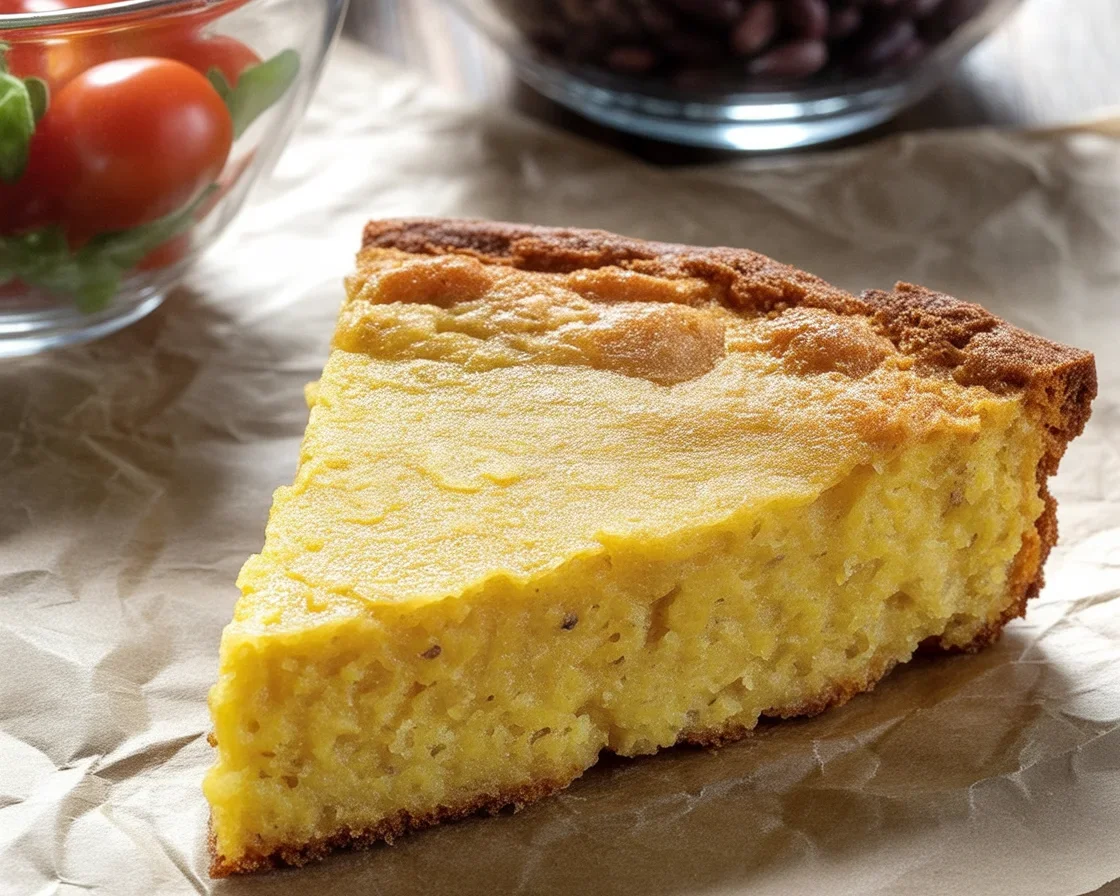
Here’s the thing about cornbread without gluten. It needs a little extra love to hold together and still feel soft. This recipe balances two flours so you get structure without losing that classic corn flavor. A touch of acid from buttermilk or lemon juice lifts the batter, and a proper rest before baking lets the cornmeal hydrate. That one step makes a surprising difference. It gives you tender, cohesive slices instead of crumbly squares.
I also bump up the fat slightly with melted butter or a dairy-free option. The fat wraps each grain of cornmeal so you get a soft, moist bite. Combined with an extra egg for binding, the crumb comes out lovely and even. When I want to impress guests, I call it Easy Gluten Free Cornbread That Everyone Will Love! because it consistently turns out bakery good.
Flavor balance you will love
Cornbread should taste like corn first, then a little sweet, with a hint of salt and maybe a whisper of vanilla. I use fine yellow cornmeal for a smooth texture, and add a spoon of honey or sugar. It’s enough sweetness to complement spicy chili or smoky barbecue without turning this into dessert. If you crave a deeper flavor, try browning the butter before adding it to the batter. That nutty note makes people say, Wait, why is this so good.
“This is the first gluten free cornbread that didn’t fall apart on me. Crispy edges, fluffy middle, and my kids ate seconds. Total win.”
What I love most is how forgiving this recipe is. Don’t have buttermilk? There’s a swap. No cast iron? Grab a muffin tin. Want it dairy-free? Easy. It’s flexible without losing the qualities that make cornbread craveable hot out of the oven.
Choosing a baking pan
Skillet vs metal vs glass
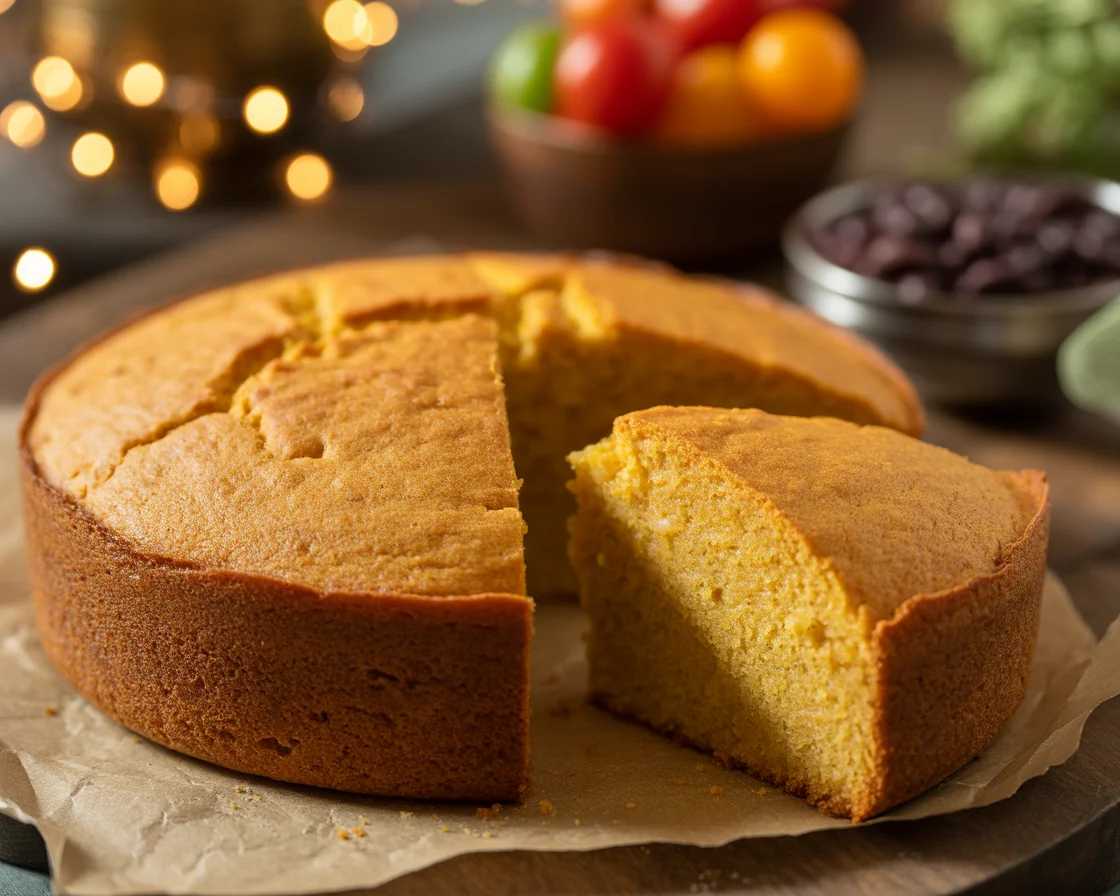
Your pan affects texture more than you’d think. For crisp edges and a golden crust, go with a preheated cast iron skillet. Heat the skillet in the oven with a little oil while you mix the batter. When you pour it in, it sizzles on contact and starts forming that crunchy edge right away. If you love crusty corners, this is your move.
A metal baking pan gives a balanced bake with a slightly softer crust but an even crumb. It’s great for square slices that hold together well. Glass pans run a bit slower and can leave the edges less crisp, so reduce the oven temperature by 25 degrees and keep an eye on the center for doneness.
If you’re a skillet fan and want a quick method, I’ve got a easy companion piece you may love. Check out this quick gluten free skillet cornbread recipe for a speedy weeknight version that still delivers great texture.
For muffins, grease well and fill each cup about three quarters full. Bake a few minutes less since they cook fast. Either way, let the cornbread cool for 10 to 15 minutes before slicing so the crumb sets.
Choosing a flour or combination of flours
My go-to blends
Cornbread still needs some non-corn flour to bind, since cornmeal alone will be too crumbly. Use a gluten free all-purpose blend that includes starches and a binder. I like a blend that has rice flour, potato starch, and tapioca starch. If your mix has xanthan gum, great. If it doesn’t, add one quarter teaspoon per cup of flour to help the structure.
My favorite ratio is about 60 percent fine yellow cornmeal to 40 percent gluten free all-purpose flour. That gives strong corn flavor with a tender bite. If you want a heartier texture, swap a small portion of the all-purpose blend with sorghum flour for a warm, wheat-like feel. Just don’t go overboard or you’ll lose that soft crumb.
If you’re learning the ropes, this guide to ingredients is super helpful. Take a look at the best flours and milks for gluten free and dairy free bread to understand how different blends behave. It’s clear, practical, and makes choosing a mix less confusing.
Once you dial in your blend, you’ll see why I call this Easy Gluten Free Cornbread That Everyone Will Love! It rises evenly, slices clean, and tastes exactly like the classic, just without the gluten.
Ingredient substitutions
Here’s how to flex the recipe to your pantry and diet while keeping the texture right:
- Dairy-free: Use plant milk such as almond, oat, or soy. Stir in 1 teaspoon of lemon juice or apple cider vinegar per cup to mimic buttermilk’s tang. Swap melted butter with neutral oil or dairy-free butter. If you need a full dairy-free guide, try this gluten-free dairy-free cornbread version for more options.
- Egg-free: Use 1 tablespoon ground flaxseed mixed with 3 tablespoons warm water per egg. Let it gel for 5 minutes. Aquafaba works too. The crumb will be slightly more tender but still cohesive.
- Sugar swaps: Honey, maple syrup, or coconut sugar all work. Honey makes it extra moist, so reduce other liquid by a tablespoon. Coconut sugar brings a caramel tone.
- Buttermilk swap: Mix 1 cup milk with 1 tablespoon lemon juice or vinegar. Let it sit 5 minutes. Works with dairy or non-dairy milk.
- Extra corn flavor: Fold in 1 cup of corn kernels for juicy pops in every bite. Fresh or frozen both work.
- Heat lovers: Add 1 diced jalapeño and a handful of shredded cheddar. Spicy, melty, and perfect with chili.
If substitutions feel intimidating, you’re not alone. Understanding flours and milks goes a long way. I lean on this handy explainer when testing: best flours and milks for gluten free and dairy free bread. It’s a great resource to keep bookmarked.
The real key is to keep the liquid-to-dry balance steady. If you add something wet like honey or corn kernels, hold back a tablespoon of milk. That little tweak helps you keep the structure. Then you can safely call it Easy Gluten Free Cornbread That Everyone Will Love! and mean it.
Serving Suggestions
You’ve got a warm pan on the counter. Now what. I’ve got you covered with easy pairings for different moods and meals:
- Chili night: Serve squares with a dollop of sour cream and a drizzle of honey. The balance of creamy, sweet, and spicy is spot on.
- Brunch plate: Top a thick slice with fried eggs and hot sauce. Add crispy bacon and fresh tomato if you’re feeling extra.
- BBQ spread: Pair with pulled pork, coleslaw, and pickles. The slight sweetness is amazing with smoky meats.
- Soup and salad: Cornbread plus tomato soup or a crisp salad is a simple weekday win.
- Sweet treat: Toast leftover slices in a skillet with butter and sprinkle with cinnamon sugar. Or try a baking day combo like these air fryer gluten free donuts for a fun dessert board.
For a cozy fall afternoon, I love serving it alongside something fruity and warm. If you like that vibe, these apple cinnamon sweet gluten free bread slices make a great sweet counterpoint on the table. And if you’re exploring more gluten free bread ideas for your weekends, the full set of recipes in this gluten free bread recipes collection will keep you inspired.
However you serve it, a little melted butter and a drizzle of honey never hurts. That sweet-salty combo makes this Easy Gluten Free Cornbread That Everyone Will Love! the star of any spread.
Pro tips to guarantee success
Simple habits that make a difference
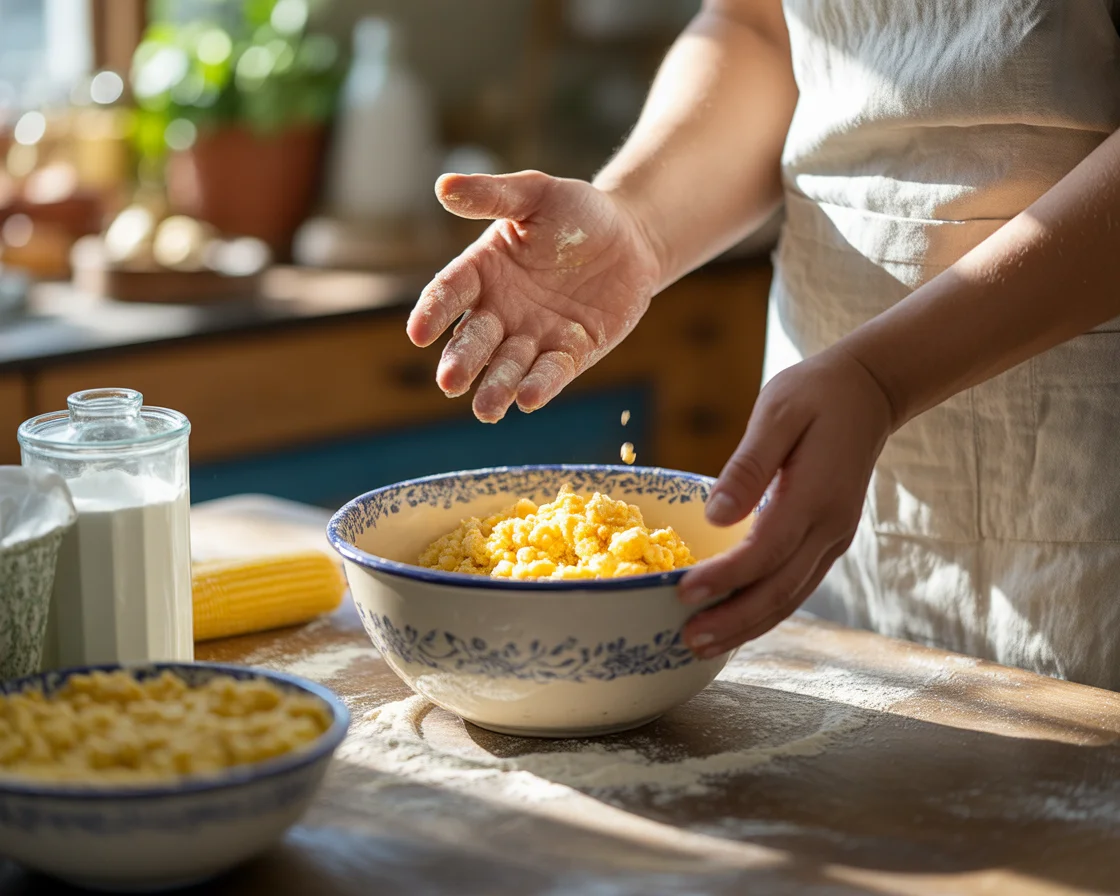
Whisk the dry ingredients well to evenly disperse the baking powder and salt. No clumps, no weird pockets. Let the batter rest for 5 to 10 minutes before baking so the cornmeal hydrates. You’ll notice it looks a bit thicker after sitting, which is perfect. Don’t overmix once the wet and dry come together. Gentle folding keeps the crumb soft instead of tough.
Preheat the oven completely. If using a cast iron skillet, preheat that too with a bit of oil inside. When you pour in the batter, it should sizzle slightly. That sound is your future crispy edge. Finally, test doneness with a toothpick at 20 minutes for muffins or 24 to 28 minutes for a skillet or square pan. It should come out mostly clean with a few moist crumbs.
Once it’s out, rest the cornbread for at least 10 minutes to set. Then slice, serve warm, and try not to eat half the pan while you “taste test.” I’ve lost count of how many times I’ve had to swat hands away before dinner.

Ready to bake a pan you will be proud of
You’re set up to make a pan of Easy Gluten Free Cornbread That Everyone Will Love! with crusty edges, a soft middle, and that perfect sweet-savory balance. If you want to keep exploring, I love this classic-leaning guide for a traditional feel: Old Fashioned Gluten Free Cornbread Recipe. If you prefer a sweeter profile, this version is a great reference too: Gluten-Free Sweet Cornbread – Mama Knows Gluten Free. Now grab your bowl, preheat the oven, and get that skillet hot. You’re about to make cornbread that people ask for by name.
Print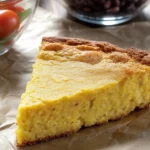
Gluten Free Cornbread
A reliable gluten-free cornbread recipe that is fluffy, moist, and perfect for any meal.
- Total Time: 35 minutes
- Yield: 8 servings 1x
Ingredients
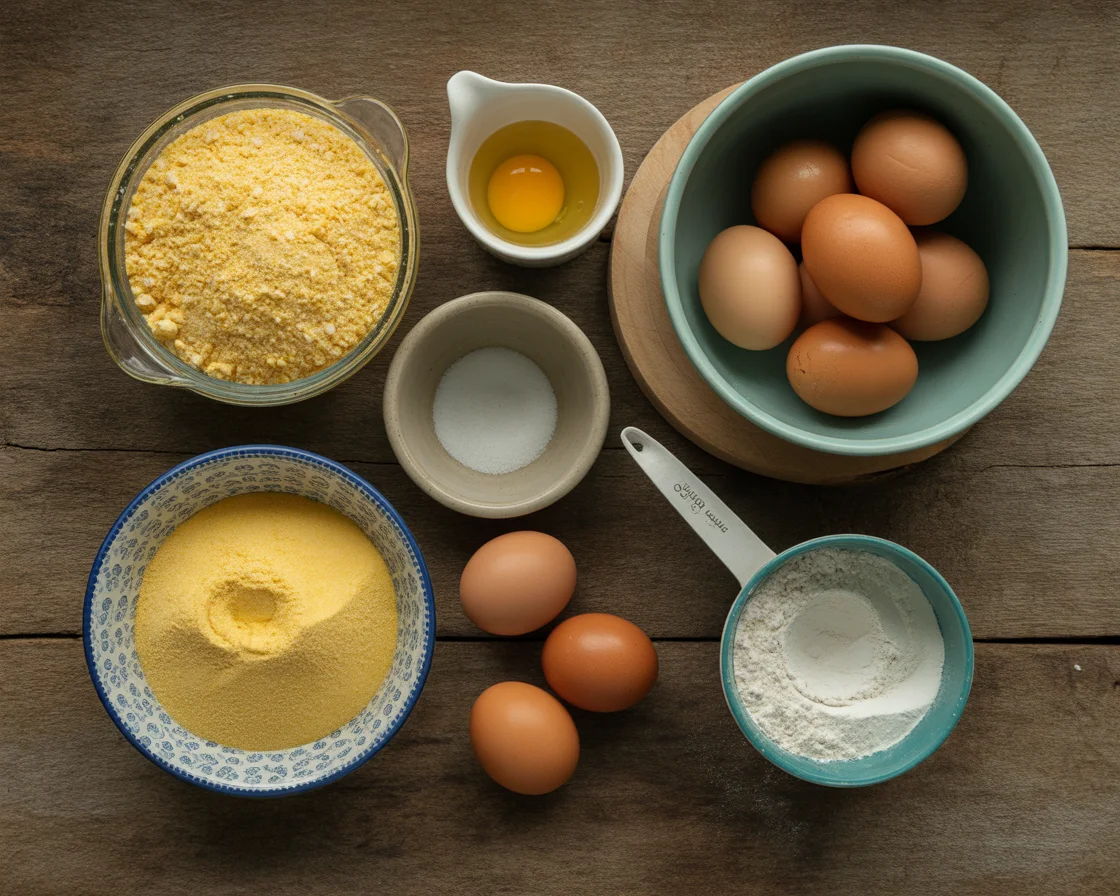
- 1 cup fine yellow cornmeal
- 2/3 cup gluten-free all-purpose flour
- 1 tablespoon baking powder
- 1/2 teaspoon salt
- 1/4 cup sugar or honey
- 1/4 cup melted butter or dairy-free alternative
- 1 cup buttermilk or dairy-free milk with lemon juice
- 1 large egg
Instructions
- Preheat the oven to 400°F (200°C) and prepare your baking pan.
- In a bowl, whisk together cornmeal, flour, baking powder, salt, and sugar.
- In another bowl, mix melted butter, buttermilk, and egg until well combined.
- Combine the wet and dry ingredients, stirring gently until just mixed. Let the batter rest for 5-10 minutes.
- Pour the batter into the preheated pan and bake for 20-28 minutes, or until a toothpick comes out clean.
- Allow resting for 10 minutes before slicing and serving warm.
Notes
For a dairy-free version, substitute buttermilk with plant milk plus lemon juice. Allow for the batter to rest before baking for best results.
- Prep Time: 10 minutes
- Cook Time: 25 minutes
- Category: Side Dish
- Method: Baking
- Cuisine: American
- Diet: Gluten Free
Nutrition
- Serving Size: 1 serving
- Calories: 200
- Sugar: 6g
- Sodium: 300mg
- Fat: 8g
- Saturated Fat: 4g
- Unsaturated Fat: 4g
- Trans Fat: 0g
- Carbohydrates: 28g
- Fiber: 2g
- Protein: 4g
- Cholesterol: 30mg