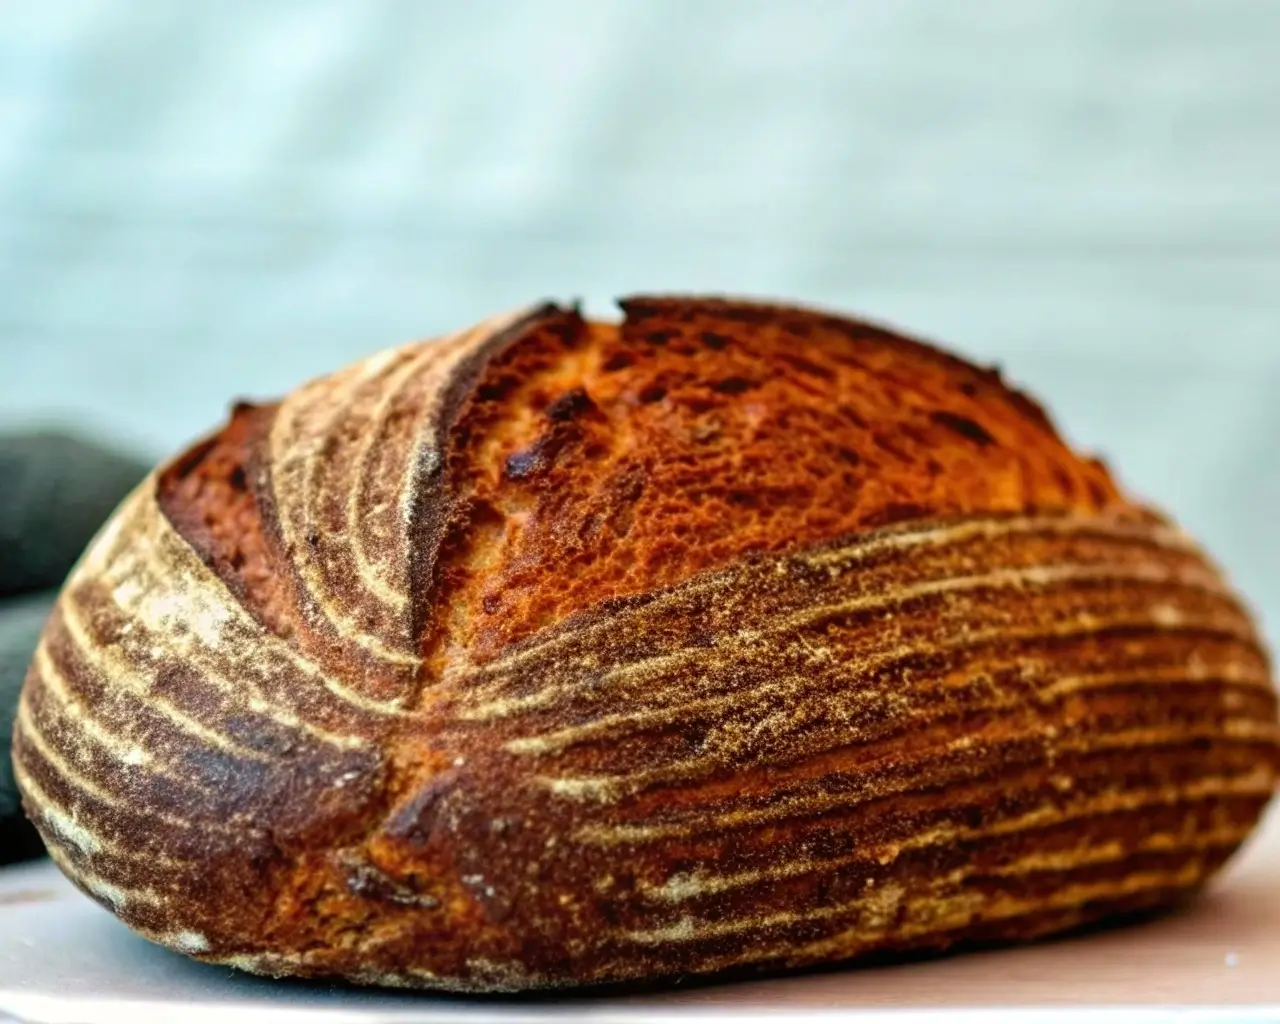
After 10 years of gluten-free baking, I’ll never forget the first time I achieved that perfect crack when I broke open a homemade gluten-free sourdough loaf. That golden, crispy crust that shattered like glass to reveal a tender, airy crumb inside was pure magic. It took months of failed attempts, soggy crusts, and deflated loaves before I finally cracked the code.
Most gluten-free sourdough recipes focus on achieving a decent rise and crumb structure, but completely overlook crust development—leaving home bakers frustrated with soggy, chewy exteriors that lack the satisfying crack and golden color of true artisan bread. The absence of gluten creates unique challenges, but once you understand the science and techniques, your homemade loaves can rival any artisan bakery.
In this comprehensive guide, you’ll discover the exact techniques, timing, and tools that transform ordinary gluten-free sourdough into bakery-quality loaves with crispy, golden crusts that stay crisp for days. We’ll explore the science behind crust formation, master essential equipment, and walk through every step from mixing to storing your perfect loaf.
The Science of Crispy Crusts in Gluten-Free Sourdough
Why Gluten-Free Crusts Behave Differently
Understanding the fundamental differences between wheat and gluten-free sourdough is crucial for crust success. In traditional sourdough, gluten proteins create a network that traps gases and provides structure, while also contributing to the Maillard reactions that create that coveted golden-brown crust.
Without gluten, we rely on alternative proteins from rice flour, sorghum, and binding agents like psyllium husk or xanthan gum to create structure. The choice and ratio of binding agents significantly impacts your final crust texture—for detailed guidance on xanthan gum ratios and techniques for bakery-quality results, including professional tips for achieving optimal texture balance. These alternatives behave very differently under heat. According to research published in the Journal of Cereal Science, gluten-free flours have different protein compositions that affect browning reactions, requiring adjusted techniques to achieve optimal crust development.
The moisture retention properties of gluten-free doughs also present unique challenges. Alternative flours tend to absorb and release moisture differently than wheat flour, often leading to soggy crusts if not properly managed. This is why many gluten-free bread recipes for beginners struggle with soft, pale crusts on their first attempts.
The Role of Steam and Temperature
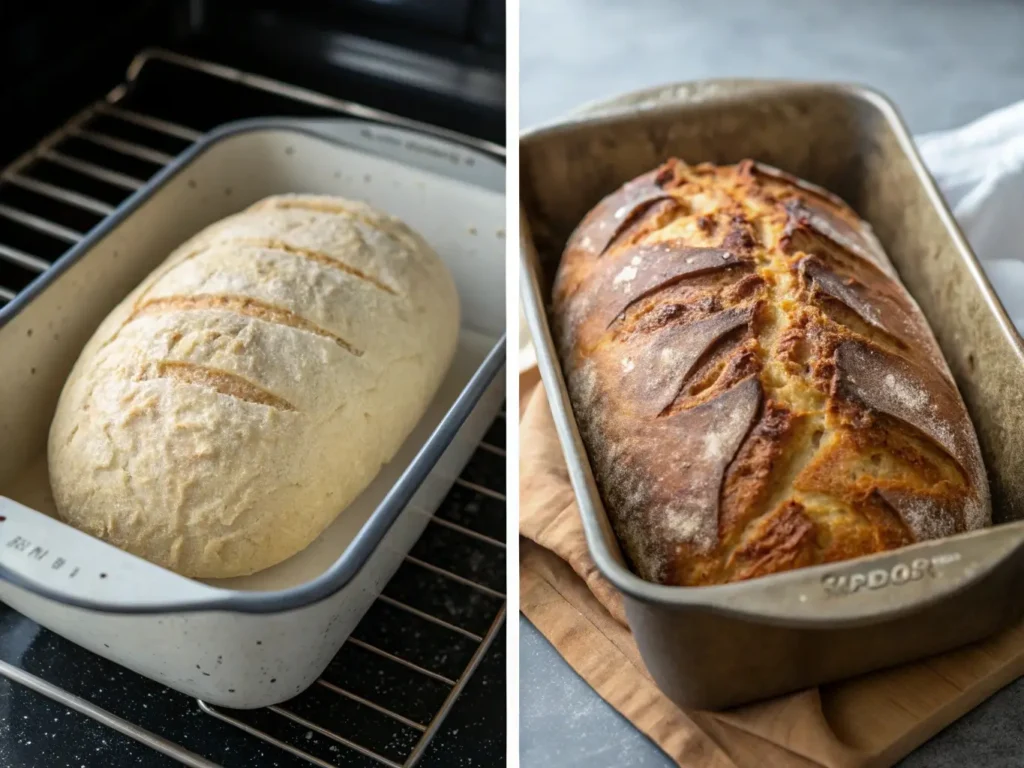
Steam plays a critical role in the first phase of baking, keeping the surface moist and pliable while the interior expands. This allows for maximum oven spring before the crust sets. However, the timing of steam release is crucial for achieving crispiness.
During the initial 15-20 minutes of baking at high temperature (450°F), steam prevents premature crust formation while promoting gelatinization of starches on the surface. When steam is released, the surface moisture evaporates rapidly, concentrating proteins and sugars that participate in Maillard browning reactions.
Food scientists at the University of California, Davis have shown that the rapid temperature differential between the moist interior and drying exterior creates the textural contrast we associate with crispy crusts. This process requires precise timing—too little steam results in poor rise and pale color, while too much steam prevents proper browning.
Understanding Hydration Balance
Achieving the perfect balance between dough hydration and surface moisture management is perhaps the most critical aspect of crispy crust development. Gluten-free sourdough typically requires higher hydration levels (75-85%) compared to wheat versions to achieve proper crumb structure.
However, this higher hydration can work against crust development if not managed properly. The key is creating controlled moisture gradients—maintaining adequate internal moisture while managing surface conditions to promote browning and texture development.
Professional bakers often use techniques like surface drying before scoring and controlled humidity during proofing to optimize these moisture levels. The goal is a dough that holds its shape while providing enough surface tension to create that characteristic “bloom” when scored.
Essential Equipment for Crispy Gluten-Free Sourdough Crusts
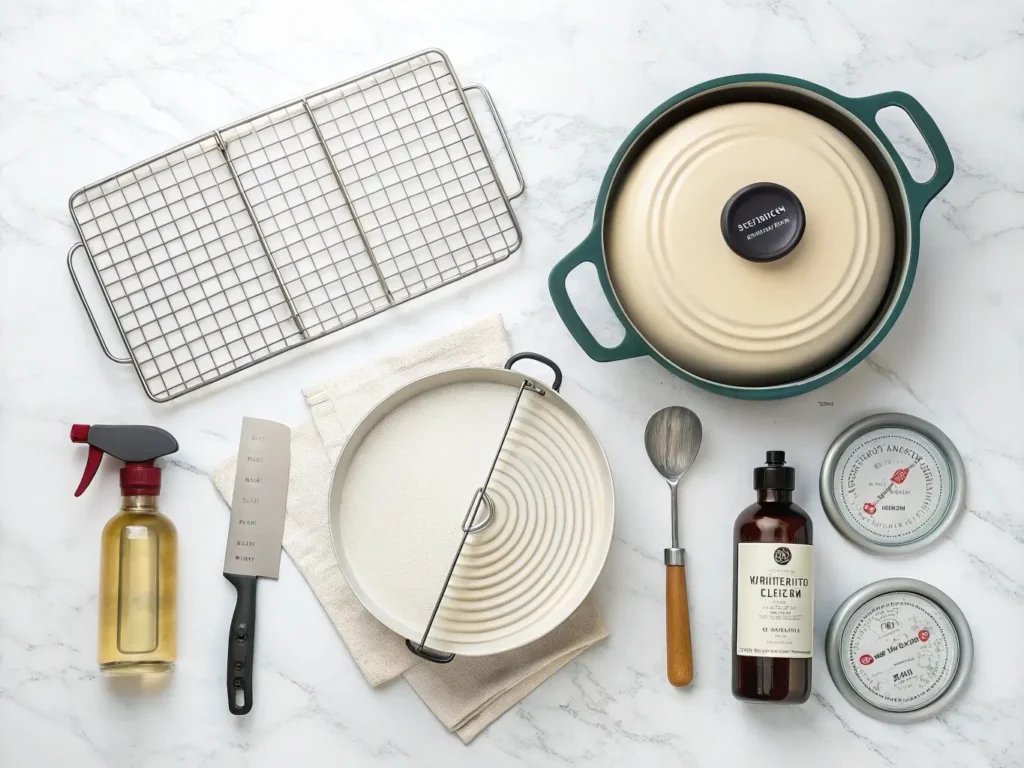
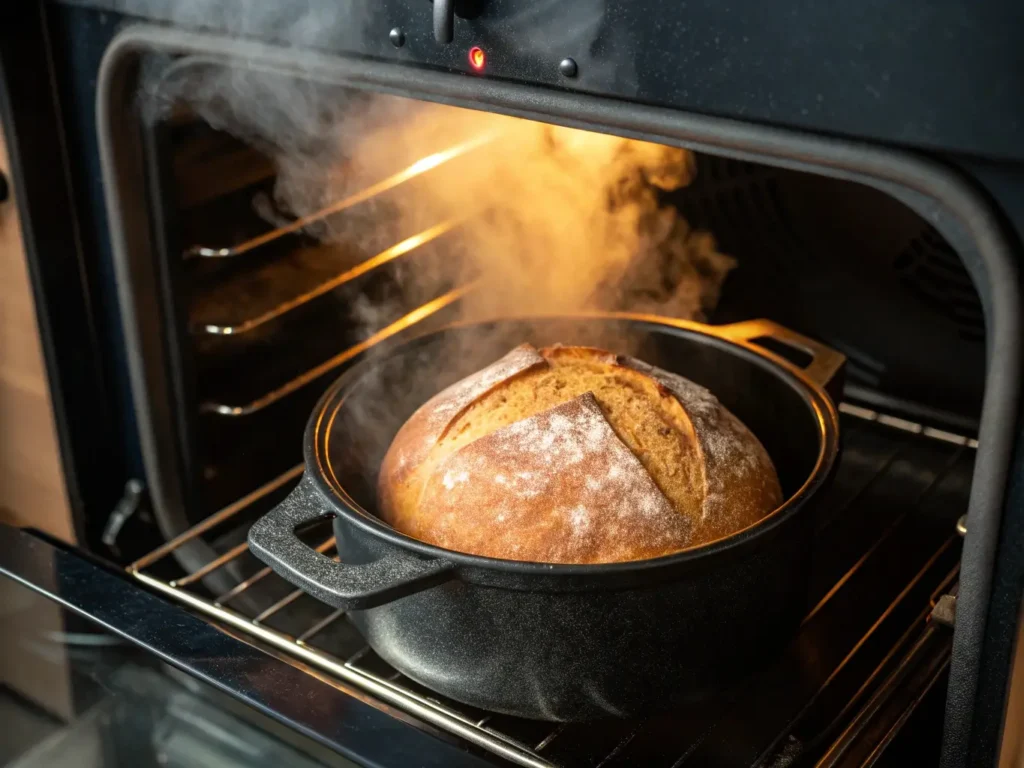
The Dutch Oven Method (Recommended)
A Dutch oven creates a controlled steam environment that mimics professional steam-injected ovens. The heavy cast iron retains heat and creates intense, even heating that promotes superior crust development. According to the American Institute of Baking, enclosed baking methods can improve crust thickness by up to 40% compared to open-oven baking.
For optimal results, use a 5-6 quart enameled Dutch oven that allows adequate space for expansion. Preheat the Dutch oven to 450°F for at least 30 minutes before baking. The thermal mass of the preheated vessel provides intense bottom heat while the lid traps steam during the crucial first phase of baking. For more insights on using different ovens for gluten-free bread, check out our guide to baking gluten-free bread in different ovens.
Alternative covered vessels include large covered casserole dishes, roasting pans with tight-fitting lids, or even inverted stainless steel bowls over baking stones. The key is creating a sealed environment that retains steam while providing consistent heat distribution.
Steam Injection Techniques
For those without Dutch ovens, several steam injection methods can achieve similar results. The ice cube method involves placing 6-8 ice cubes in a preheated metal pan on the bottom oven rack just as you load the bread. The rapid vaporization creates an intense steam burst that promotes optimal oven spring.
Steam pans work well but require more water management. Place a metal pan filled with boiling water on the lowest oven rack during preheating. This creates consistent steam throughout the initial baking phase. Remove the pan after 18-20 minutes to allow browning.
Spray bottle techniques can supplement other methods but shouldn’t be relied upon as the primary steam source. A few quick spritzes on the oven walls (never directly on the bread) just after loading can boost initial humidity levels.
Tools That Make the Difference
Professional-quality tools significantly impact your results. A bench scraper helps create proper surface tension during shaping gluten-free bread, while maintaining the structural integrity essential for good crust development. The smooth, controlled movements possible with a quality scraper prevent the dough tearing that can compromise final texture.
A sharp lame or razor blade is crucial for scoring that promotes optimal expansion. Clean, decisive cuts at the proper angle (30-45 degrees) create the controlled weakness points that direct oven spring and contribute to crust character.
An instant-read thermometer takes the guesswork out of doneness testing. Internal temperatures of 205-210°F ensure complete starch gelatinization and proper moisture content for crispy crust development. Proper cooling racks with adequate air circulation prevent steam condensation that can soften freshly baked crusts.
The Perfect Gluten-Free Sourdough Formula for Crispy Crusts
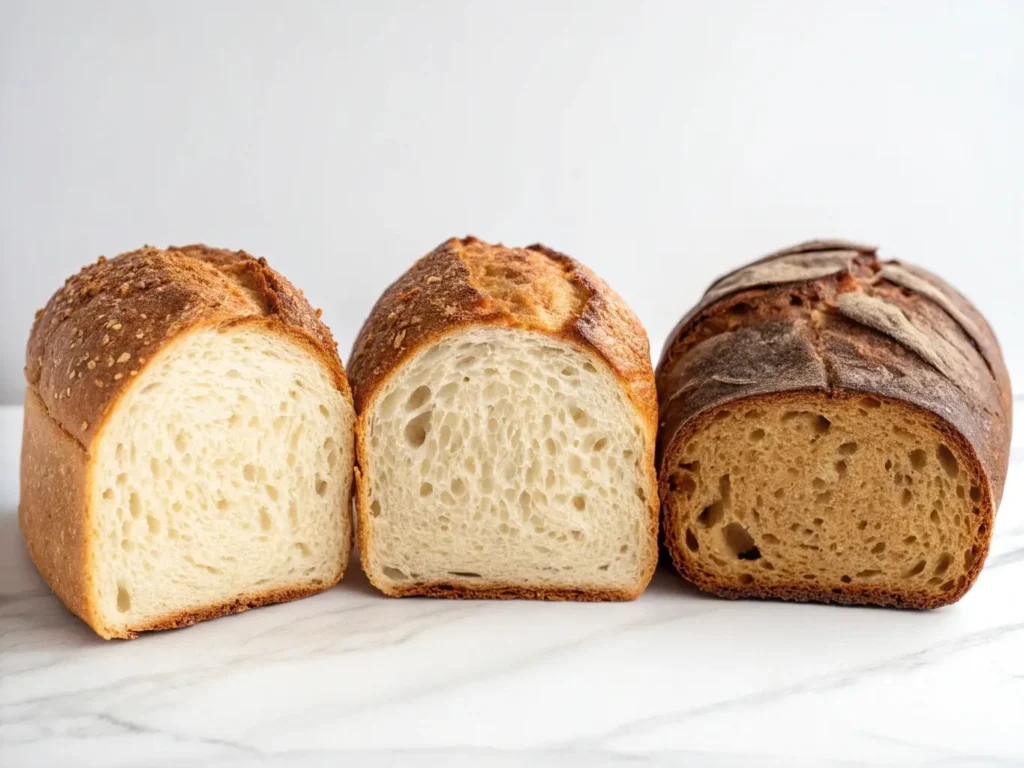
Flour Blend Optimization
The foundation of any crispy gluten-free sourdough is a well-balanced flour blend. Brown rice flour provides structure and contributes to browning, while white rice flour adds lightness. Sorghum flour offers protein content that enhances Maillard reactions, and tapioca starch creates the chewy texture that mimics gluten development.
A proven blend consists of 40% brown rice flour, 30% white rice flour, 20% sorghum flour, and 10% tapioca starch. This combination provides the protein content necessary for browning while maintaining the structural properties needed for proper rise and texture. For a comprehensive guide to creating your own custom blends, check out our detailed gluten-free flour blends guide.
Psyllium husk proves superior to xanthan gum for crust development, as it creates more flexible dough that can withstand the expansion forces during oven spring without tearing. Use 1 tablespoon of psyllium husk per cup of flour blend for optimal binding without compromising texture.
Hydration and Fermentation Balance
Optimal hydration for crispy-crust gluten-free sourdough ranges from 78-85%, depending on your specific flour blend. Higher protein flours require more hydration, while starch-heavy blends need less to prevent gumminess.
Start with 80% hydration and adjust based on dough handling characteristics. Properly hydrated dough should feel slightly sticky but hold its shape when formed. If the dough tears easily during shaping, increase hydration by 2-3%. If it’s too slack to maintain shape, reduce hydration slightly.
Fermentation timing impacts both flavor development and crust characteristics. To ensure your starter is active and ready, follow our guide for maintaining a healthy gluten-free sourdough starter. Bulk fermentation at room temperature typically requires 4-6 hours, while cold retardation for 12-48 hours improves flavor complexity and makes shaping easier while contributing to crust development through enzymatic activity.
Secret Ingredients for Superior Crusts
Several additives can enhance crust development without compromising the gluten-free nature of your bread. A tablespoon of vital wheat gluten alternatives like pea protein or rice protein can improve browning and texture, though these aren’t essential for success.
Egg wash applications create beautiful golden color and contribute to crispiness. Mix one egg with one tablespoon of water and brush lightly on the surface just before scoring. For dairy-free options, try a mixture of aquafaba (chickpea liquid) with a touch of maple syrup for browning enhancement.
Natural browning enhancers include a teaspoon of diastatic malt powder (ensure it’s gluten-free) or a tablespoon of honey sweetened additions added to the dough. These sugars participate in Maillard reactions, promoting deeper color and more complex flavors in the finished crust.
Master the Mixing and Shaping Techniques
Proper Dough Development
Gluten-free sourdough requires different mixing approaches than conventional breads. Begin with an autolyse period where flour and water combine for 30-45 minutes before adding starter and salt. This allows the flours to fully hydrate and begins developing the binding properties of psyllium husk or other hydrocolloids.
Research from the International Association of Cereal Science and Technology demonstrates that extended autolyse periods improve dough handling and final texture in gluten-free breads. The hydration process creates more uniform moisture distribution and better structural development.
Mix the dough until it becomes smooth and cohesive, typically 5-8 minutes in a stand mixer with a paddle attachment. Unlike wheat dough, you cannot overmix gluten-free versions, so mix until the ingredients are fully incorporated and the dough pulls cleanly from the bowl sides.
Shaping for Crust Success
Creating surface tension without gluten requires specific techniques. Begin with pre-shaping by gently forming the dough into a loose round and allowing it to rest for 20-30 minutes. This relaxation period makes final shaping easier and more effective.
For final shaping, work quickly but gently to minimize degassing. Use flour-dusted hands to create tension by folding the edges toward the center, then inverting and gently rolling the seam-side-down loaf in circular motions to create surface tension.
The goal is a smooth, taut surface that will expand evenly during baking. Place seam-side down in a banneton or bowl lined with well-floured cloth for final proofing. Proper shaping creates the foundation for even crust development and attractive appearance that rivals artisan gluten-free bread.
Proofing Strategies
Bulk fermentation indicators for gluten-free sourdough differ from wheat versions. Look for a 50-75% increase in size rather than doubling, as gluten-free doughs don’t trap gases as effectively. The dough should feel slightly jiggly when gently shaken and show visible bubbles on the surface.
Final proof timing varies with temperature and starter activity. At room temperature (68-72°F), expect 2-4 hours for final proof. The dough is ready when it springs back slowly from a gentle finger poke, leaving a slight indentation.
Cold retardation in the refrigerator for 12-24 hours after shaping improves flavor development and makes scoring easier. Cold dough holds its shape better during transfer and scoring, contributing to better oven spring and crust development.
Advanced Scoring and Surface Preparation
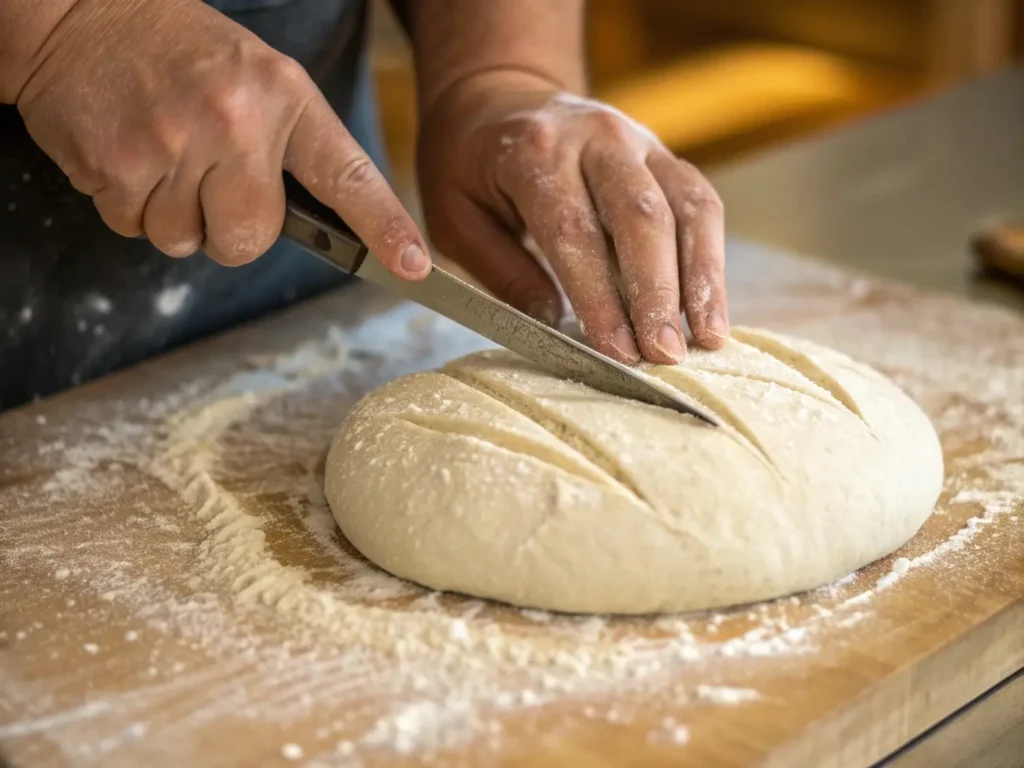
Scoring Patterns That Enhance Crust
Proper scoring serves multiple purposes: controlling expansion direction, creating attractive patterns, and contributing to crust texture development. For beginners, a single slash at 30-45 degrees across the loaf’s center provides excellent results.
The depth of scoring should be approximately 1/4 to 1/2 inch, penetrating through the surface skin without going too deep into the dough structure. Deeper cuts allow more dramatic bloom but can compromise structural integrity in gluten-free loaves.
Advanced patterns like cross-hatching or decorative leaves require practice but create stunning visual appeal. The key is swift, confident cuts with a sharp blade, avoiding sawing motions that can deflate the dough or create ragged edges.
Surface Treatments for Extra Crispiness
Light flour dusting before scoring prevents sticking and contributes to rustic appearance. Use the same flour blend as your bread for consistent results, or experiment with single flours like rice flour for different textures and colors.
Seeds and toppings should be applied before final proofing to ensure proper adhesion. Sesame seeds, poppy seeds, or rolled oats create textural contrast and contribute to overall crust character. Press gently to embed slightly without compressing the dough.
Avoid excess surface moisture before baking, as this can prevent proper browning. If your dough surface appears wet, allow it to air dry for 15-20 minutes before scoring and baking, or lightly dust with flour to absorb surface moisture.
Temperature Shock Methods
The contrast between cold dough and hot oven creates optimal conditions for oven spring and crust development. Remove the shaped loaf from refrigeration just before scoring and baking rather than allowing it to come to room temperature.
This temperature differential maximizes the rapid expansion that creates good oven spring while the surface sets quickly under intense heat. The result is better volume and more dramatic crust texture contrasts.
Preheat your Dutch oven or baking setup to maximum effectiveness—at least 30 minutes at 450°F ensures adequate thermal mass for consistent heat transfer during the critical first minutes of baking.
The Baking Process: Temperature, Steam, and Timing
The Two-Stage Baking Method
Professional-quality results require a two-stage baking approach that mimics commercial bread ovens. Stage one involves high heat (450°F) with maximum steam for 18-20 minutes, creating optimal conditions for expansion and initial crust formation.
During this stage, resist the temptation to check progress by opening the oven door. Each opening releases crucial steam and drops temperature, potentially compromising final results. Trust the process and timing.
Stage two reduces temperature to 425°F and removes steam sources to promote browning and final crust development. This typically requires an additional 20-25 minutes, depending on loaf size and desired crust color.
Steam Management Mastery
Creating the initial steam burst is crucial for success. With the Dutch oven method, the preheated pot creates instant steam from the dough’s surface moisture. For open baking, ice cubes or boiling water pans provide necessary humidity.
Steam release timing determines final crust character. Too early and you’ll get pale, thick crusts. Too late and browning will be insufficient. The ideal timing is when the loaf has achieved maximum expansion, typically 18-20 minutes into baking.
Visual cues for steam release include the loaf setting its final shape and beginning to show color development. At this point, remove Dutch oven lids or steam pans to allow moisture evaporation and browning to proceed.
Oven Spring Optimization
The first 10-15 minutes of baking are critical for achieving maximum rise. Proper preheating, adequate steam, and avoiding temperature fluctuations all contribute to optimal expansion during this period.
Studies by the Bread Research Institute show that oven spring contributes up to 20% of final loaf volume in properly managed gluten-free breads. This expansion creates the internal structure that supports crispy crust development.
Monitor progress through oven windows rather than opening doors. Good oven spring is evident when scored areas open dramatically and the overall loaf appears to grow significantly during the first phase of baking.
Post-Baking Techniques for Maintaining Crispy Crusts
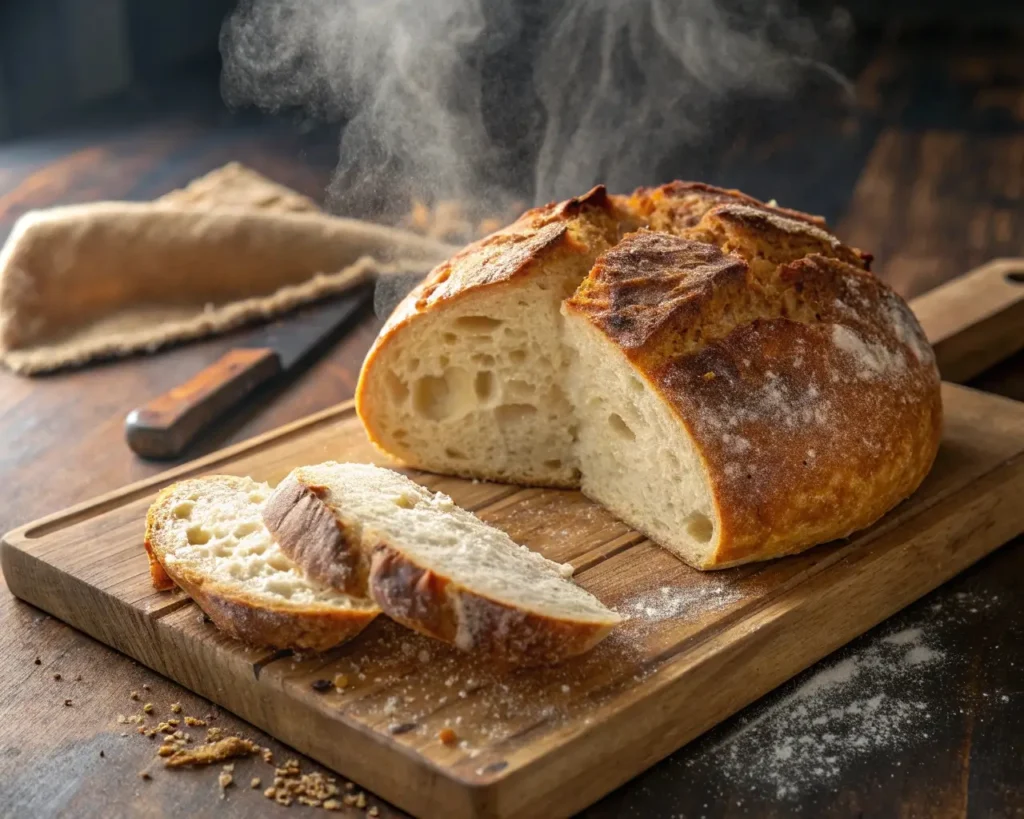
Proper Cooling Methods
Immediate transfer to cooling racks prevents steam condensation that can soften freshly baked crusts. The continued cooking from residual heat and proper air circulation are essential for final texture development.
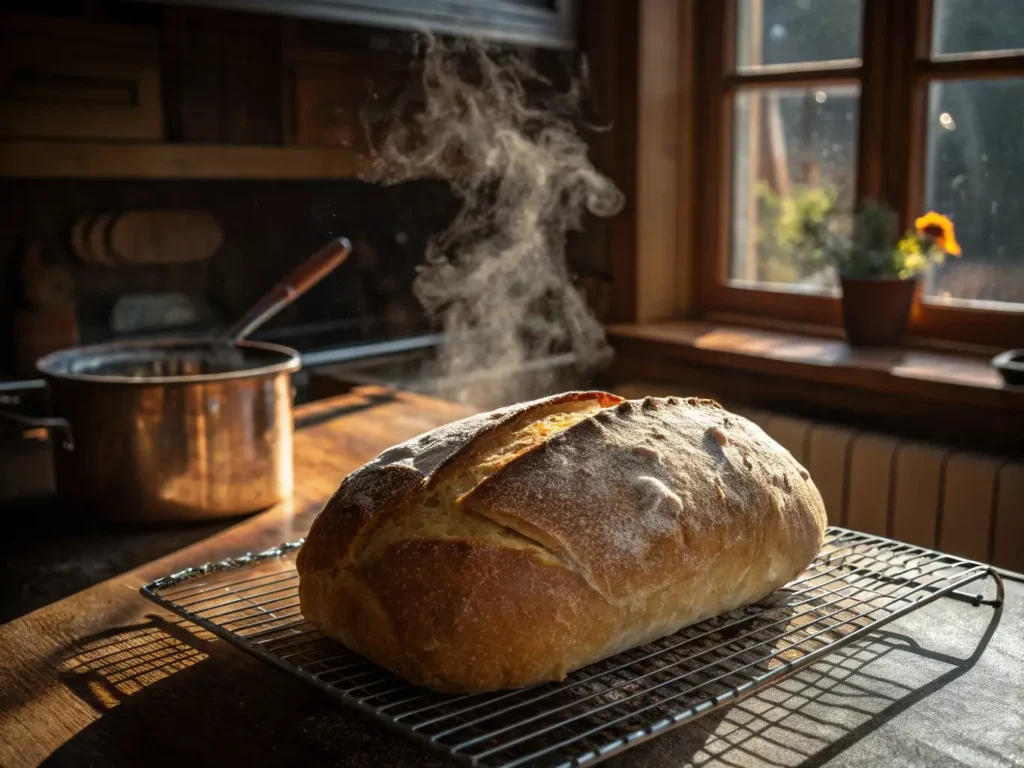
According to food science research from Kansas State University, proper cooling allows moisture migration from interior to exterior, creating optimal texture gradients in artisan breads. Cutting too early releases steam and creates gummy textures while softening crusts.
Allow complete cooling for at least 2-3 hours before cutting. This patience pays off with better texture, easier slicing, and preserved crust crispiness. The internal temperature should drop to room temperature for optimal results.
Storage Solutions That Preserve Crispness
Paper bags or bread boxes provide the ideal storage environment for maintaining crust texture. Paper allows minimal moisture exchange while preventing excessive drying that can make crusts too hard.
Avoid plastic storage for the first 24-48 hours, as trapped moisture will soften even the crispiest crusts. Once the bread is fully cooled and stabilized, plastic storage can extend shelf life but will soften surface texture.
For longer storage, slice and freeze portions in airtight containers. Frozen bread maintains quality for up to 3 months and can be refreshed directly from frozen state using proper reheating techniques.
Refreshing Day-Old Crusts
Oven refreshing at 350°F for 5-8 minutes can restore crispiness to day-old loaves. Lightly mist the surface with water and place directly on oven racks for optimal results. This technique reactivates surface moisture and promotes re-crisping through rapid evaporation.
Steam revival methods work well for partially softened crusts. Place the loaf in a preheated Dutch oven for 3-5 minutes to create a brief steam environment, then remove the lid for final crisping.
Toaster oven techniques work well for individual slices. Toast at medium heat until surfaces become crispy again, being careful to avoid over-browning. This method is particularly effective for breakfast applications or when you need just a few slices. For creative ways to use day-old bread, explore our leftover gluten-free bread ideas.
Troubleshooting Common Crispy Crust Problems
Solving Soggy Crust Issues
Soggy crusts typically result from insufficient baking, excess surface moisture, or improper cooling techniques. Internal temperatures should reach 205-210°F to ensure complete starch gelatinization and proper moisture content.
Under-baking is common in gluten-free breads because they can appear done on the surface while remaining underdeveloped inside. Use an instant-read thermometer to verify doneness rather than relying solely on visual cues or timing.
Environmental factors like high humidity can impact crust development. On particularly humid days, extend baking time by 3-5 minutes and ensure proper cooling in low-humidity environments using fans or air conditioning if necessary. For comprehensive solutions to common issues, consult our gluten-free bread troubleshooting guide.
Achieving Better Color and Texture
Pale crusts often indicate insufficient browning time or inadequate surface sugars for Maillard reactions. Extending the second baking phase and ensuring proper steam removal timing can improve color development.
Adding natural browning enhancers like honey, maple syrup, or egg wash can promote better color in stubborn batches. These provide additional sugars and proteins that participate in browning reactions.
Tough versus crispy texture differences come down to moisture content and cooling techniques. Properly developed crusts should shatter rather than bend, with audible crackling when fresh from the oven.
Consistency Challenges
Batch-to-batch variations often stem from environmental factors, ingredient variations, or timing inconsistencies. Keep detailed notes about ambient temperature, humidity, and timing to identify patterns in successful versus problematic bakes.
Seasonal adjustments may be necessary as flour behavior changes with humidity and temperature. Summer conditions typically require reduced hydration, while winter may need increased moisture or longer fermentation times.
Equipment calibration ensures consistent results. Verify oven temperatures with an independent thermometer, and check that Dutch ovens preheat adequately. Small temperature variations can significantly impact final results.
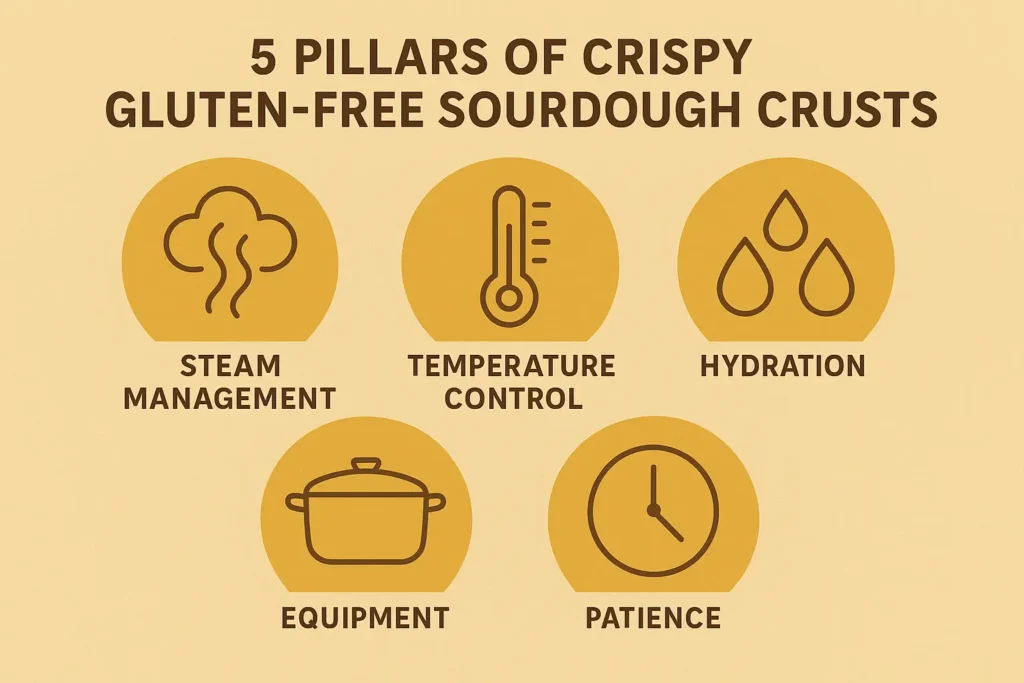
The 5 Pillars of Crispy Gluten-Free Sourdough Crusts
After years of experimentation and hundreds of loaves, these five principles consistently produce bakery-quality results:
Steam Management: 15-20 minutes of high steam, then release for browning. This creates the perfect environment for expansion and color development.
Temperature Control: 450°F start, reduce to 425°F for browning phase. The two-stage approach mimics professional bread ovens for superior results.
Proper Hydration: 75-85% hydration for optimal texture balance. Higher hydration improves crumb while proper surface management ensures crispy crusts.
Equipment Matters: Dutch oven creates professional results at home. The enclosed environment provides consistent steam and heat distribution.
Patience Pays: Full cooling before cutting preserves crispness. Resist the temptation to cut early, as this releases steam and compromises texture.
Expanding Your Gluten-Free Bread Skills
Once you’ve mastered the crispy crust technique, consider exploring other artisan varieties to expand your skills. Try your hand at a rustic gluten-free boule or experiment with a gluten-free baguette recipe that showcases your newfound crust expertise.
For everyday baking, these techniques also apply beautifully to gluten-free sourdough sandwich bread, giving you that perfect crust for your daily bread needs.
Your Next Bake Action Steps
Transform your next gluten-free sourdough loaf with these proven techniques. Start with one method today, and you’ll hear that satisfying crack when you break open your homemade artisan bread tomorrow.
This Week: Gather essential equipment—Dutch oven, instant-read thermometer, and sharp scoring blade. Quality tools make a significant difference in your results.
Next Bake: Try the two-stage temperature method with proper steam management. Focus on timing and temperature control before moving to advanced techniques.
Practice: Master steam timing over 2-3 loaves, making notes about your specific oven’s characteristics and how your dough responds to different conditions.
Refine: Adjust hydration based on your flour blend’s behavior and environmental conditions. Small adjustments can yield dramatic improvements.
Perfect: Document your successful formula for consistency, including timing, temperatures, and environmental notes for reliable replication.
The journey to perfect gluten-free sourdough crusts requires patience and practice, but the results are worth every effort. Each successful loaf builds your confidence and brings you closer to that ideal combination of crispy exterior and tender, flavorful interior that makes homemade bread so satisfying.
Whether you’re just beginning your gluten-free baking journey or looking to perfect your technique, these methods will transform your sourdough from ordinary to extraordinary. The science is sound, the techniques are proven, and the results speak for themselves in every crispy, golden loaf that emerges from your oven.
Frequently Asked Questions
Soft crusts typically result from insufficient baking time, inadequate steam management, or improper cooling. Ensure internal temperature reaches 205-210°F and follow the two-stage baking method with proper steam release timing.
Yes, though Dutch ovens provide the most consistent results. Alternative methods include steam pans, ice cube techniques, or covered casserole dishes. The key is creating initial steam while allowing proper browning in the final phase.
Total baking time ranges from 35-45 minutes using the two-stage method: 18-20 minutes at 450°F with steam, then 20-25 minutes at 425°F for browning. Internal temperature is more reliable than timing alone.
The ice cube method works well—place 6-8 ice cubes in a preheated metal pan on the bottom rack when loading bread. Steam pans with boiling water or brief misting of oven walls (not bread) also create effective steam.
Improper cooling allows steam condensation to soften crusts. Always cool on raised racks for proper air circulation, avoid plastic storage while warm, and ensure complete cooling before slicing or storing.
Basic principles apply, but gluten-free versions require modified techniques. Higher hydration, different mixing methods, adjusted fermentation timing, and specific steam management accommodate the unique properties of gluten-free flours.
Internal temperature of 205-210°F is the most reliable indicator. Visual cues include deep golden color, hollow sound when tapped, and firm texture. Gluten-free breads can appear done on the surface while underbaked inside.
A blend of 40% brown rice flour, 30% white rice flour, 20% sorghum flour, and 10% tapioca starch provides excellent crust development. The protein content and starch balance contribute to both structure and browning.
Avoid over-baking by monitoring internal temperature and visual cues. Proper hydration (78-85%) and cooling techniques prevent excessive hardness. Tough crusts often indicate inadequate steam during initial baking or excessive final baking.
Yes, oven refreshing at 350°F for 5-8 minutes works well. Lightly mist the surface and place directly on oven racks. This reactivates surface moisture and promotes re-crisping through rapid evaporation.

Crispy Gluten-Free Sourdough
Achieve bakery-quality gluten-free sourdough with a crispy crust using proven techniques and science.
- Total Time: 60 minutes
- Yield: 1 loaf 1x
Ingredients
- 40% brown rice flour
- 30% white rice flour
- 20% sorghum flour
- 10% tapioca starch
- 1 tablespoon psyllium husk per cup of flour blend
- Water (amount varies based on desired hydration 75-85%)
- Egg (for egg wash, optional)
- 1 tablespoon diastatic malt powder (gluten-free)
Instructions
- Combine flour blend and water for an autolyse period of 30-45 minutes.
- Add starter and salt, and mix until smooth (about 5-8 minutes).
- Pre-shape the dough into a loose round and let rest for 20-30 minutes.
- Final shape the loaf and proof in a banneton for 2-4 hours at room temperature.
- Preheat a Dutch oven at 450°F for at least 30 minutes.
- Bake covered for 18-20 minutes, then remove the lid and lower the temperature to 425°F for an additional 20-25 minutes.
- Cool on a wire rack for 2-3 hours before slicing.
Notes
For best results, monitor internal temperature to reach 205-210°F and adjust hydration based on flour behavior.
- Prep Time: 15 minutes
- Cook Time: 45 minutes
- Category: Bread
- Method: Baking
- Cuisine: Gluten-Free
- Diet: Gluten-Free
Nutrition
- Serving Size: 1 slice
- Calories: 250
- Sugar: 1g
- Sodium: 150mg
- Fat: 3g
- Saturated Fat: 0g
- Unsaturated Fat: 2g
- Trans Fat: 0g
- Carbohydrates: 50g
- Fiber: 5g
- Protein: 7g
- Cholesterol: 0mg