
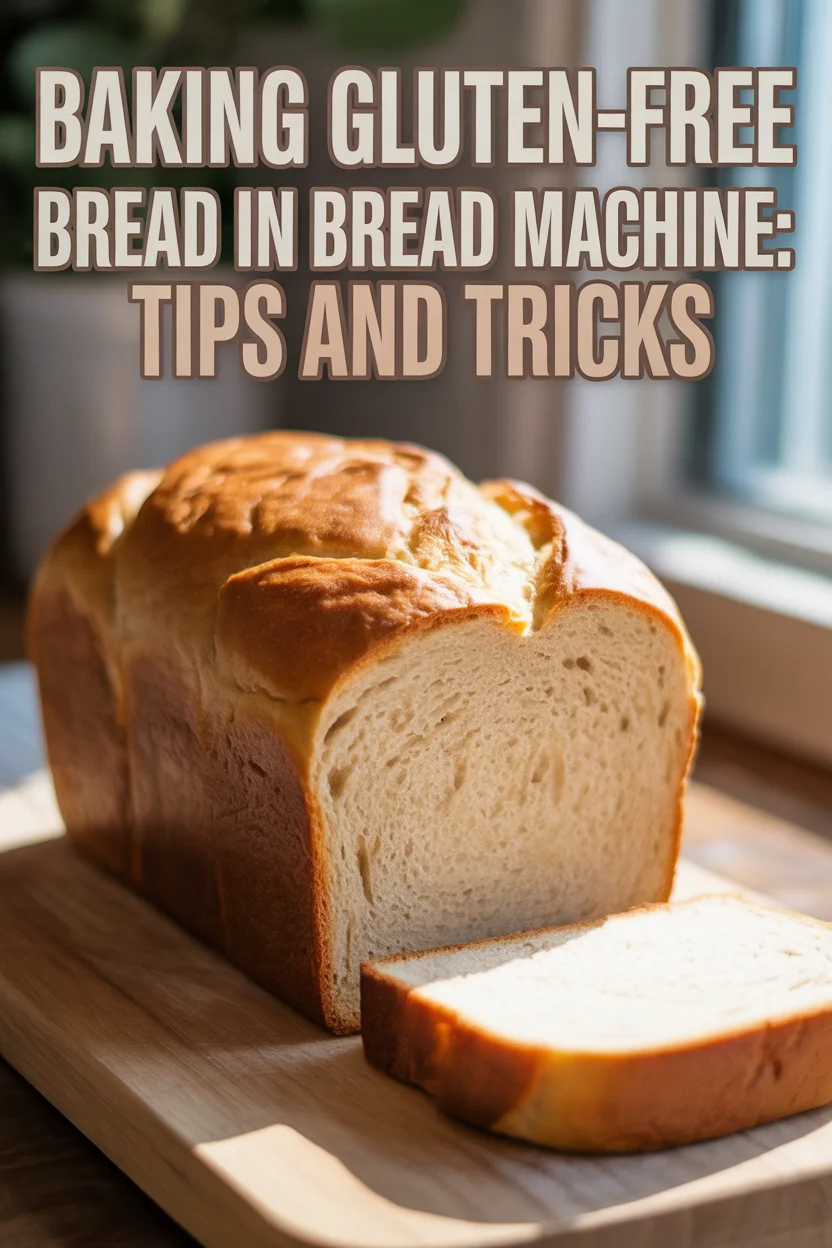
Baking Gluten-Free Bread in a Bread Machine probably sounded like a dream the first time I tried it. For years, I made sad, crumbly loaves that looked more like bricks than bread. Maybe you’ve been in the same soggy, gluten-free boat. I get it. With the global gluten-free products market projected to reach $13.67 billion by 2030 Gluten-free Products Market Size | Industry Report, 2030, you’re definitely not alone in this journey. But you know, after some trial and error (more error than I’d like to admit), I figured out some shortcut tricks that changed everything. If this is your first attempt, or your hundredth, peep the basics for fluffy success. You can always check out more baking tips at gluten-free bread baking basics techniques or dip your toe into easy gluten-free bread recipes for beginners for starters. Oh, and trust me—this does not have to be hard. 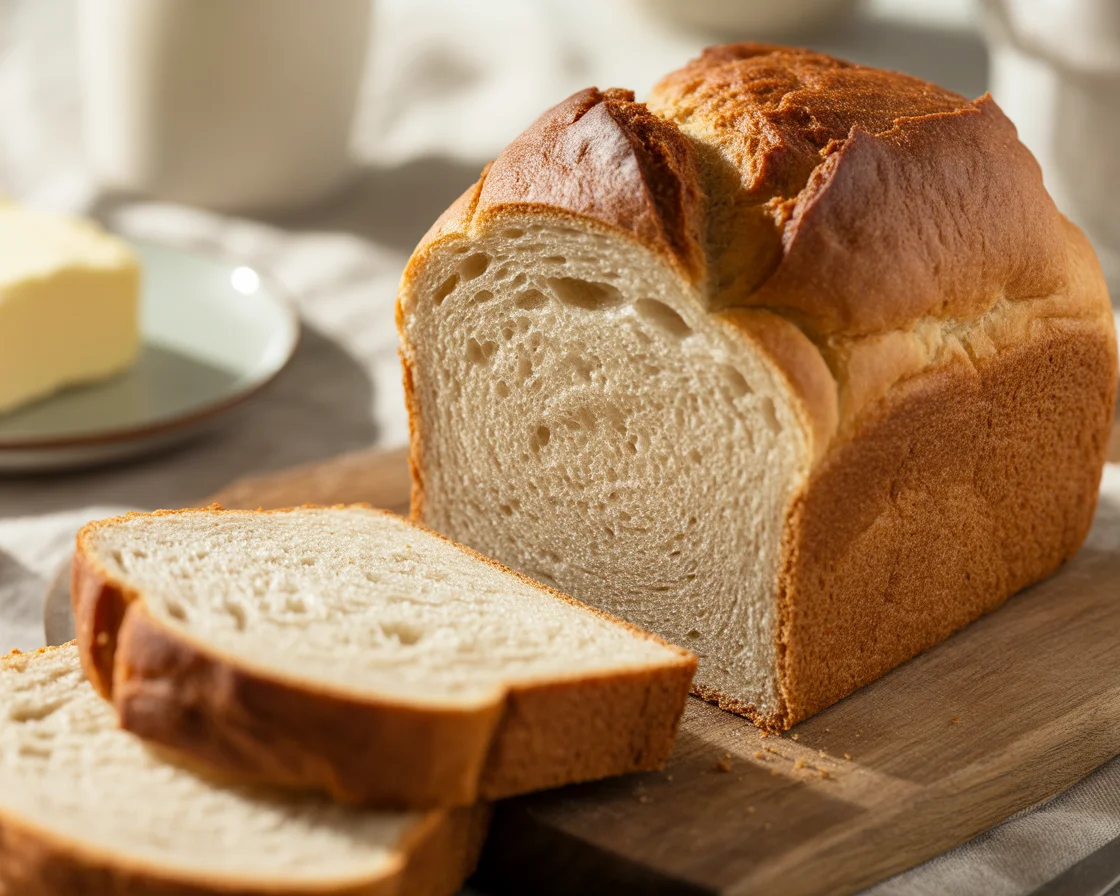
Why a Bread Machine for Gluten-Free Bread?
Some folks ask—can’t you just bake this in an oven? Sure you can. But honestly, a bread machine makes it so much easier. No kneading (hallelujah). No fussing over two dozen mixing bowls. Just dump everything in, walk away, and come back to magic.
This is especially helpful since celiac disease affects an estimated 1 in 100 people worldwide, but only about 30% are properly diagnosed What is Celiac Disease? | Celiac Disease Foundation, meaning many people are just discovering their need for reliable gluten-free baking methods.
For gluten-free bread, the even mixing and steady warmth from a bread machine helps a ton—makes a dough that actually holds together. I mean, my first attempt in an oven? Disaster city. Turned out drier than a popcorn kernel. Bread machines keep the dough moister and you’re not guessing times or temps.
My cousin in Minnesota swears that her bread machine loaf came out softer and lighter than anything she ever managed by hand. So if you’re nervous? Don’t be. These gadgets have your back.
This is a total game-changer. I never thought gluten-free bread could come out so soft until I tried my old machine. Now it’s my weekend ritual. —Lila S.
Choosing the Right Bread Machine
Picking a good machine is not as scary as it sounds. You don’t need some five-star restaurant gadget. Just a reliable machine with a “gluten-free” setting (or a customizable program if you’re feeling experimental).
The right machine should mix really well—no streaks of dry flour hiding out. I used to have an old machine that left weird pockets at the corners of the loaf. Super annoying. Also, look for one with a sturdy paddle and, if possible, a nonstick pan. Easier cleanup is a lifesaver.
Read reviews, maybe. I always peek at what other gluten-free bakers say. I noticed that some classic everyday bread machines work a treat for these recipes. Heck, sometimes you can even snag a deal on a secondhand one. Who knew?
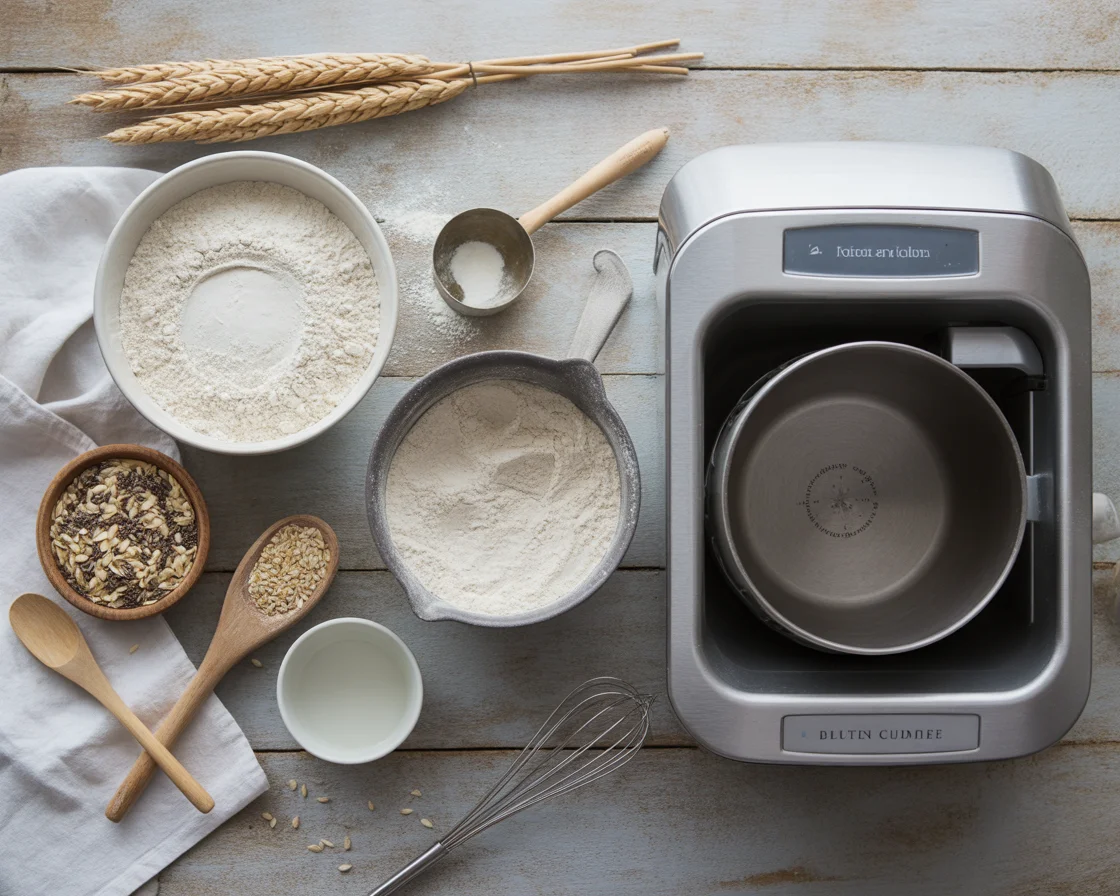
Essential Gluten-Free Bread Machine Ingredients
This part matters a whole bunch—way more than I knew at first. Not all gluten-free flours act the same. So here are your must-haves:
- Gluten-free flour blend: Not all blends are equal, check out gluten-free flour blends for ideas.
- Xanthan gum or psyllium husk: Holds your loaf together. (If your flour blend has it, you’re good.)
- Yeast: Use instant or bread machine yeast for the best rise.
- Eggs (or replacer): Adds a little fluff and helps with color.
- Liquid (water, milk, or dairy-free option): Don’t skip the liquids or you’ll end up with something scarily dense.
- Sugar and salt: Both help with flavor and yeast action.
- Oil or butter: For softness, because nobody wants bread that chews like rubber.
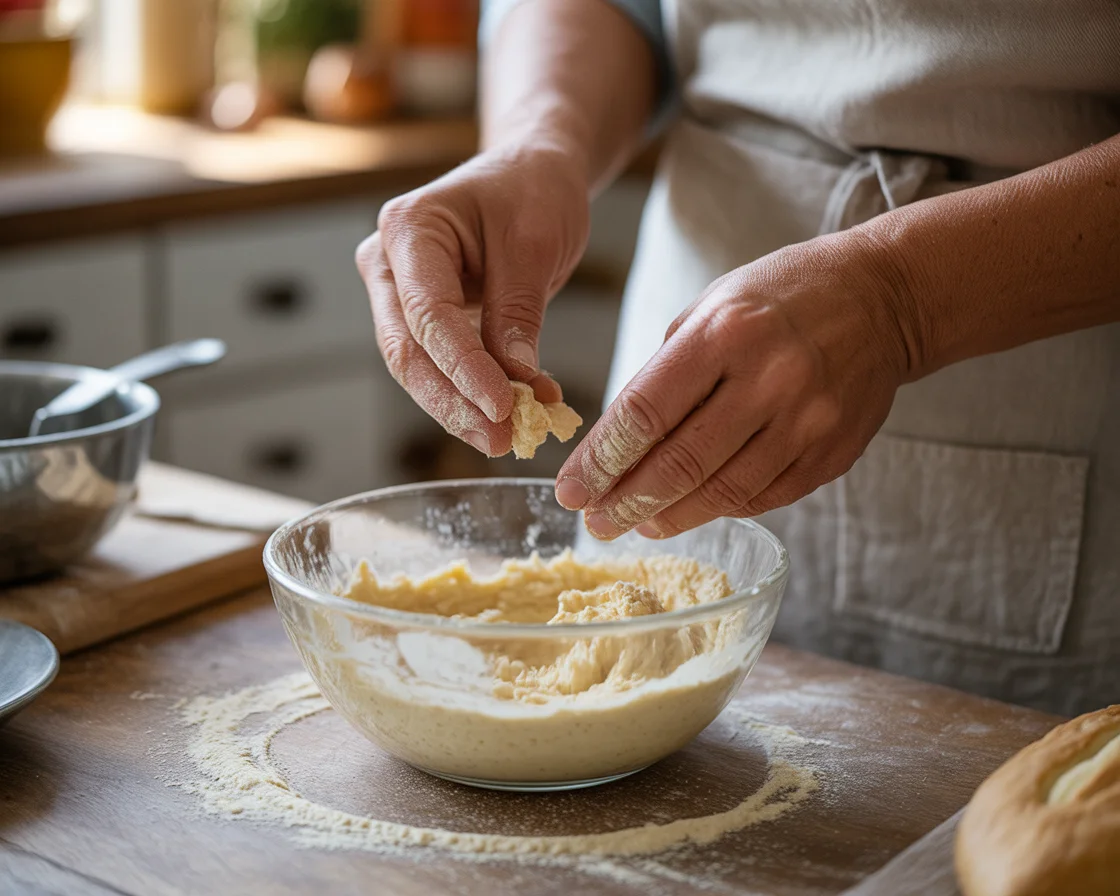
Getting the balance right took me a few rounds. That first batch? It stuck to the ceiling of my machine. Lesson learned. 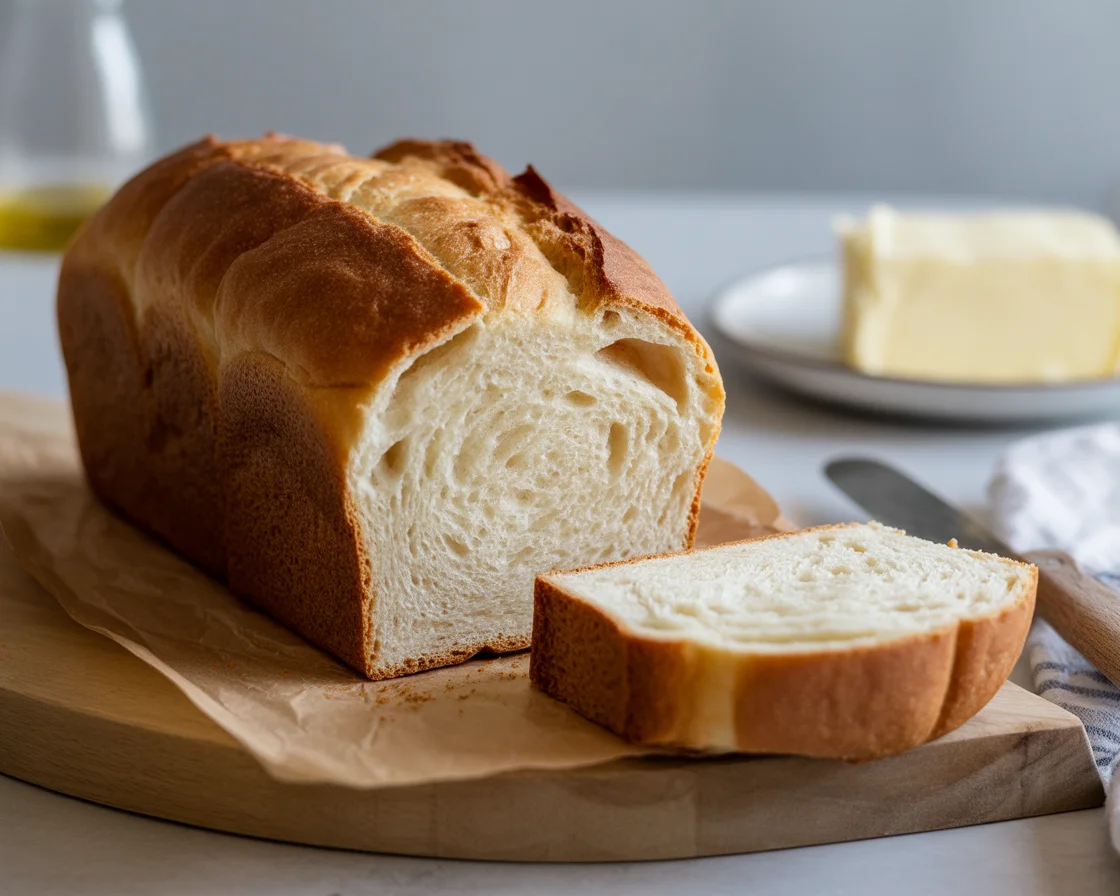
Step-by-Step: Baking Gluten-Free Bread in a Bread Machine
Okay, real talk: the steps are simple, but you gotta respect the order. Dumping everything in willy-nilly never worked for me. Start with liquids, then dry stuff, then yeast last (very important if you’re delaying the bake).
Hit the gluten-free setting. Walk away. Watch a show, do laundry, contemplate your life choices. Whatever.
About halfway through, peek in. If you see flour patches, scrape down the sides. Sometimes I use a silicone spatula—easy, less mess.
Don’t freak out if the dough looks gloopy. Gluten-free bread machine dough isn’t supposed to look like “normal” bread dough anyway.
Once your machine beeps, take it out right away—nobody wants a steamy, soggy bottom.
Let it cool before slicing, no exceptions. Otherwise, you’ll have a hot sticky disaster on your hands. Ask me how I know.
Common Mistakes and How to Avoid Them
I’ve messed this up so many times. Like, so. Many. Times. Most flops come from flour mishaps, too much or too little liquid, or just ignoring the machine.
If your bread collapses or comes out gummy, double-check your measurements. Invest in a scale. I avoided one forever, but wow, it’s so much easier.
A lot of folks forget baking basics and techniques, thinking the bread machine can fix everything (trust me, it can’t). Also—don’t panic if it smells odd during baking. Gluten-free flour is famous for strange smells, but it bakes off.
The trick is to keep your eyes on it, especially the first few times. Oh—and use fresh yeast. Old yeast makes for a flat loaf, every single time.
Expert Tips
Let’s just get right to it. Here’s what really helps in my kitchen:
- Let your bread cool in the pan for maybe 10 minutes after baking, but not much longer or the crust might get weird.
- Don’t slice until it’s fully cool. It’s torture, but worth it for perfect slices.
- Store it in a bag or airtight tin. Stale gluten-free bread is heartbreak in a loaf.
- Toast your slices for sandwiches. Barely-toasted gluten-free bread is epic.
| Common Issues | Possible Causes | Quick Fixes |
|---|---|---|
| Bread sunk in the middle | Too much liquid or old yeast | Check measurements and yeast age |
| Dense, heavy loaf | Not enough rising time | Use the gluten-free setting |
| Very sticky dough | Over-hydrated or too much egg | Cut down on liquid and eggs |
| Crust too thick or hard | Baked too long or wrong pan type | Try a lighter pan or reduce bake time |
| Flour crust at edges | Poor mixing | Scrape sides halfway through |
Troubleshooting Table
| Issue | Possible Cause | Easy Fix |
|---|---|---|
| Bread sunk in middle | Too much liquid or old yeast | Check measurements and yeast age |
| Dense, heavy loaf | Not enough rising time | Use the gluten-free setting |
| Very sticky dough | Over-hydrated or too much egg | Cut down on liquid/eggs |
| Crust too thick or hard | Baked too long or wrong pan type | Try lighter pan, reduce bake time |
| Flour crust at edges | Poor mixing | Scrape sides halfway through mixing |
Common Questions
A: Sadly, nope. Baking gluten-free bread in a bread machine really needs different ratios and ingredients.
A: At room temp, maybe two days tops. Freeze for longer. It’s best fresh, honestly.
A: Usually, yes—unless your flour blend already has it. Without it, your bread might fall apart.
A: Sometimes gluten-free bread just refuses to brown. Try brushing with a bit of oil or butter before baking.
A: Totally. Use flax eggs and non-dairy milk, just adjust liquids a smidge.
Your Kitchen, Your Gluten-Free Playground
Don’t overthink it. Baking gluten-free bread in a bread machine isn’t some mystical art. Start with a tried-and-true easy gluten-free bread recipe for beginners. Choose a reliable machine and stick to the gluten-free bread recipes classics if you’re just getting started. If you hit a snag, hop over to baking basics techniques or ask the NoGluBread crew for a tip or three.
Want to try something different? You can look into this gluten-free bread machine bread dairy-free option for more variation or just keep doing you with a twist from Mama Knows Gluten Free. Remember—what matters is the smell of fresh-baked bread in your house. And honestly, you’ll wow yourself with each loaf. Happy baking!

Gluten-Free Bread in a Bread Machine
A simple guide to baking soft and fluffy gluten-free bread using a bread machine, perfect for beginners and seasoned bakers alike.
- Total Time: 75 minutes
- Yield: 1 loaf (approximately 12 slices)
Ingredients
- 2 cups gluten-free flour blend
- 1 teaspoon xanthan gum or psyllium husk
- 1 packet instant yeast or bread machine yeast
- 2 large eggs (or egg replacer)
- 1 cup liquid (water, milk, or dairy-free option)
- 2 tablespoons sugar
- 1 teaspoon salt
- 2 tablespoons oil or melted butter
Instructions
- Add liquids to the bread machine pan.
- Follow with the dry ingredients and finally, add the yeast on top.
- Select the gluten-free setting on the machine.
- Monitor the dough halfway through; scrape down the sides if necessary.
- Once the baking cycle is complete, remove the bread immediately.
- Let the bread cool completely before slicing.
Notes
Ensure all ingredients are fresh, especially the yeast. Store any leftover bread in an airtight container to maintain freshness.
- Prep Time: 15 minutes
- Cook Time: 60 minutes
- Category: Bread
- Method: Bread Machine
- Cuisine: Gluten-Free
- Diet: Gluten-Free
I don’t have yeast packets, how much yeast should I use?
Hey Cindy!
great question! if you don’t have yeast packets, here’s the conversion:
1 packet = 2 1/4 teaspoons of active dry yeast
so measure out 2 1/4 tsp from your jar/container
make sure your yeast is fresh (check the expiration date!) because old yeast won’t rise properly and you’ll end up with dense bread instead of fluffy
hope that helps! let me know how your bread turns out 😊