Shaping gluten-free artisan bread… Let me tell you, it’s kind of a wild ride if you’ve only baked regular bread before. One minute the dough’s sticking to your fingers (and your shirt, if you’re like me), and the next you’re wondering why it spreads out like a pancake on your countertop. If you’ve ever seen your gluten-free loaf come out flat or a little sad, you’re in the right place. We’re diving into how to actually give your gluten-free bread that beautiful bakery shape at home – in plain language, with all my oddball tips.
If shaping isn’t your only struggle, you might want to bookmark our gluten-free bread troubleshooting guide — it covers everything from gummy centers to loaves that refuse to rise
Why Shaping Matters in Gluten-Free Artisan Bread
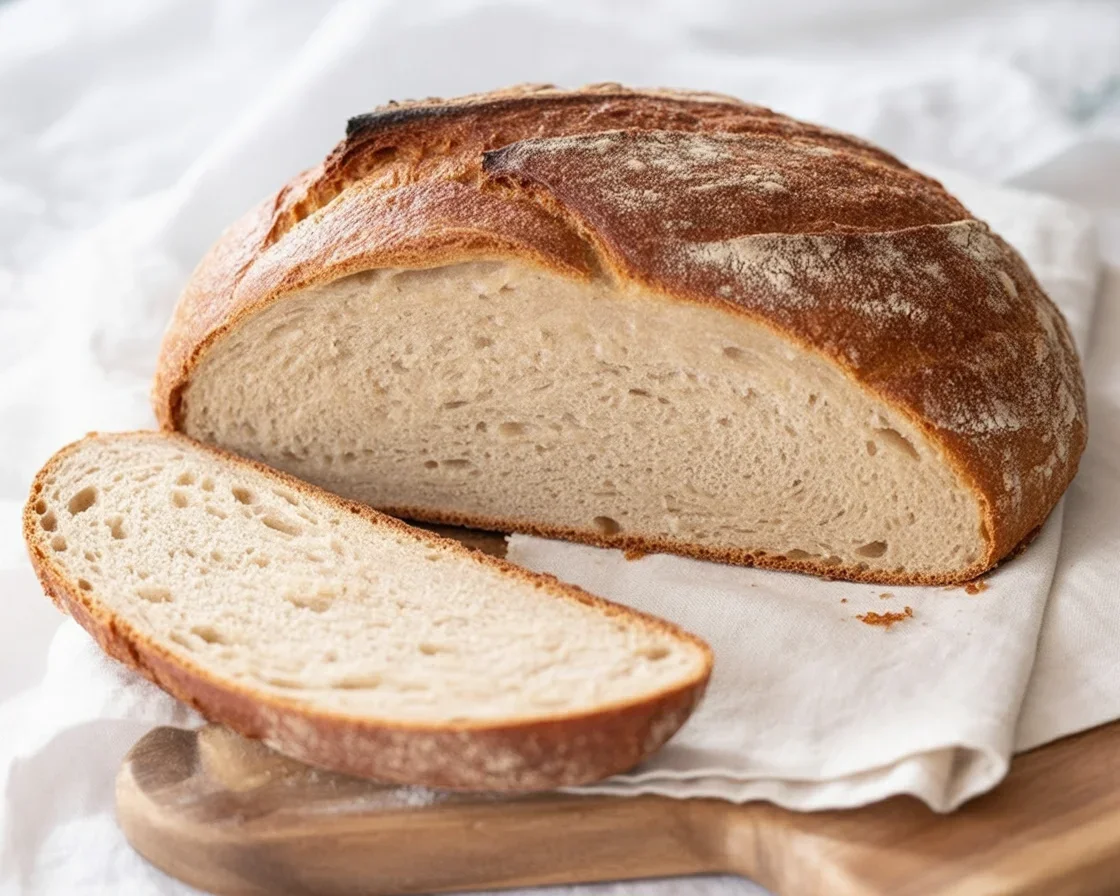
OK, so here’s the deal. Shaping gluten-free artisan bread seems extra fussy, but it’s the difference between a loaf that looks like it fell off a truck and one that could pass for something from a five-star restaurant (not even joking). Shaping helps get that crisp crust and crumb you’d totally want for sandwiches or dunking into soup.
Gluten-free dough’s more like thick cake batter, honestly, so it needs gentle coaxing instead of tough love. Plus, if you skip shaping, your loaf stays lumpy and dense. Spend five minutes here, and you look like a baking rockstar — pinky promise.
Oh, and if you’re serving to gluten-friendly friends, a well-shaped gluten-free loaf will blow their minds. If you struggle, remember: you’re not alone… my first loaf looked like a flying saucer.
For comprehensive guidance on gluten-free artisan bread making, check out our artisan gluten-free bread complete guide that covers everything from ingredient selection to troubleshooting.
“I never thought my gluten-free bread could actually rise and look like real bread till I started shaping it right. Now my family begs for it every week!”
Understanding the Science Behind Shaping Gluten-Free Dough
Alright, let’s get a little nerdy. So, gluten is what normally lets bread stretch and hold a nice shape. According to food science research, when flour made from grinding wheat and related grains is mixed with water, the proteins glutenin and gliadin combine to form gluten, creating the elastic network that gives bread its structure.
Without gluten, you’re working with flours that just want to flop all over the place. Starches and binders (think xanthan gum or psyllium husk) try their best to hold things together, but they aren’t miracle workers. This is why shaping gluten-free artisan bread is a bit of an art and a science — the dough behaves more like overly-hydrated clay than bread.
Research published in npj Science of Food explains that while wheat bread quality depends largely on the viscoelastic properties of gluten, food scientists have been developing various ingredients to replicate these properties in gluten-free breads, making high-quality gluten-free bread increasingly achievable for home bakers.
Moisture content makes a huge difference too. If things are too wet, you end up scooping your loaf like it’s pudding. Too dry and it cracks. The trick is to gently shape it, sometimes with super-wet hands (don’t be scared!). Trust me, experimenting here’s key. The first few times are a mess, but after three or four bakes… you start to get a sixth sense for how it should feel. Confidence grows for sure.

Essential Tools for Successful Gluten-Free Bread Shaping
Let’s talk gear — don’t worry, you don’t need a fancy kitchen to nail this.
- A sturdy silicone spatula is your best friend; mine’s so well-used the handle’s faded.
- Wet hands are magic. Literally, dip your hands in water and the dough won’t stick as bad.
- A banneton basket (or a salad bowl with a towel will do for real) gives a “boule” shape. Not essential but nice.
- Parchment paper keeps you from cursing when the loaf sticks to the tray.
That’s it. No bread-lame or exotic gear needed unless you plan on opening your own bakery. It’s chill — you probably already have most of this stuff anyway.
For those interested in different flour combinations that work best for shaping, our guide to gluten-free flour blends covers which blends hold their shape better during the shaping process.
Core Shaping Techniques for Gluten-Free Artisan Bread
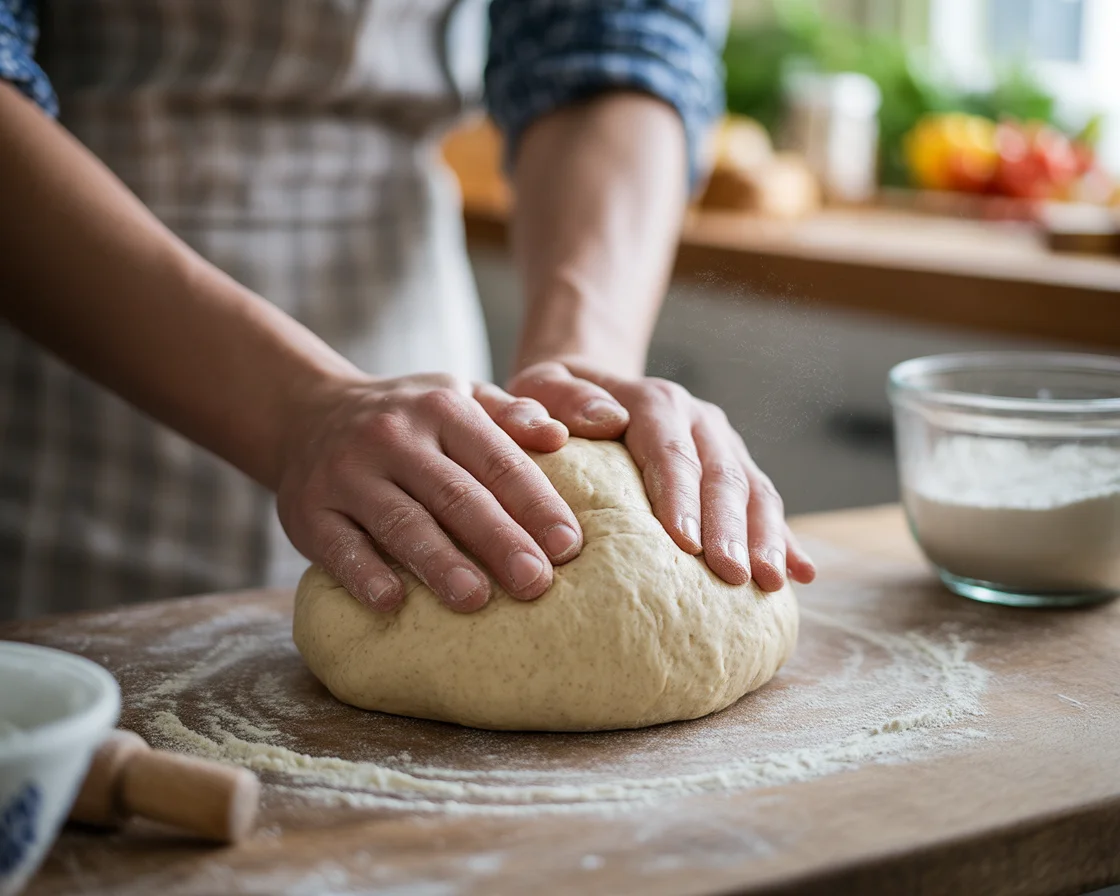
With gluten-free dough, it’s about nudging, not stretching. Forget those dramatic kneading videos you see online. Here’s what I do: mix dough (yes, it’s messy), then use a spatula or your damp hands to “tuck” the edges under, making a wobbly ball. Kind of like making a snowball with tacky snow, if you grew up anywhere cold. Some folks like oiling their hands, but honestly, water’s simpler.
If the dough’s really sticky, you can dust it with white rice flour — not too much or it dries out. Then drop it right into your lined bowl or onto parchment for baking. Give it minor encouragement to keep a mound shape. If it flattens a little, don’t freak out. It’s the nature of gluten-free bread (and part of the rustic charm). Keep your expectations honest and have fun.
| Tip Description | |
| Use Wet Hands | Helps prevent sticking and makes shaping easier. Wet hands instead of using oil. |
| Dust with Rice Flour | Lightly dust sticky dough with white rice flour to avoid dryness and help shape. |
| Proper Proofing | Give dough time to relax and rise slightly before baking for the best texture. |
| Scoring the Dough | Use a sharp knife to score dough; it prevents blowouts and adds a professional touch. |
The Step-by-Step Shaping Process
Alright, let’s walk through this. After dough is mixed and rested a bit:
- Generously dust a sheet of parchment with gluten-free flour.
- Scrape dough out onto the floured parchment. Do not panic if it’s more blob than ball.
- Wet your hands (seriously, do it!) and use your palms to gently tuck the dough’s edges under to form a rough round or oblong.
- Cup your hands around the dough and coax it into your preferred shape. Don’t worry about perfection — rustic looks awesome.
- Move the shaped dough to your lined proofing basket or baking sheet. No rough handling — keep it gentle.
Messy? Maybe. Doable? Absolutely. Each time’s a little different, so play around till you’re happy.
If you want to try specific artisan shapes, our rustic gluten-free boule recipe provides detailed instructions for achieving that perfect round artisan loaf shape.
Common Shaping Mistakes
Even the best bakers mess up. If your loaf looks like a pancake, welcome to the club. Too much moisture? You’ll end up with a puddle that bakes flat. Too dry, and you’ll see deep cracks — or the dreaded brick. Avoid overhandling or you’ll knock out every air bubble. And seriously, don’t skip the proofing step! Underproofed loaves turn super dense.
Feel like yours isn’t “perfect?” Don’t stress. Even pro bakers laugh at their bread sometimes.
Proofing and Scoring for Maximum Oven Spring
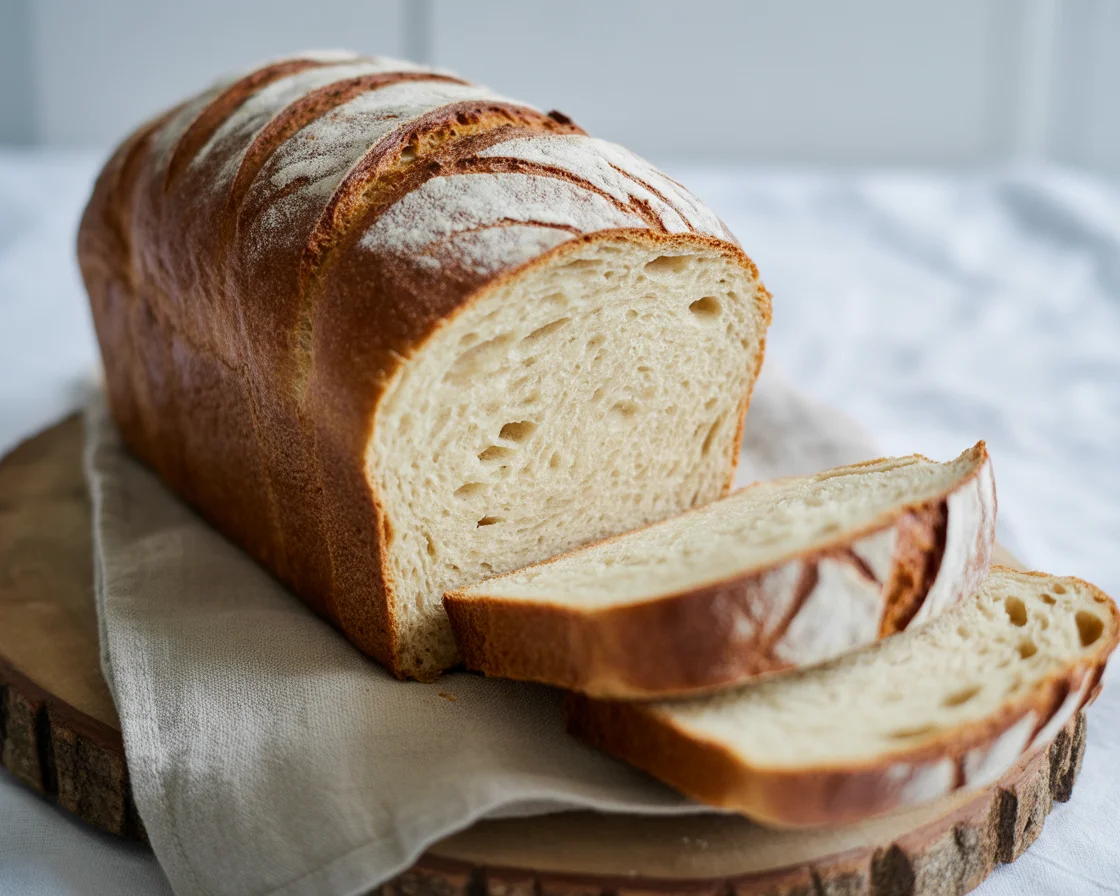
Proofing gives your gluten-free bread a chance to relax and develop its final rise. You want it to look slightly puffy (about 40 minutes). If you score, do it with a super sharp knife — draw a quick, confident line down the center or crisscross it. Not only does this make it look way cooler, but it also gives steam a spot to escape and prevents those wild blowouts.
Don’t overdo it with designs unless you want to get fancy. Simple is classic. That dramatic, rustic split you see in bakery loaves? Totally possible at home.
FDA Standards and Gluten-Free Assurance
When working with gluten-free flours and ingredients, it’s important to understand quality standards. The FDA issued regulations defining “gluten-free” for food labeling to provide consumers – especially those with celiac disease – the assurance that “gluten-free” claims on food products will be consistent and reliable across the food industry.
This regulation ensures that the gluten-free flours you use for shaping meet strict safety standards, containing less than 20 parts per million of gluten.
Baking Methods That Support Shape
Baking gluten-free bread is not the same as regular bread, let’s be honest. Preheat your oven like you mean it. Hot oven helps the loaf puff up instead of spreading. If you have a Dutch oven or big cast iron pot, use it with the lid for the first part — traps steam, which seriously supports shape. If not, put a pan of water on your oven’s bottom rack.
Higher temp at the start. Drop the temp halfway through for even browning and better crumb. The result? More lift and a shatteringly crisp crust.
Your oven can make or break the final shape, so if you’ve ever wondered why results vary, our guide to baking gluten-free bread in different ovens is a must-read before your next bake.
Exploring Different Artisan Bread Styles
Once you master basic shaping techniques, you can explore different artisan bread varieties:
- Try our cheesy gluten-free artisan bread for a flavor-packed variation
- Experiment with gluten-free artisan rye bread for a traditional European-style loaf
- For those who prefer automated methods, check out our guide to gluten-free bread artisan bread machine techniques
Pro Tips from the NoGluBread Kitchen
I’ve made a lot of gluten-free loaves — and lots of flops. Here’s what actually helps:
- Don’t fight the stickiness. Work with it.
- Let the dough rest before shaping.
- Wet (not oily) hands, every time.
- Use fresh baking powder and yeast. Old stuff leads to sad, sad bread.
- Experiment with different flour mixes. Some combinations are magic, others, well — chicken food, basically.
Once your bread is perfectly shaped and baked, don’t let it go to waste — our leftover gluten-free bread ideas will help you turn extra slices into delicious new dishes.
Also proper storage is crucial. Our comprehensive guide on storing gluten-free bread will help you keep your artisan loaves fresh for days.
Common Questions
A: It’s probably too wet. Try a little more flour and make sure you proof in a smaller bowl for support.
A: If you’re celiac, use only gluten-free flour or rice flour. If you just avoid gluten, regular flour won’t hurt, but why risk it?
A: Usually, it needs more hydration or better proofing. Steam in the oven can help, too.
A: High oven temp, a steam tray, and don’t overbake. Brush with a little oil before baking for extra shine.
A: Nope! A colander lined with a towel works. Or—straight on parchment, old-school style.
Your Next Epic Gluten-Free Loaf: You Got This!
Honestly, shaping gluten-free artisan bread isn’t rocket science, but it’s got a learning curve (and, sometimes, a mess). Be patient. Use wet hands. Don’t stress over wobbly loaves. Next time you pull a golden, crusty loaf from your oven, you’ll feel like a kitchen magician. For more tips on gluten-free recipes and troubleshooting, check out America’s Test Kitchen’s gluten-free guide and don’t be shy to share your own wonky loaves with pals. They’ll love the taste, promise!
Here’s to less kitchen frustration, more happy bread!
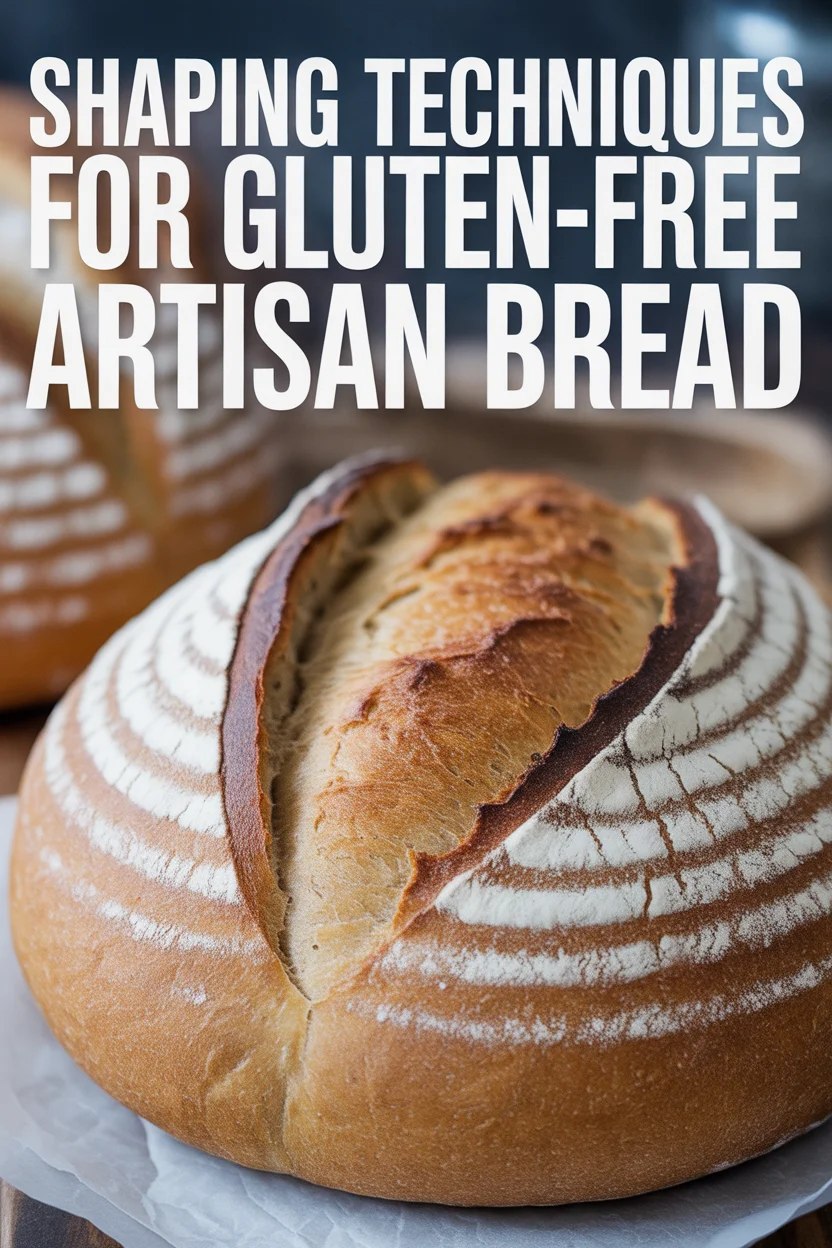

Gluten-Free Artisan Bread Shaping
Learn how to shape gluten-free artisan bread to achieve a beautiful bakery-style loaf with a crisp crust and perfect crumb.
- Total Time: 55
- Yield: 1 loaf
Ingredients
- Gluten-free flour blend
- Xanthan gum or psyllium husk
- Water
- Salt
- Yeast
- Parchment paper
Instructions
- Mix the gluten-free flour, xanthan gum, water, salt, and yeast until combined.
- Let the dough rest to hydrate.
- Dust a sheet of parchment with gluten-free flour.
- Scrape the dough onto the floured parchment.
- Wet your hands and gently tuck the dough’s edges under to form a round shape.
- Move the shaped dough to a proofing basket or baking sheet.
- Let the dough proof for about 40 minutes.
- Score the top of the dough with a sharp knife.
- Bake in a preheated oven until golden brown and crusty.
Notes
Use wet hands while shaping to prevent sticking. Experiment with different flour blends for best results.
- Prep Time: 15
- Cook Time: 40
- Category: Baking
- Method: Baking
- Cuisine: American
- Diet: Gluten-Free